Install Launch Lab on your computer
From the unzipped folder to the first screen of the setup wizard, and what the site keeps in its instance folder.
Updated 9 Oct 2026 · written for Launch Lab 2.9.0
On this page
Run Launch Lab on your own computer first. It needs Python and nothing else: no database to install, no accounts to open, no keys and no settings file. You get the whole product, admin included, and you can break it as often as you like before anything is public.
What you need#
Python 3. The kit's own Dockerfile runs it on Python 3.12. On a Mac or Linux the command is
python3. On Windows it ispython.The Launch Lab folder. Unzip your download.
A terminal opened in that folder.
You do not need Node.js. It is only for rebuilding the stylesheet if you later change the design in code.
Install and start it#
Step 1: Make a virtual environment
This keeps Launch Lab's Python packages apart from everything else on your computer.
Mac or Linuxpython3 -m venv venv source venv/bin/activateWindowspython -m venv venv venv\Scripts\activateYour prompt now starts with
(venv). Whenever you open a new terminal to work on the site, run the second line again first.Step 2: Install the packages
Terminalpip install -r requirements.txtThis takes a minute or two the first time.
Step 3: Start the site
Terminalpython run.pyThe first start builds the database and fills in the starting data, then prints two lines to look for:
What the terminal printsSetup required: open /setup in your browser. Setup code: (a long code) (also in instance/setup_token) * Running on http://127.0.0.1:5000Press Ctrl and C in the terminal to stop the site.
Step 4: Open it in your browser
Go to http://127.0.0.1:5000. Whichever page you ask for, a new site sends you to
/setup, and you see the first step of the setup wizard, Create your admin account.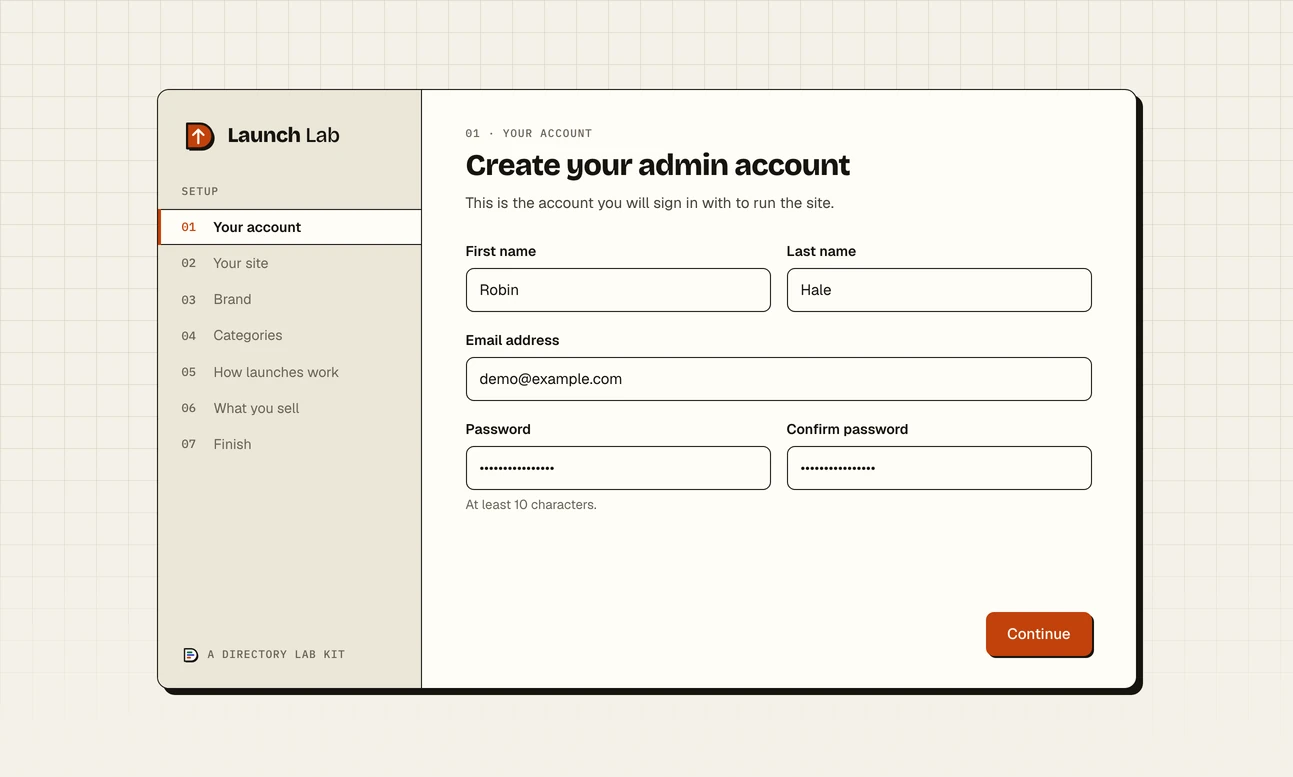
The setup wizard opens on the admin account. It is shown once, on a new install.
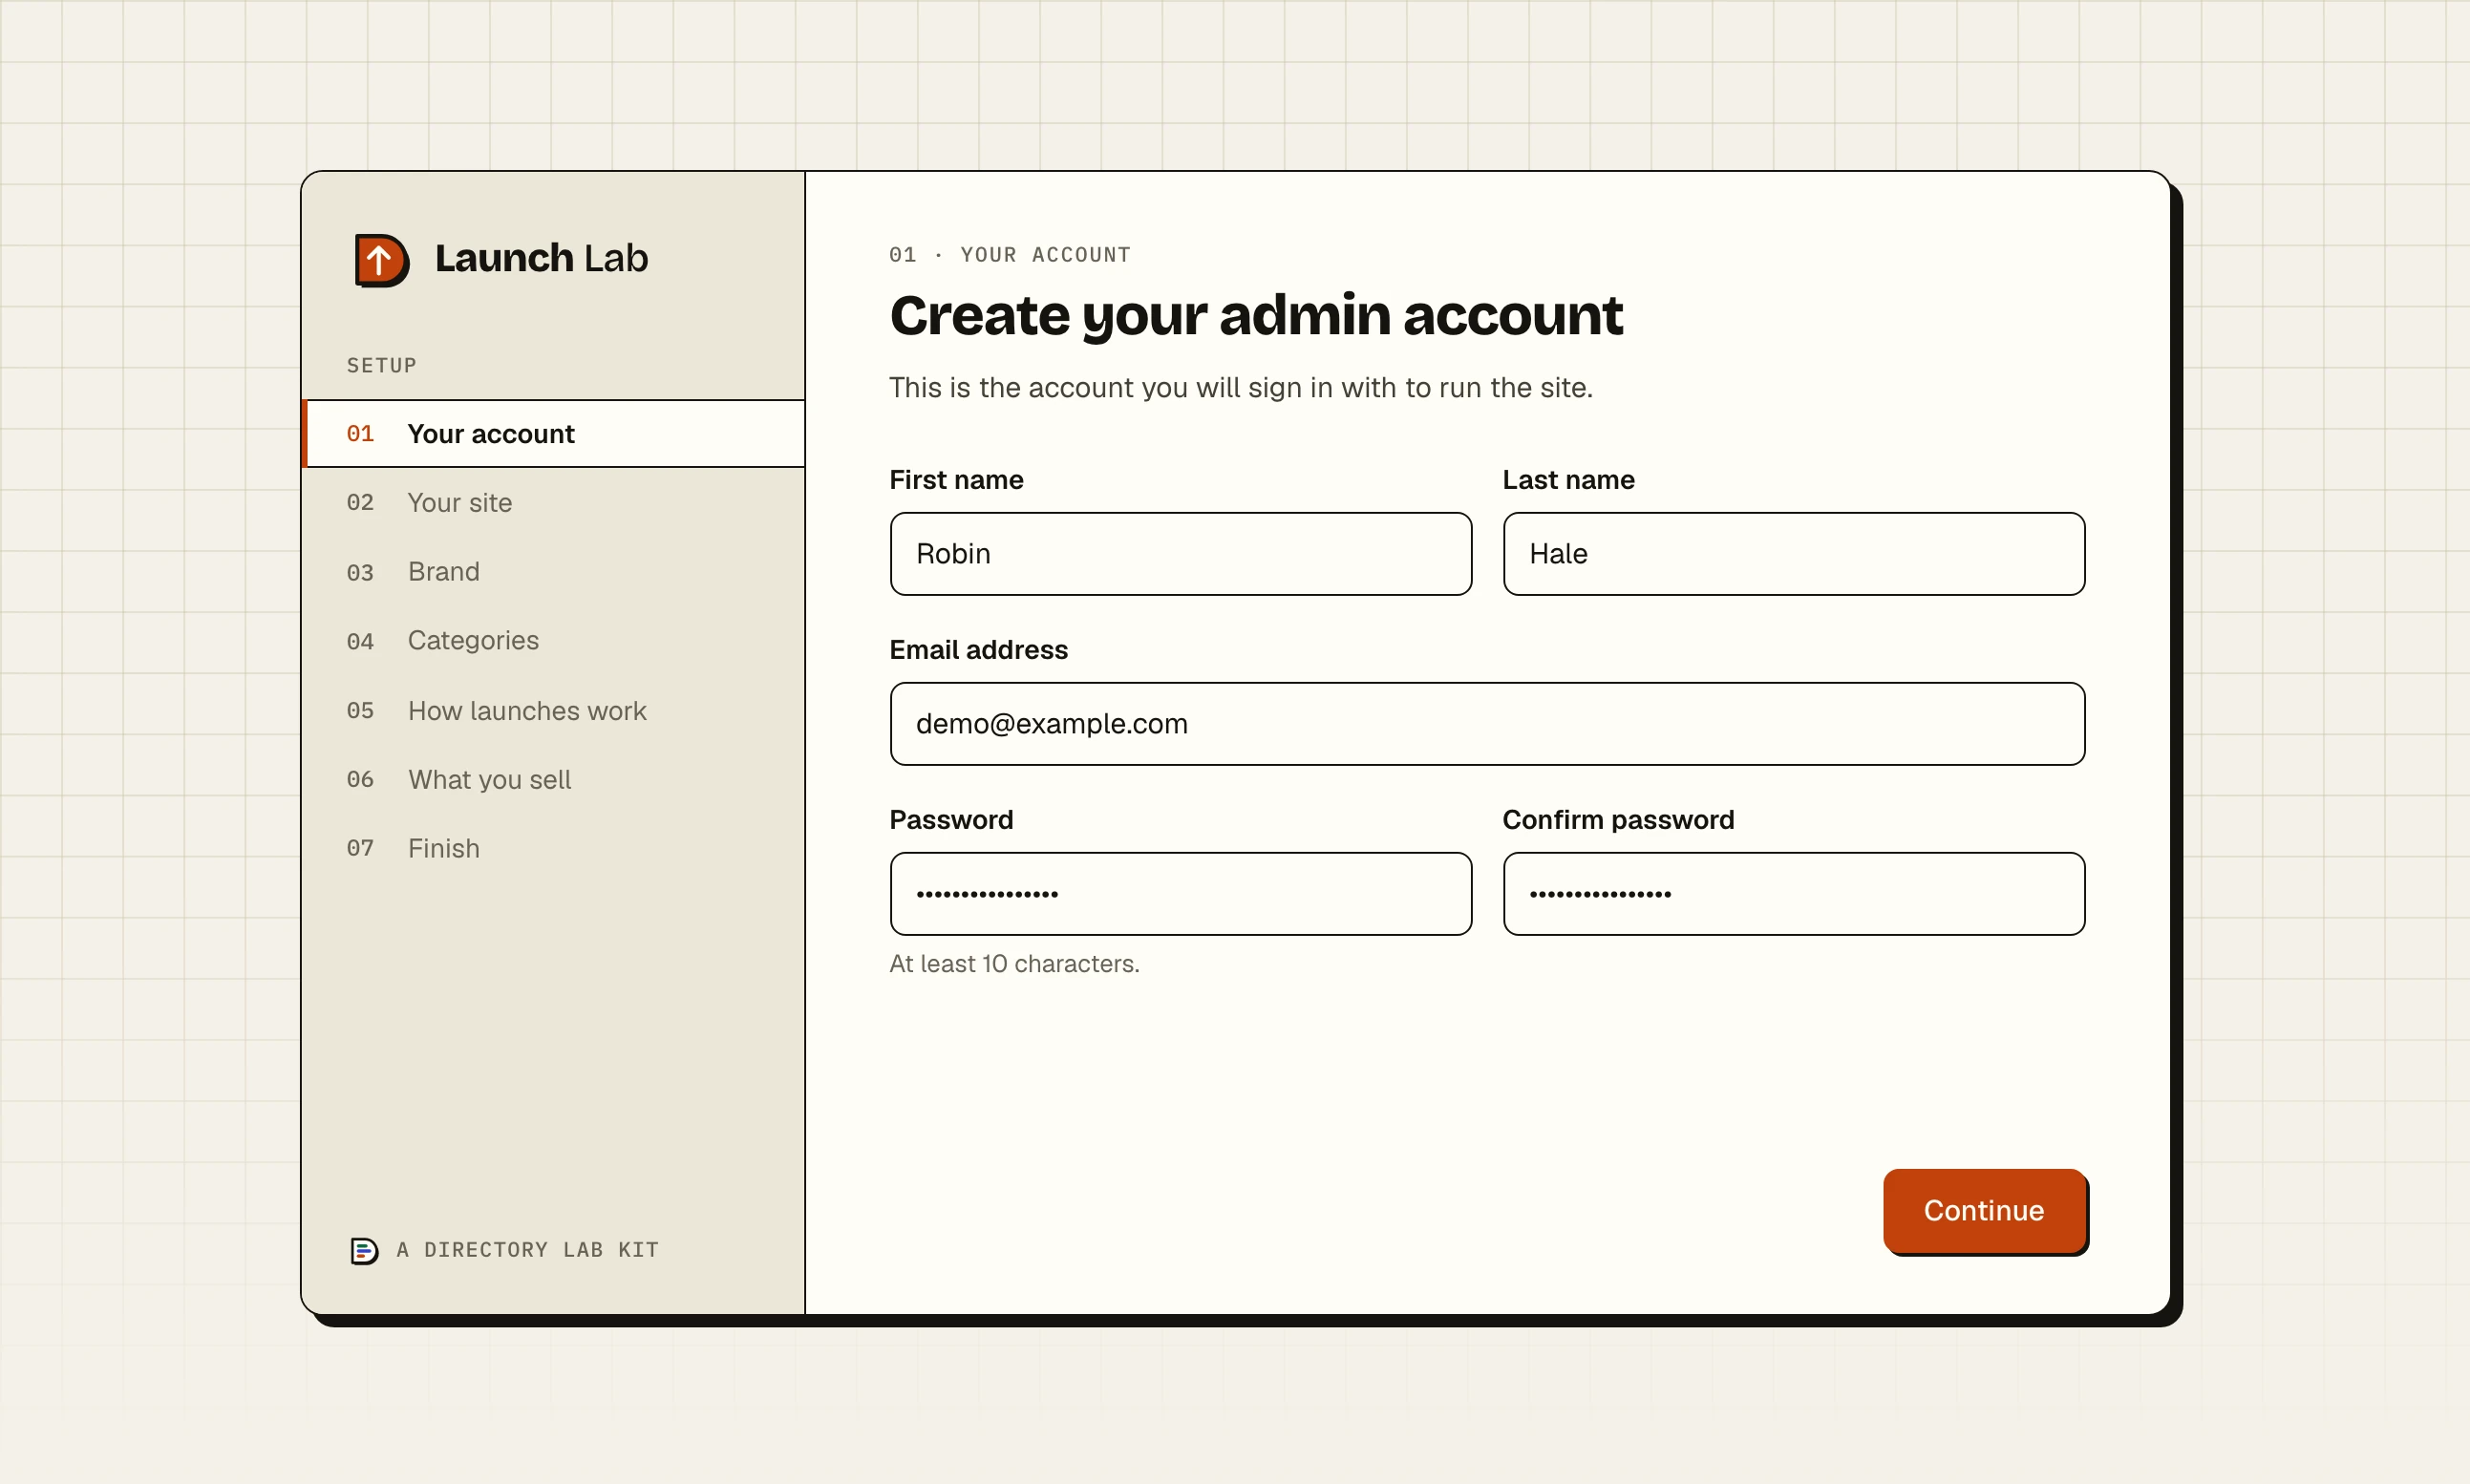
The wizard has seven steps: your account, the site's name, its brand, categories, how launches work, what you sell and a last check. The setup wizard, step by step goes through every field.
These guides say "listing" for what your site launches and "maker" for the person who launches it. Your site will use the words you choose in the wizard.
Why the wizard did not ask for a setup code#
A new site has no admin, so the wizard is the one page that would let a stranger take the site over. It is protected by a one-time setup code. The site makes the code on its first start, prints it in the terminal and keeps it in the file instance/setup_token.
On your own computer you are not asked for it. The wizard opens without the code when all three of these are true:
the request comes from the same computer the site is running on
it did not pass through a proxy such as nginx or Caddy
the site was started with
python run.py, which uses Flask's development server
Anywhere else, which means every live server, /setup shows Enter your setup code first.
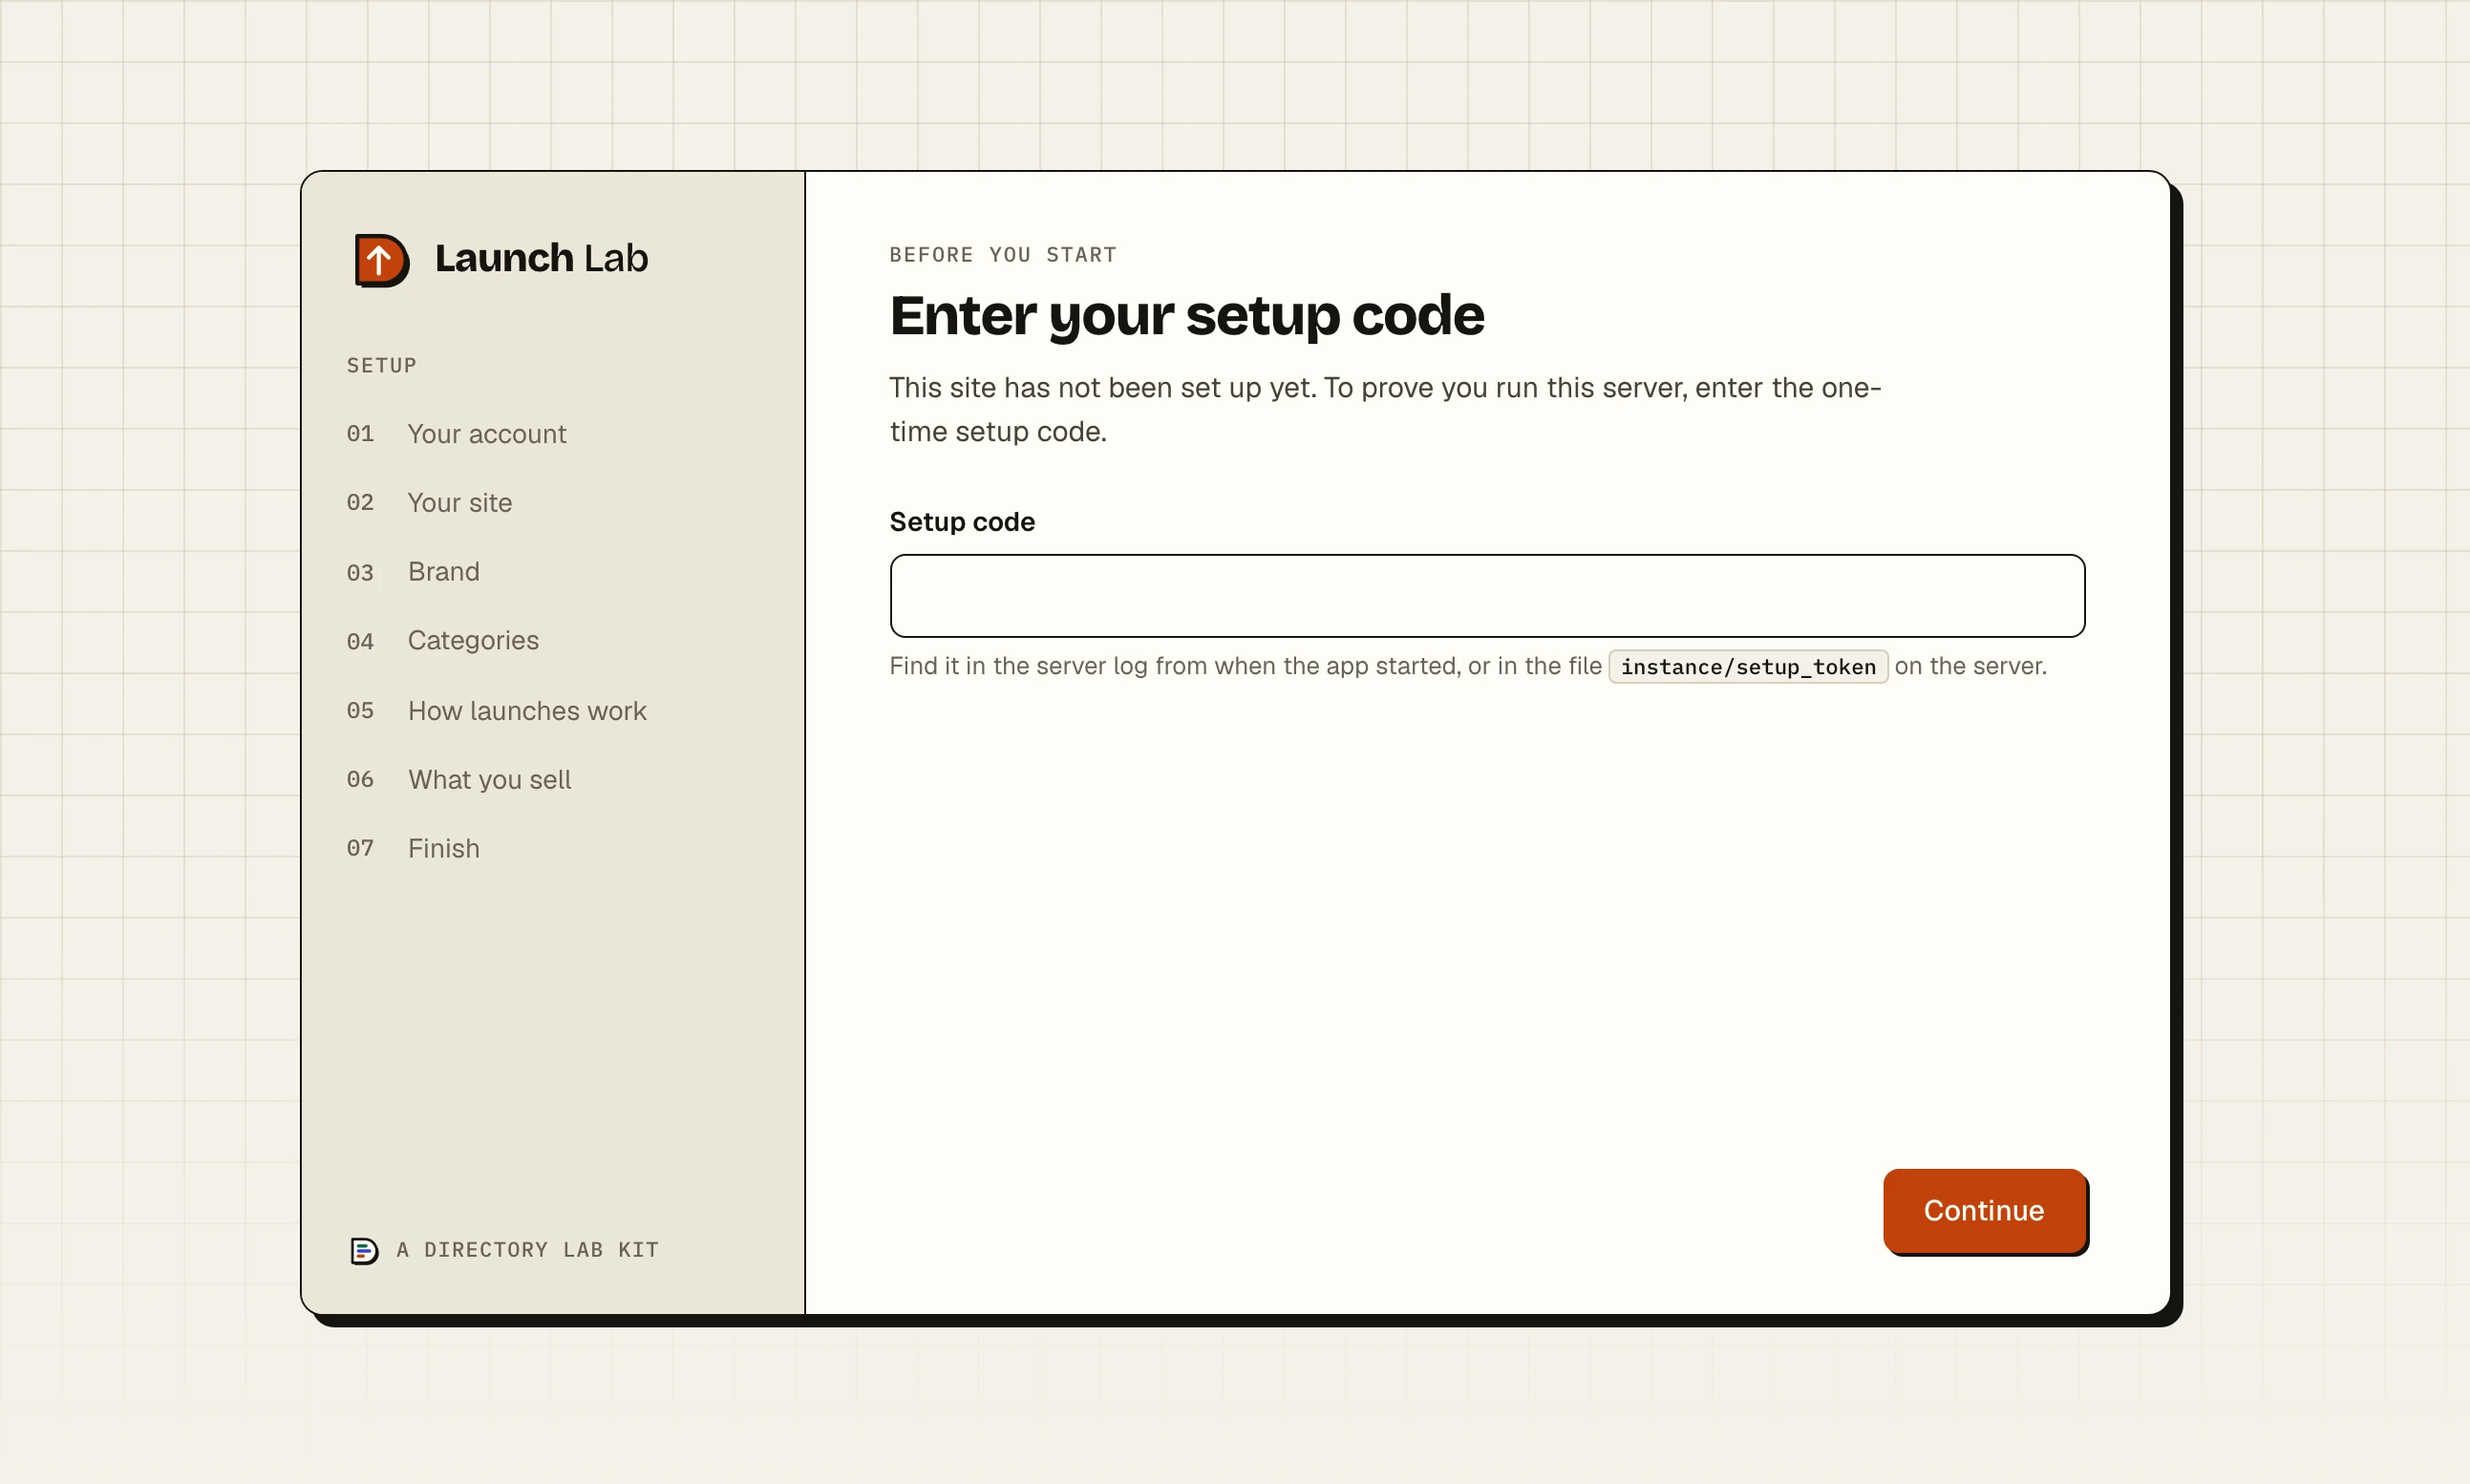
Type the code into Setup code and click Continue. A wrong code brings the page back with "That setup code is not correct." You can also put the code in the address, as /setup?token= followed by the code, and go straight to the first step.
When the wizard is finished the code is deleted, and /setup shows the site's "Oops! Page Not Found" page from then on. Setup is counted as done once the site has an admin, so nobody can run the wizard a second time.
What the instance folder holds#
The first start makes a folder called instance inside the Launch Lab folder. Everything that belongs to your site, as opposed to the kit, is in it.
In instance | What it is |
|---|---|
app.db | The database, a single SQLite file: every setting, account, listing, vote and payment. |
secret_key | A long random key the site made for itself. See the secret key. |
setup_token | The one-time setup code. It is there only until the wizard is finished. |
uploads | Every picture uploaded to the site: logos, listing images, profile pictures and the site's own brand files. |
To keep a copy of a site, stop it and copy the whole instance folder.
A new database is not empty. Before the wizard runs, the site has already added six starter categories, five blog categories, the twelve emails it sends on its own and the starting prices. The wizard then sets the categories and prices to the ones you choose.
The secret key#
Launch Lab signs each sign-in with a secret key, and locks the keys you later save under Integrations in the admin with the same key.
You do not have to make one. When no SECRET_KEY is set, the site writes 64 random characters to instance/secret_key the first time it starts and reads them back on every start after that. Each install gets its own.
You can set your own instead, as a SECRET_KEY= line in .env. That value then wins and the file in instance is not used. It must be at least 16 characters long and must not begin with change-me, changeme, your-, your_, secret-key or dev-secret. If it does, the site refuses to start and says why.
The .env file#
Launch Lab runs with no .env file at all. You add one when you want to change something that cannot be set in the admin. The folder has a file called .env.example that lists every setting there is. On a new copy every line in it is either empty or the value the site would use anyway, so you can copy it to .env whole and remove what you do not need.
The lines that matter on your own computer:
| Line | What it does |
|---|---|
FLASK_PORT=5050 | The port python run.py listens on. Without it, 5000. |
FLASK_HOST=127.0.0.1 | Which network address it listens on. The default, 127.0.0.1, means only your own computer can reach the site. |
FLASK_DEBUG=true | Turns on Flask's debug mode, which reloads the site when a file changes and shows errors in the browser. It is off unless this line says true, 1 or on. Never set it on a live site. |
SECRET_KEY= | Your own secret key. Leave it empty to have one made. |
DATABASE_URL= | The address of a PostgreSQL database. Leave it out to use the SQLite file. |
.env.example also has the line FLASK_ENV=production. In version 2.9.0 that line changes nothing, whatever you set it to.
Email, Stripe, Google sign-in and bot protection have lines in .env too, but they are quicker to set in the admin under Integrations, and a value saved there wins over the same value in .env.
Sign in again later#
When you finish the wizard you are signed in already. After that, sign in at /auth/login with the email address and password you gave the wizard.
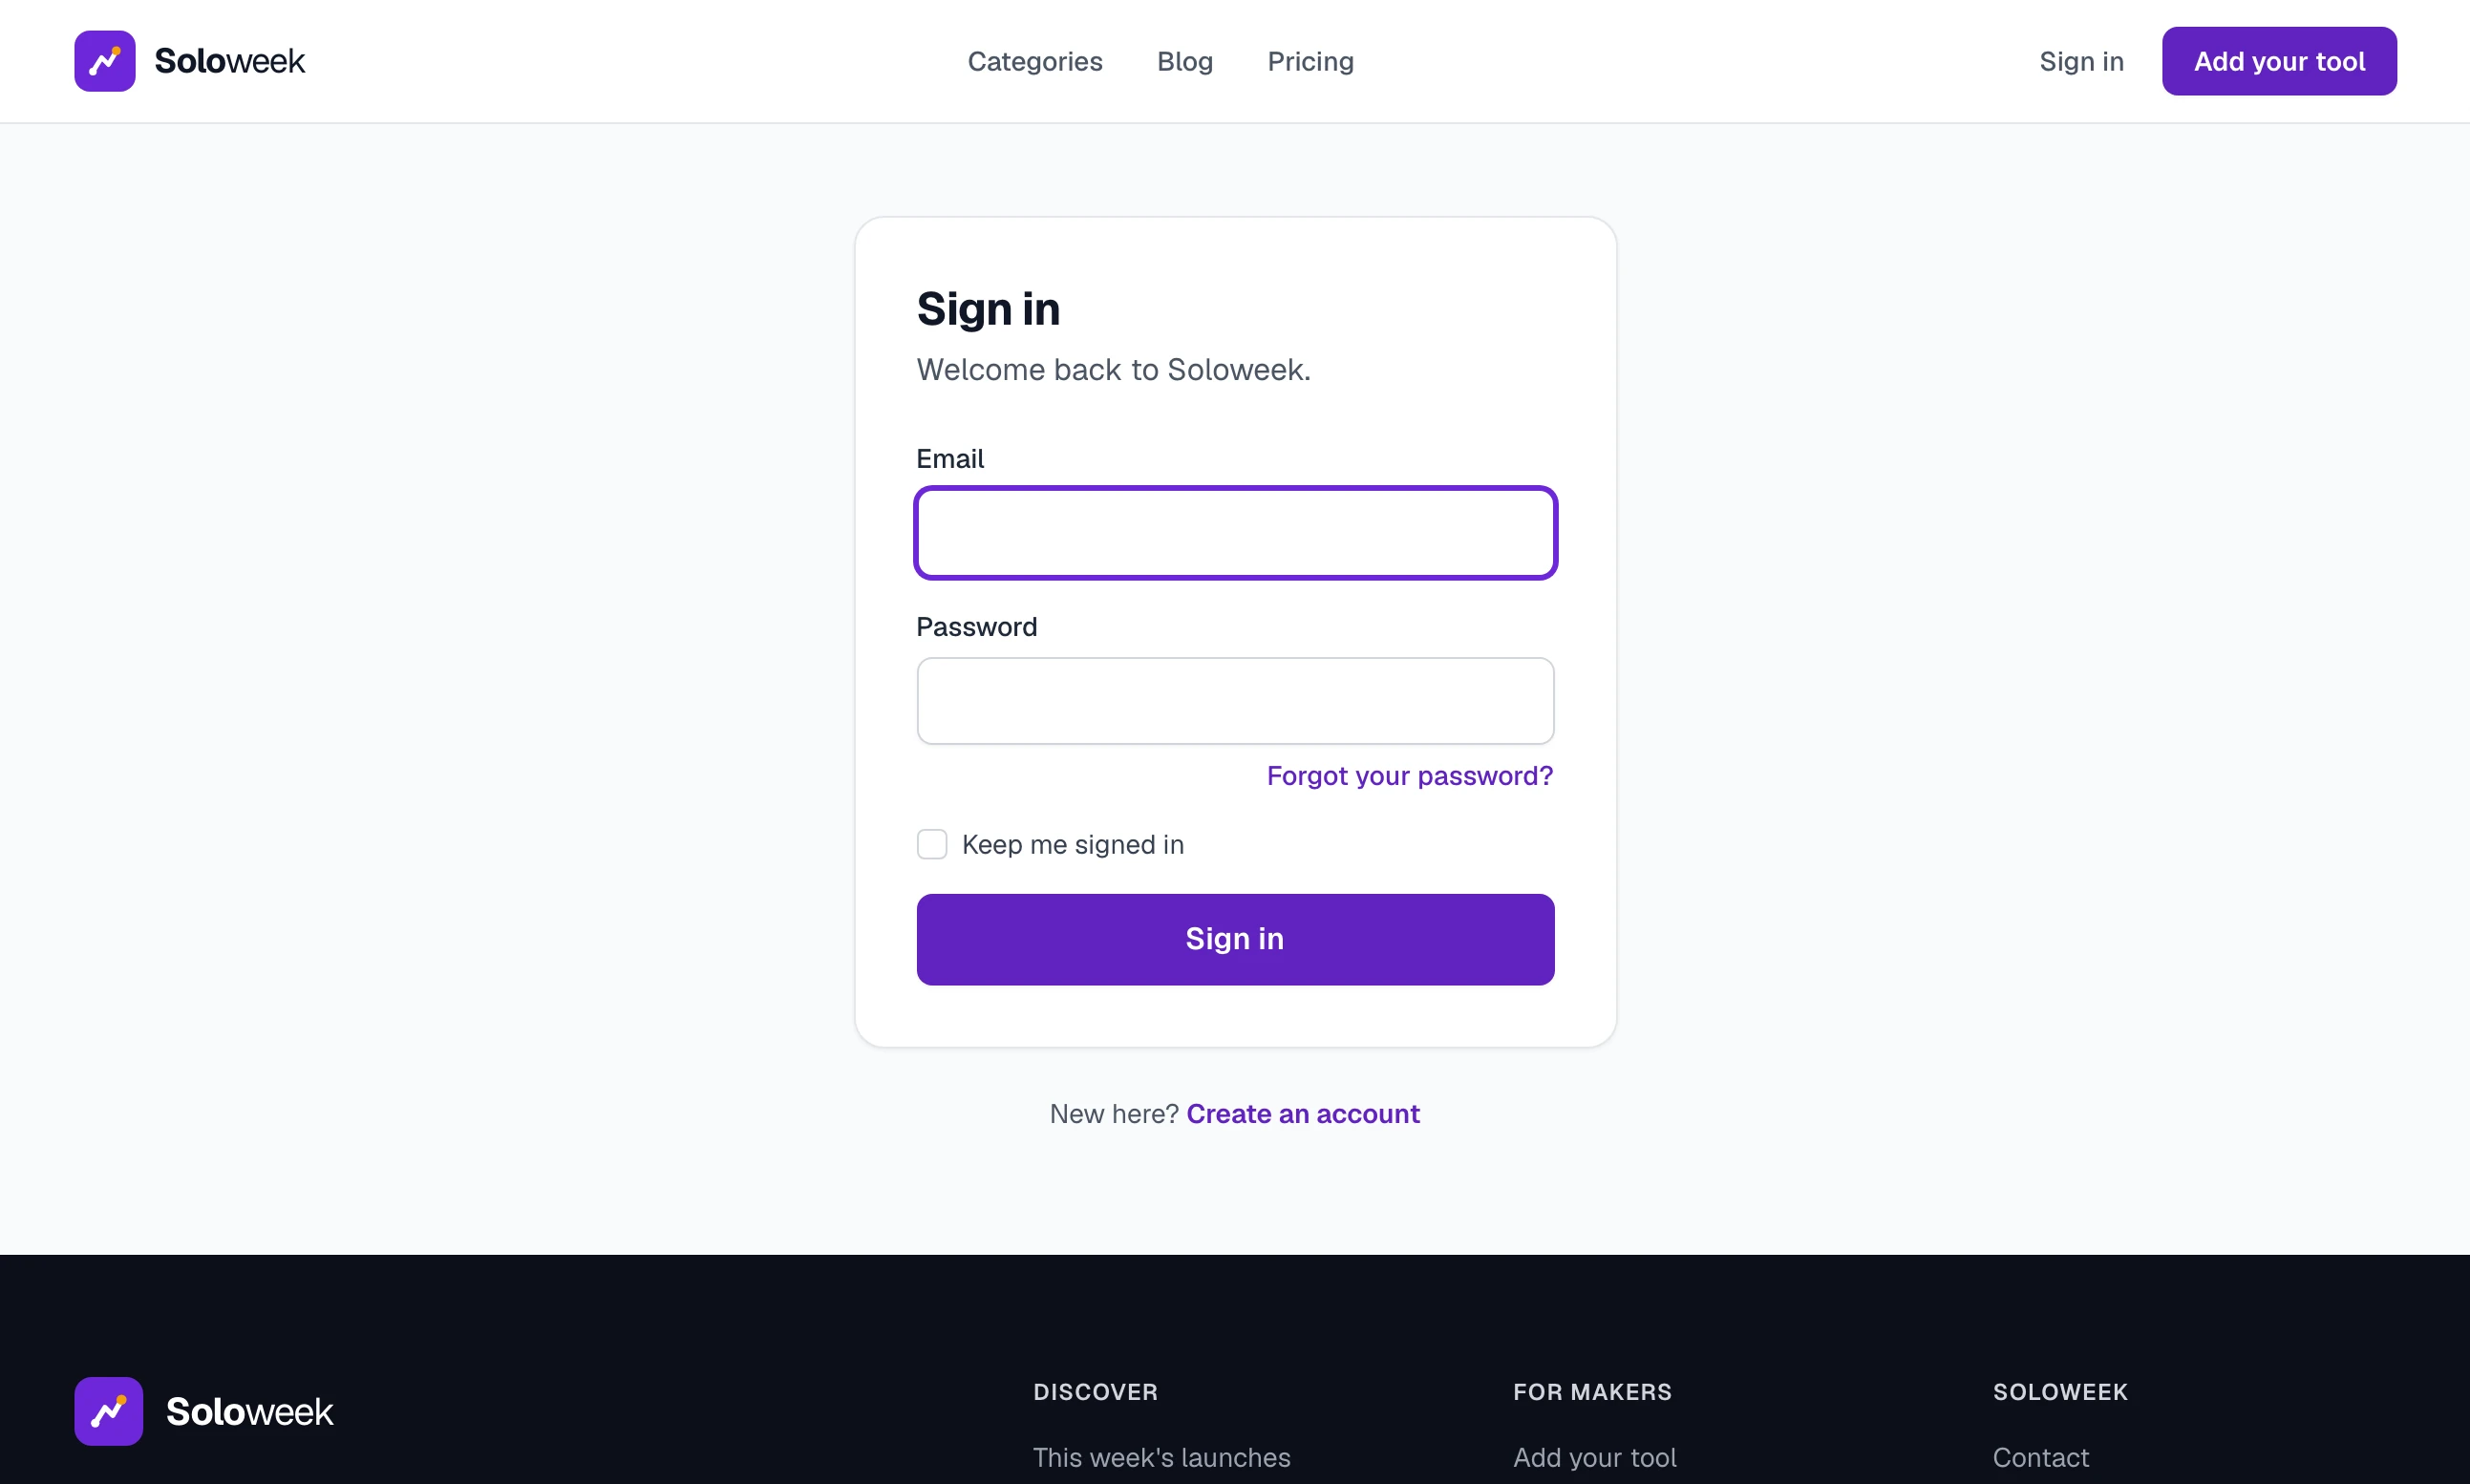
You arrive on your own dashboard, the same one a maker gets. Click Admin area in its sidebar, or go to /admin.
Start again from nothing#
While you are learning the kit you may want a clean copy.
Step 1: Stop the site
Press Ctrl and C in the terminal.
Step 2: Delete the instance folder
Delete the whole
instancefolder. That removes the database, every uploaded picture and the secret key. To keep the secret key, delete onlyinstance/app.dbandinstance/uploads.Step 3: Start the site
Run
python run.py. The folder is made again with a new database and a new setup code, and every page sends you to the wizard.
- The setup wizard, step by stepEvery field in the seven steps, and where to change each one later.
- A tour of the adminWhat is behind each item in the sidebar.
- Deploy to a serverPut the site on its own domain when you are ready.
Do I need Node.js?
Not to run the site. The stylesheet is already built and included. You only need Node.js if you edit the design's source files, to rebuild it with npm install and then npm run build-css-prod.
The site will not start: "SECRET_KEY is a placeholder or too short"
Your .env file has a SECRET_KEY line that is under 16 characters or begins with a word from an example file, such as change-me. Either delete the line, and the site makes its own key in instance/secret_key, or replace it with the output of this command:
python -c "import secrets; print(secrets.token_hex(32))"It asks for a setup code on my own computer
You reached the site in a way that does not count as local: through a proxy, from another device on your network or from a copy started with Docker or gunicorn. The code is in the terminal output from when the site started, and in the file instance/setup_token.
I closed the terminal and lost the setup code
Open the file instance/setup_token in a text editor. The code is the only thing in it. It stays the same until the wizard is finished.
I forgot the admin password
On your own computer, stop the site and set a new one from the terminal:
python scripts/change_admin_password.pyIt prints the email address of the site's first admin, then asks for the new password twice under "Enter new password:" and "Confirm new password:". It also unlocks that account if too many wrong passwords have locked it.
Stuck on a step? Send a message.