The setup wizard, step by step
All nine steps of the wizard, with every field, what each step saves, where to change it afterwards and what a second run overwrites.
Updated 9 Oct 2026 · written for Job Lab 1.1.0
On this page
Open /setup on a new install, or Setup Wizard under Settings in the admin sidebar at any time after. The wizard takes a board from empty to one with an owner, a name, a look, a niche and its first jobs, in nine steps. Everything it sets can be changed in the admin afterwards.
How the wizard works#
The nine steps are listed down the left, and the step you are on is counted beneath them, for example "Step 4 of 9".
A step saves when you press Continue. ← Back goes back one step and saves nothing. Two steps differ: AI saves when you press Connect, and Sources saves nothing until the step after it opens.
You can leave and come back. What you saved is kept. When you open
/setupagain the wizard starts at step 2 with your saved answers filled in. The steps you had not reached come back empty, without the niche's keywords and wording. Clicking your niche tile again refills them. It also puts the niche's values back into the steps you had saved, so read each one before you press Continue.Skip setup for now is at the foot of steps 2 to 8. It takes you to the admin and stops the Control Panel sending you back here. Until the wizard is finished or skipped, opening
/adminreturns you to it.
Step 1: Your account#
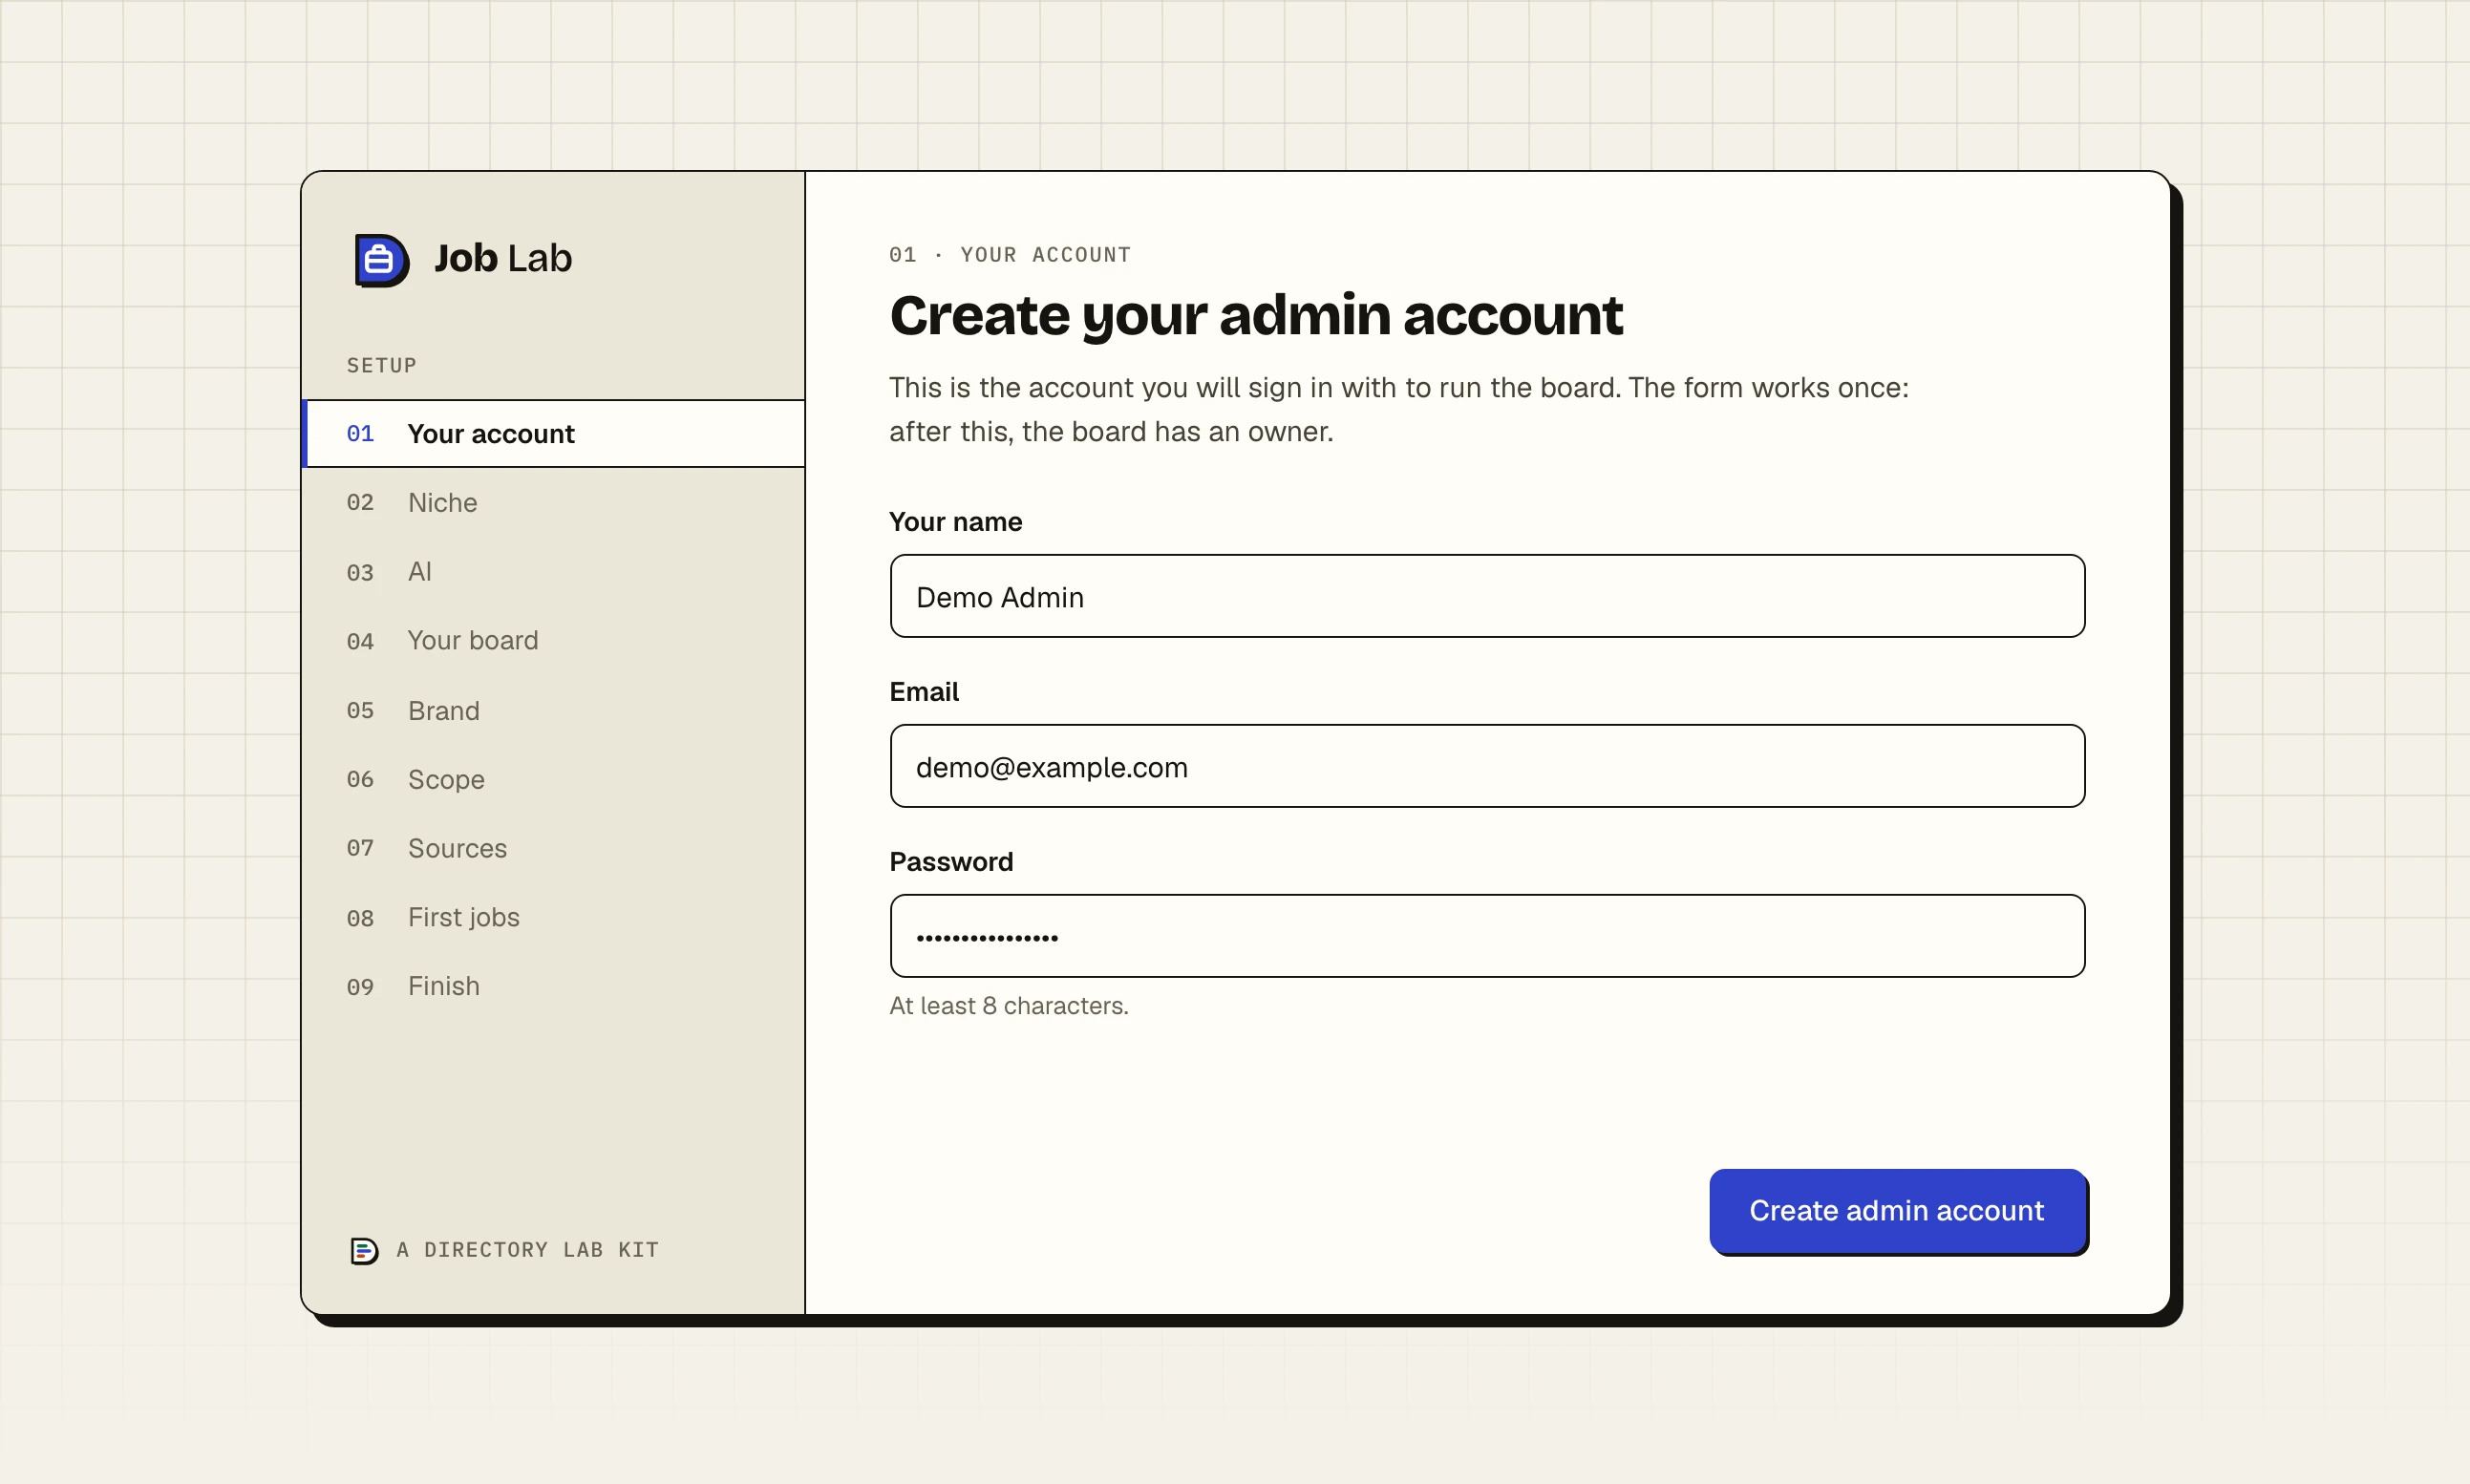
Headed "Create your admin account". This step appears once, on a new install, and is ticked as done on every later visit.
Your name: at least two characters.
Email: what you will sign in with.
Password: at least 8 characters. This account can change everything, so pick a strong one.
Click Create admin account. The account is made with the admin role, you are signed in and the wizard moves to step 2. Change your name or password later on your own profile page at /profile.
Step 2: Niche#
Headed "What kind of job board is this?". Pick one tile. Continue stays grey until you do.
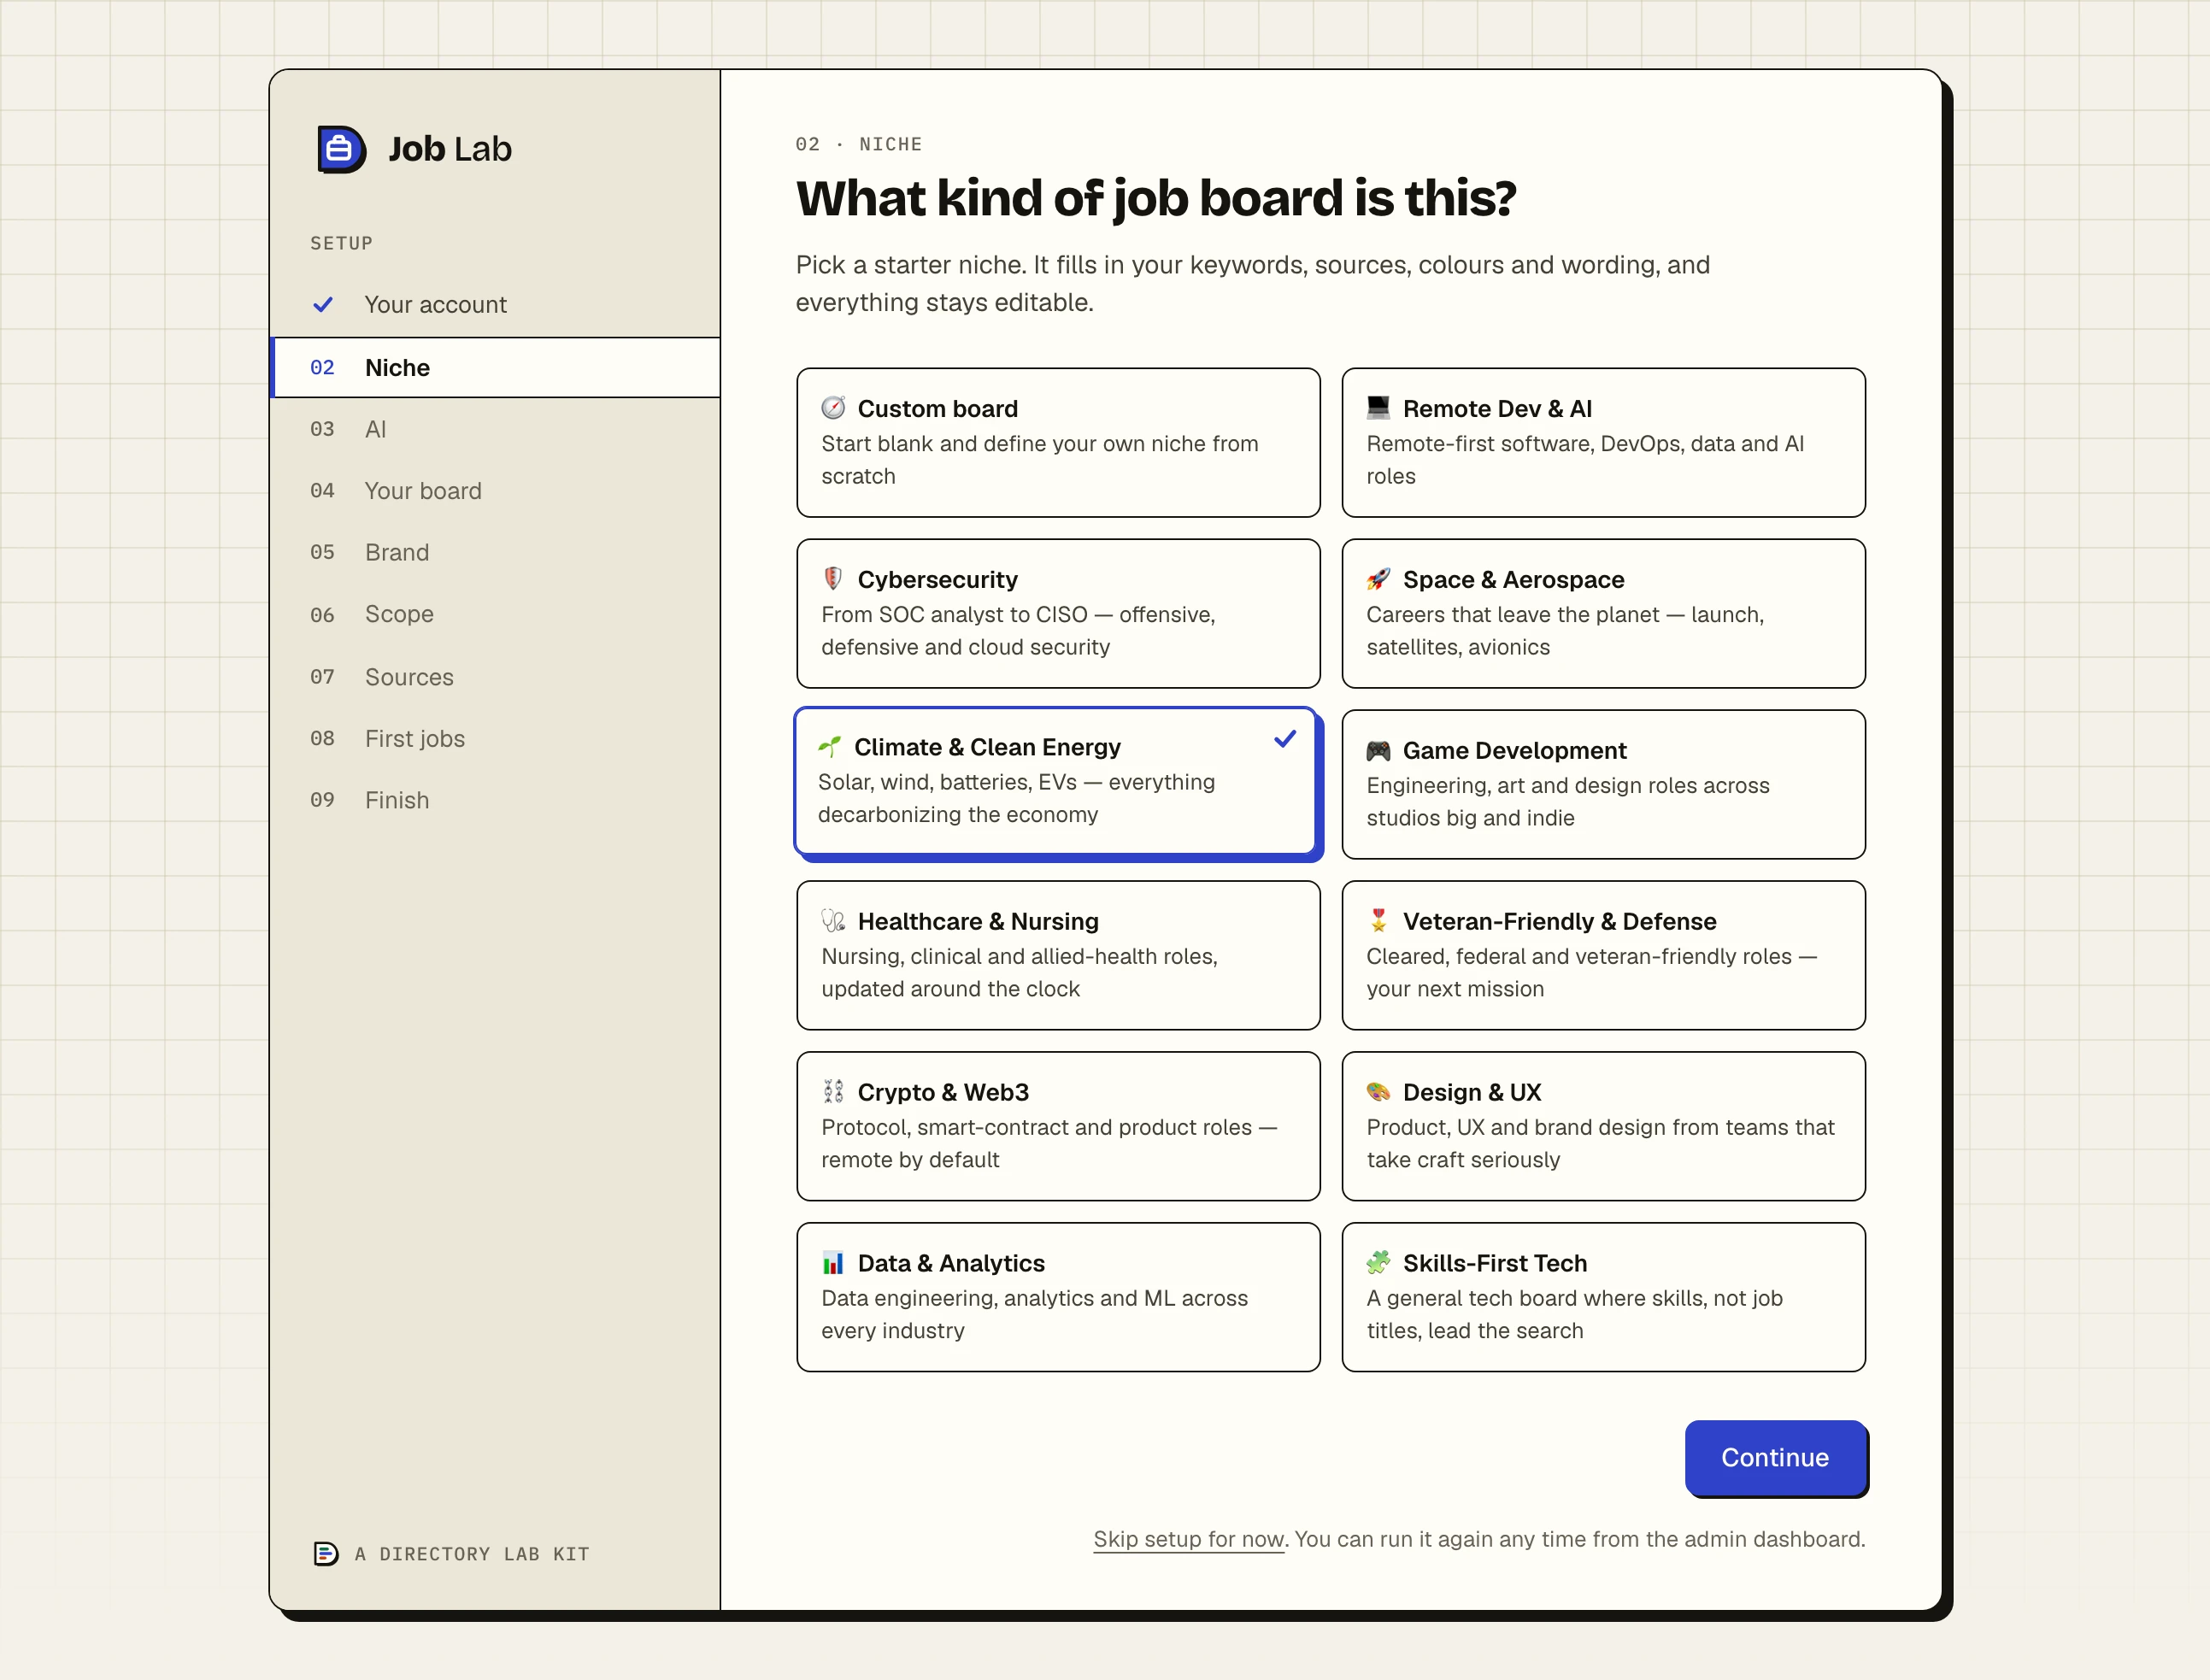
A tile is a starting point and nothing more. Picking one fills in the fields of the later steps, where you can change every value before it is saved. Pressing Continue here saves only which tile you chose.
| Tile | Scope it fills in | Words for the search pages | Colour | Sources it suggests |
|---|---|---|---|---|
| Custom board | Nothing: every job is accepted | none, and "jobs" | Default (Indigo) | Test Feed |
| Remote Dev & AI | Remote only, 23 include keywords | "remote" and "dev jobs" | Vivid Indigo | Remotive, We Work Remotely, Remote OK, Arbeitnow |
| Cybersecurity | 26 include keywords, excludes "security guard" | "cybersecurity" and "jobs" | Slate Mono | We Work Remotely, Remotive, The Muse, Adzuna, JSearch |
| Space & Aerospace | 19 include keywords | "space industry" and "jobs" | Vivid Indigo | The Muse, USAJobs, Adzuna, JSearch |
| Climate & Clean Energy | 19 include keywords | "climate" and "jobs" | Emerald | The Muse, Adzuna, JSearch |
| Game Development | 19 include keywords, excludes "casino", "gambling", "sportsbook" and "igaming" | "game dev" and "jobs" | Rose | Remotive, We Work Remotely, JSearch |
| Healthcare & Nursing | 24 include keywords | "healthcare" and "jobs" | Emerald | The Muse, Adzuna, JSearch, Reed |
| Veteran-Friendly & Defense | 17 include keywords | "veteran-friendly" and "jobs" | Amber | The Muse, USAJobs, Adzuna, JSearch |
| Crypto & Web3 | Remote only, 19 include keywords | "web3" and "jobs" | Amber | Remotive, We Work Remotely, Remote OK, JSearch |
| Design & UX | 18 include keywords | "design" and "jobs" | Rose | Remotive, The Muse, We Work Remotely |
| Data & Analytics | 18 include keywords | "data" and "jobs" | Vivid Indigo | Remotive, The Muse, Adzuna |
| Skills-First Tech | 31 include keywords | "tech" and "jobs" | Emerald | Remotive, We Work Remotely, Remote OK, Arbeitnow, The Muse |
Each tile also supplies a description of the site, a page title, a homepage headline and, for every tile but Custom board, a starter list of roles. Adzuna, JSearch, USAJobs and Reed need a free key of their own, so they are suggested and not ticked for you.
Step 3: AI#
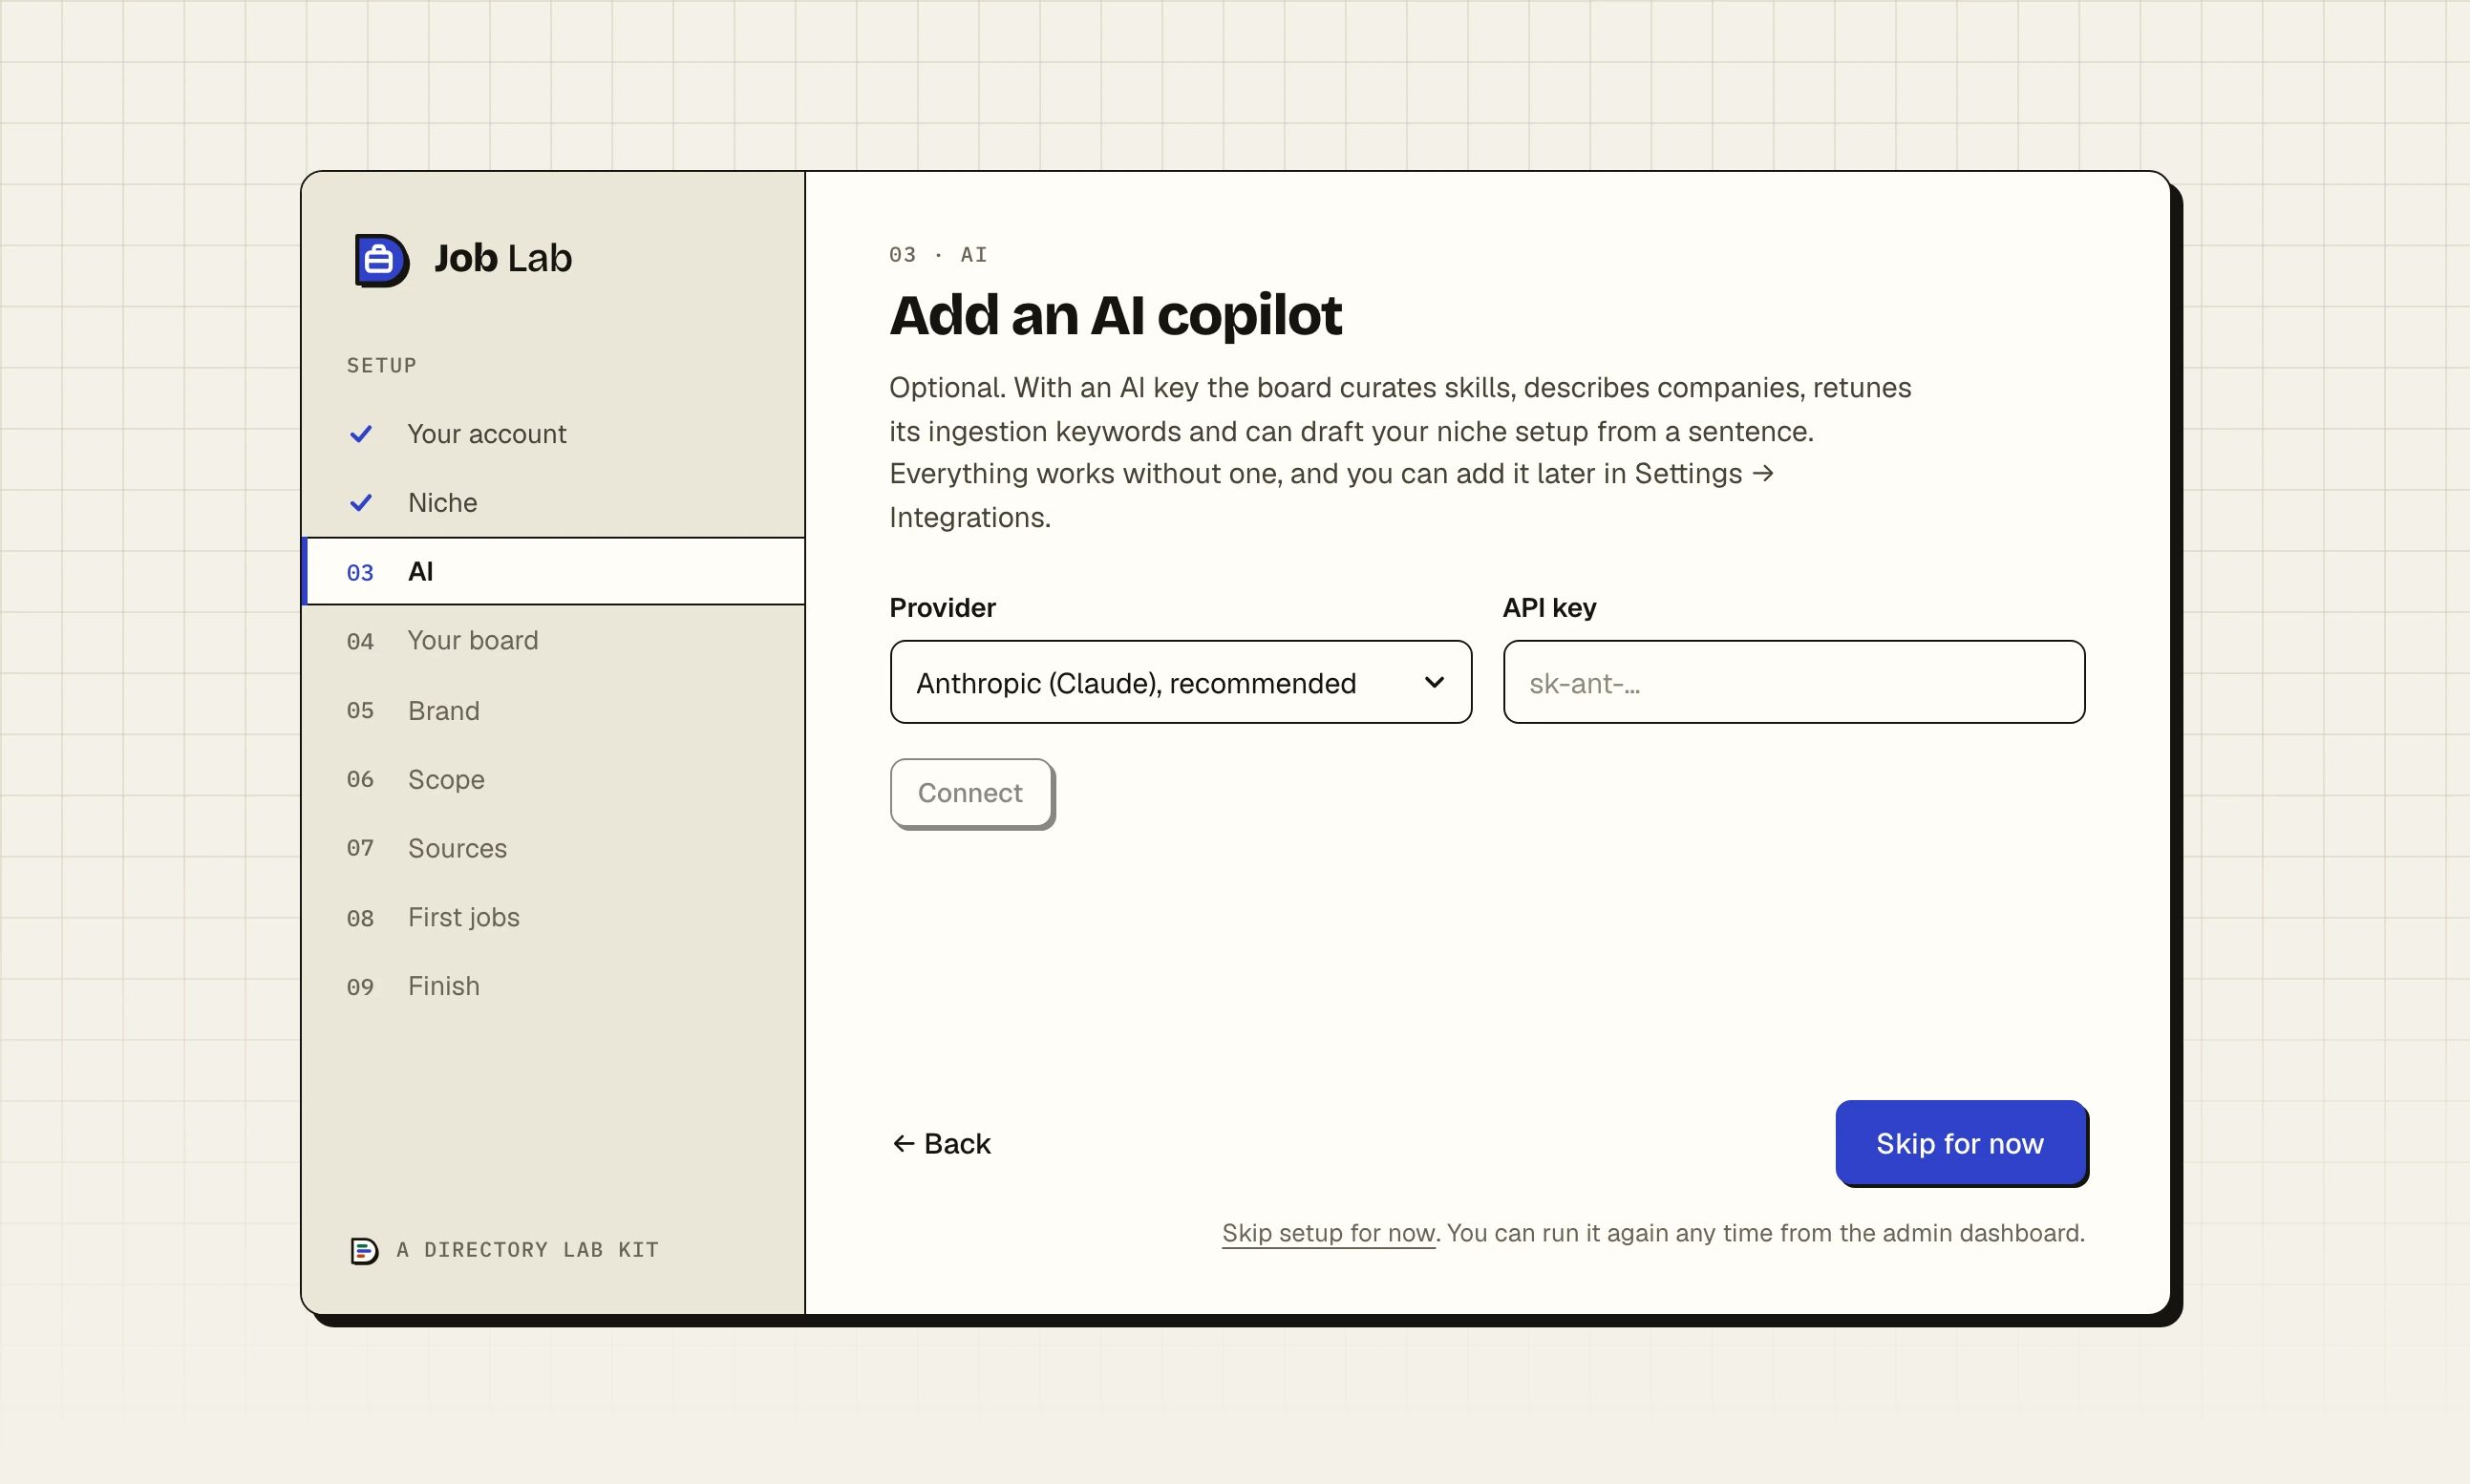
Headed "Add an AI copilot". This step is optional. The button at the bottom reads Skip for now until a key is connected.
Step 1: Get a key
For Anthropic, create one at console.anthropic.com/settings/keys. It starts with
sk-ant-. For OpenAI, create one at platform.openai.com/api-keys. It starts withsk-. Ollama runs on a computer of your own and has no key.Step 2: Choose the provider and paste the key
Provider offers "Anthropic (Claude), recommended", "OpenAI" and "Ollama (self-hosted)". Paste the key into API key. For Ollama the box is Ollama URL and starts as
http://localhost:11434.Step 3: Click Connect
The key is saved at once and you see "AI connected". The wizard does not try the key against the provider, so this means saved and no more.
Step 4: Let it draft your niche, if you like
A box appears, Describe your board and let AI draft the setup, already holding a sentence from the tile you picked. Edit it and click Suggest keywords and wording. You see "Applied. Review the keywords and wording in the next steps." A key that does not work shows here, as "AI suggestion unavailable. Your starter pack values are kept."
A suggestion replaces the scope keywords, the remote-only switch, the two words for the search pages and the homepage headline with its own. Nothing is saved until you press Continue on those steps.
The key is kept under Settings, then Integrations & Secrets, where it also has a Test connection button. AI: providers, curation and cost covers what the board does with it and what it costs.
Step 4: Your board#
Headed "Name your board".
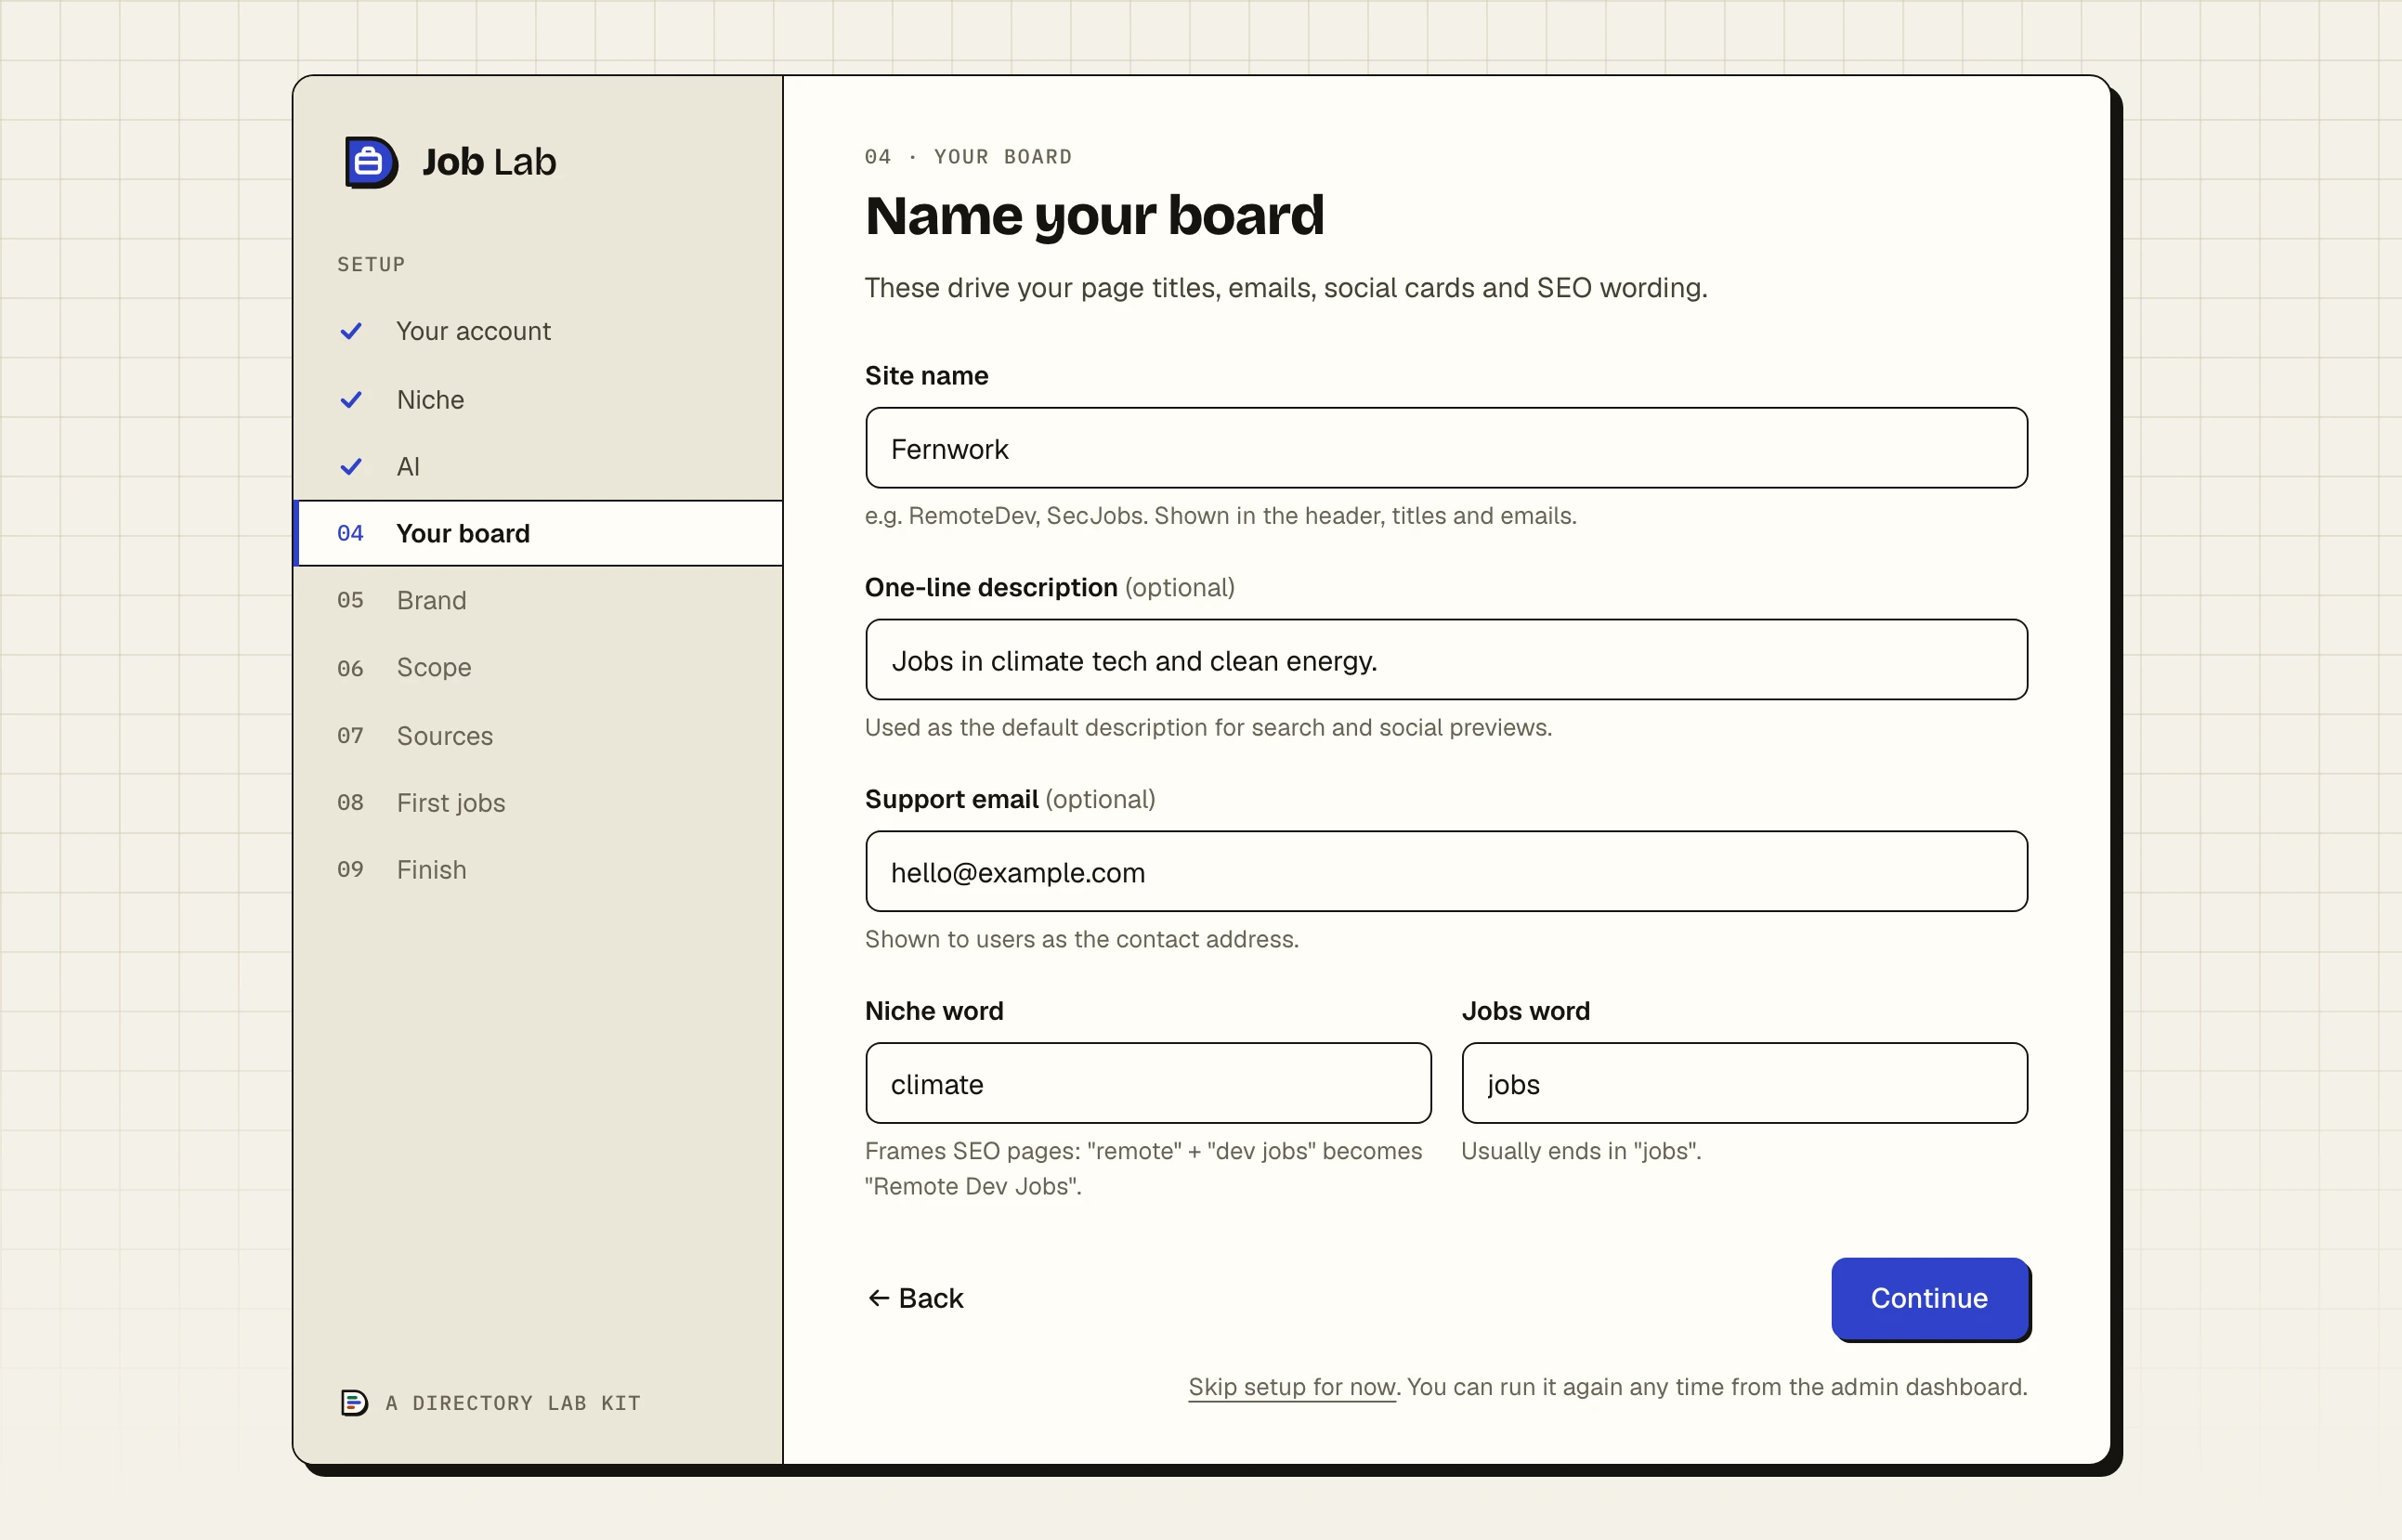
Site name: required, up to 60 characters. Shown in the header, page titles and emails.
One-line description (optional): the description search engines and social previews use for pages that have none of their own. Left empty, the tile's description is used.
Support email (optional): shown to visitors as the contact address, and where you are told about paid advertising orders.
Niche word and Jobs word: together they frame the search pages. "remote" and "dev jobs" make "Remote Dev Jobs".
Continue saves the site name, the description, the support email and the two words. It also sets the page title pattern to %s | Your Site Name and the default page title to your site name followed by the tile's title, for example "Fernwork — Climate & Clean Energy Jobs". On a first run it switches search-engine indexing off: see Search engines are kept out.
| To change later | Open |
|---|---|
| Site name, titles, description | SEO, then Settings |
| Support email | Settings, then General, Support Email |
| The two words | SEO, then Generation, under Niche framing |
Step 5: Brand#
Headed "Choose a colour and a look". This is the look of your board, not of the wizard.
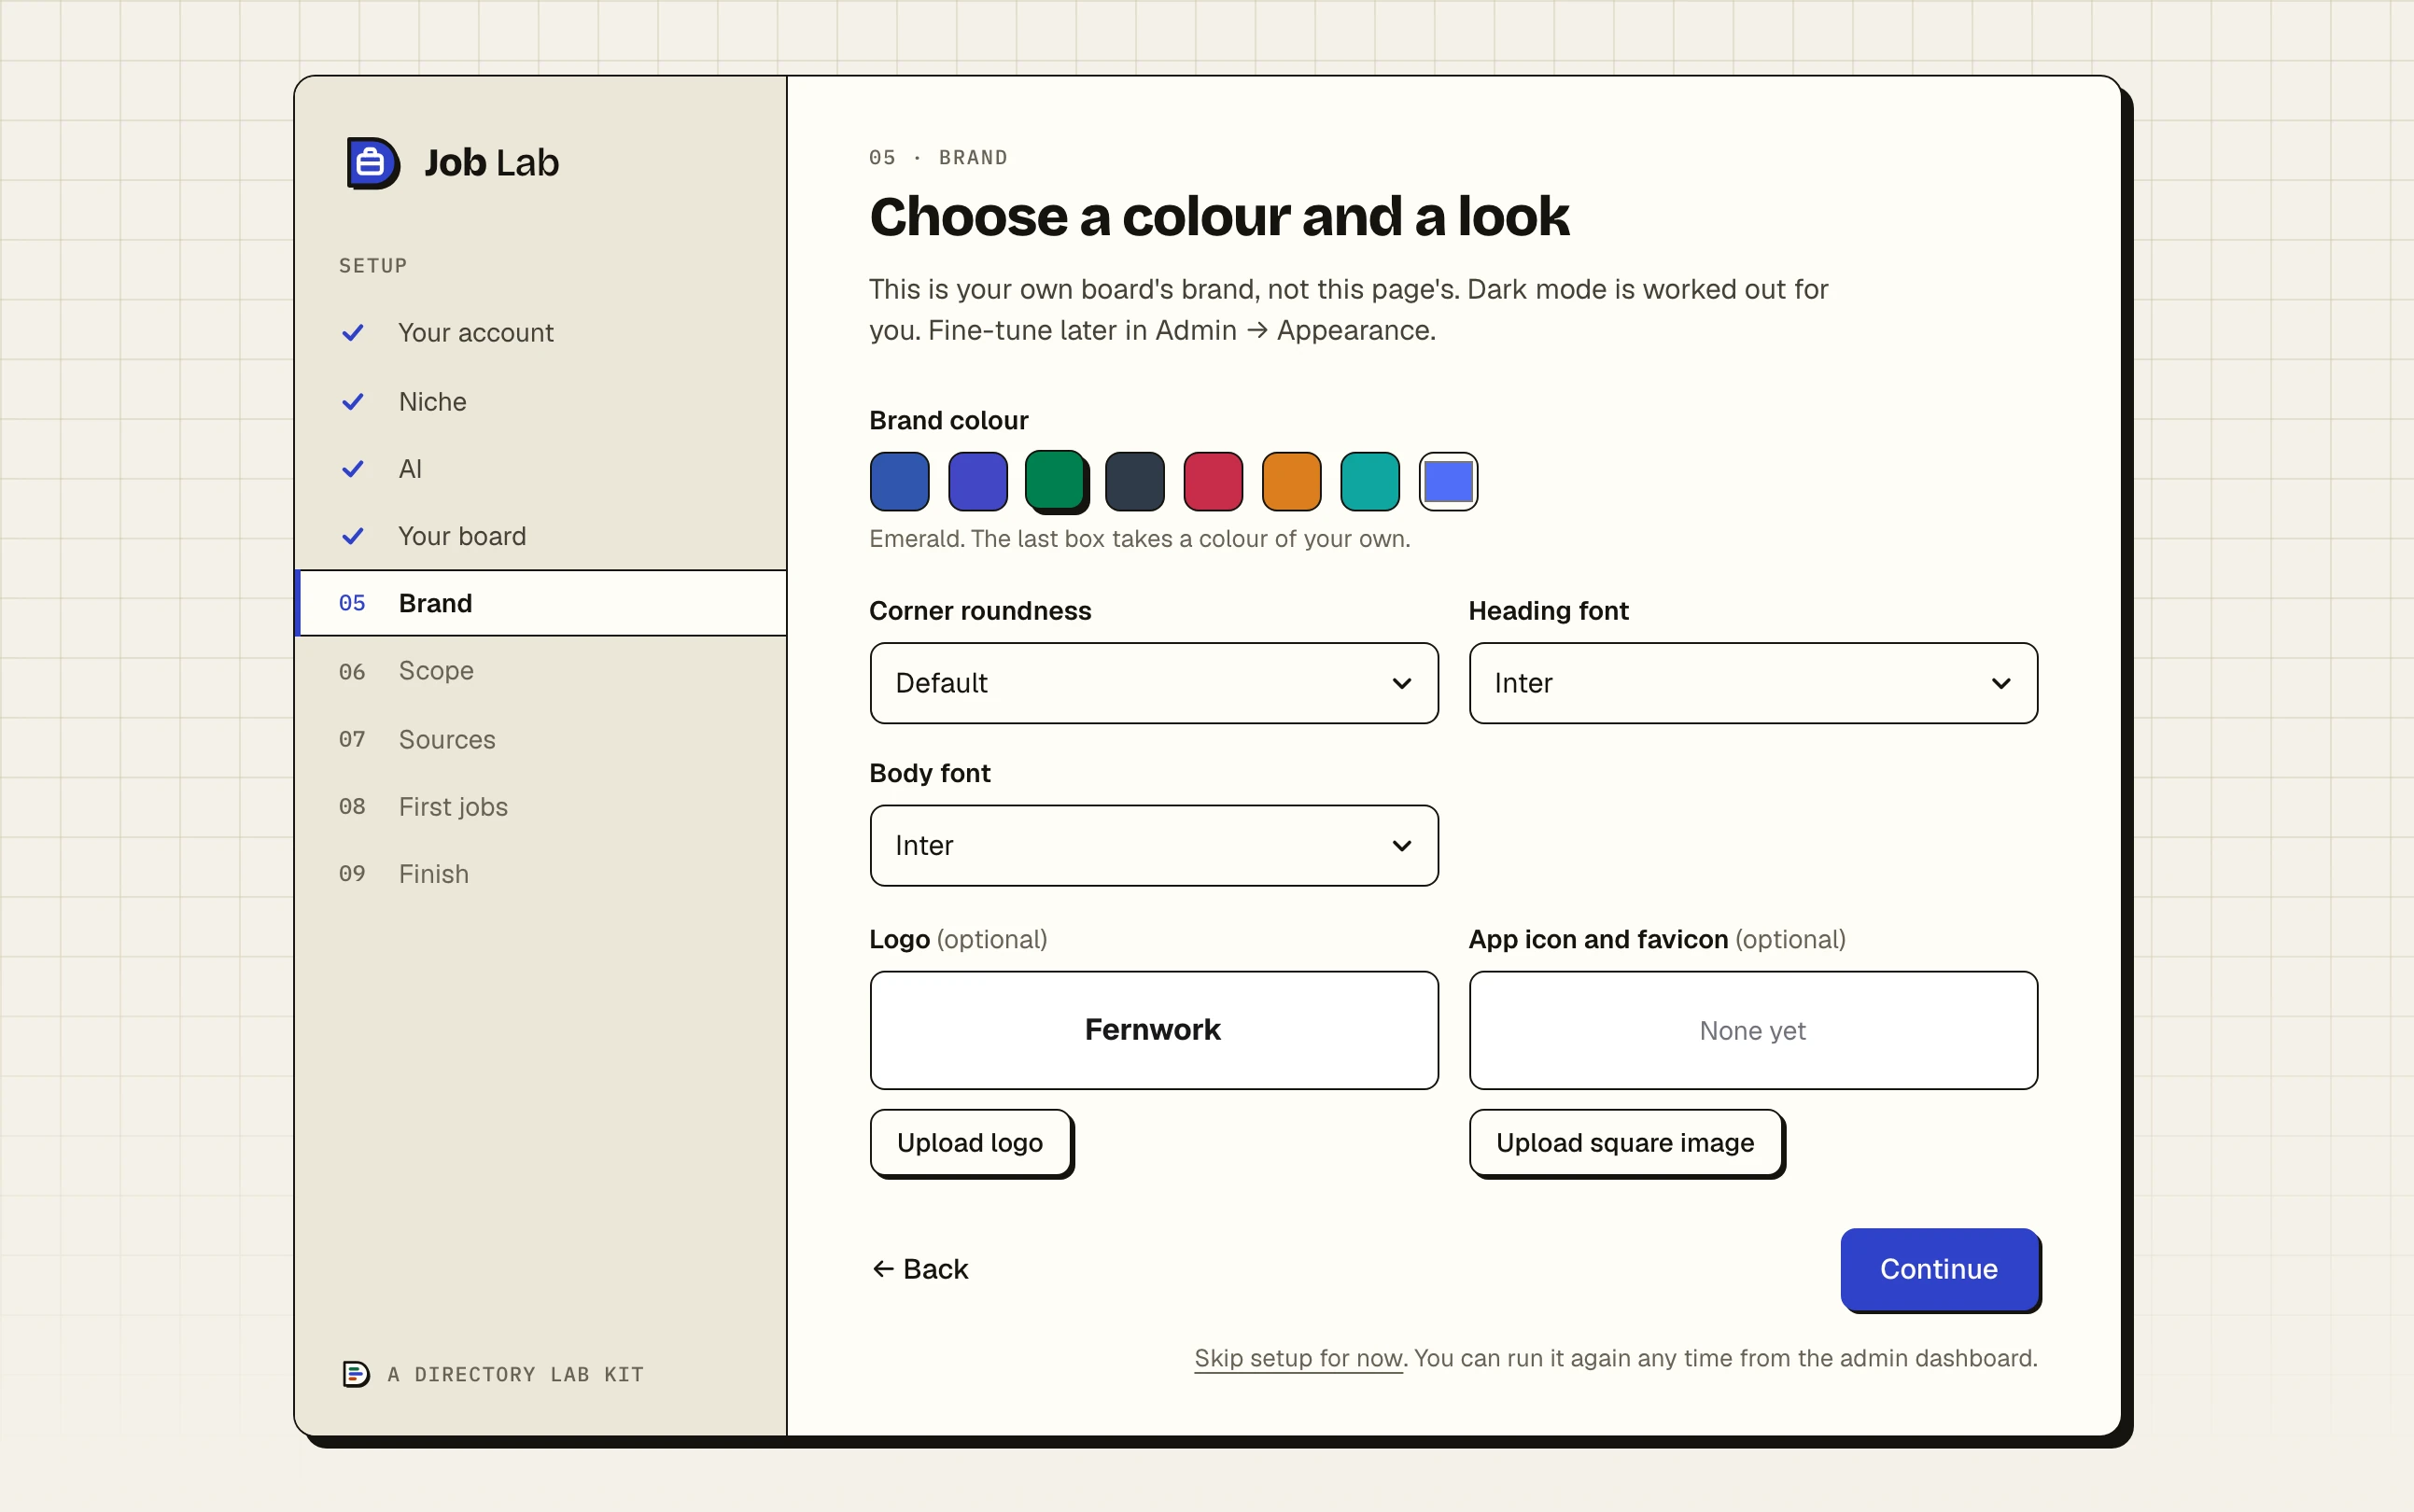
Brand colour: seven swatches, which are Default (Indigo), Vivid Indigo, Emerald, Slate Mono, Rose, Amber and Teal. The last box takes a colour of your own.
Corner roundness: Square, SM, Default, LG or XL.
Heading font and Body font: 26 fonts in each list.
Logo (optional): click Upload logo. An image file up to 5 MB, which is shrunk to fit 600 by 120 pixels.
App icon and favicon (optional): click Upload square image. The browser tab icon and the two app icons are made from it.
Continue saves the colour, the roundness and the fonts, with dark mode worked out from your colour. The logo and icons are saved only if you uploaded one. Fine-tune all of it under Appearance, in Theme & Fonts and Branding. Make it your niche covers both.
Step 6: Scope#
Headed "Which jobs belong on this board?". The scope is a filter that every incoming job has to pass.
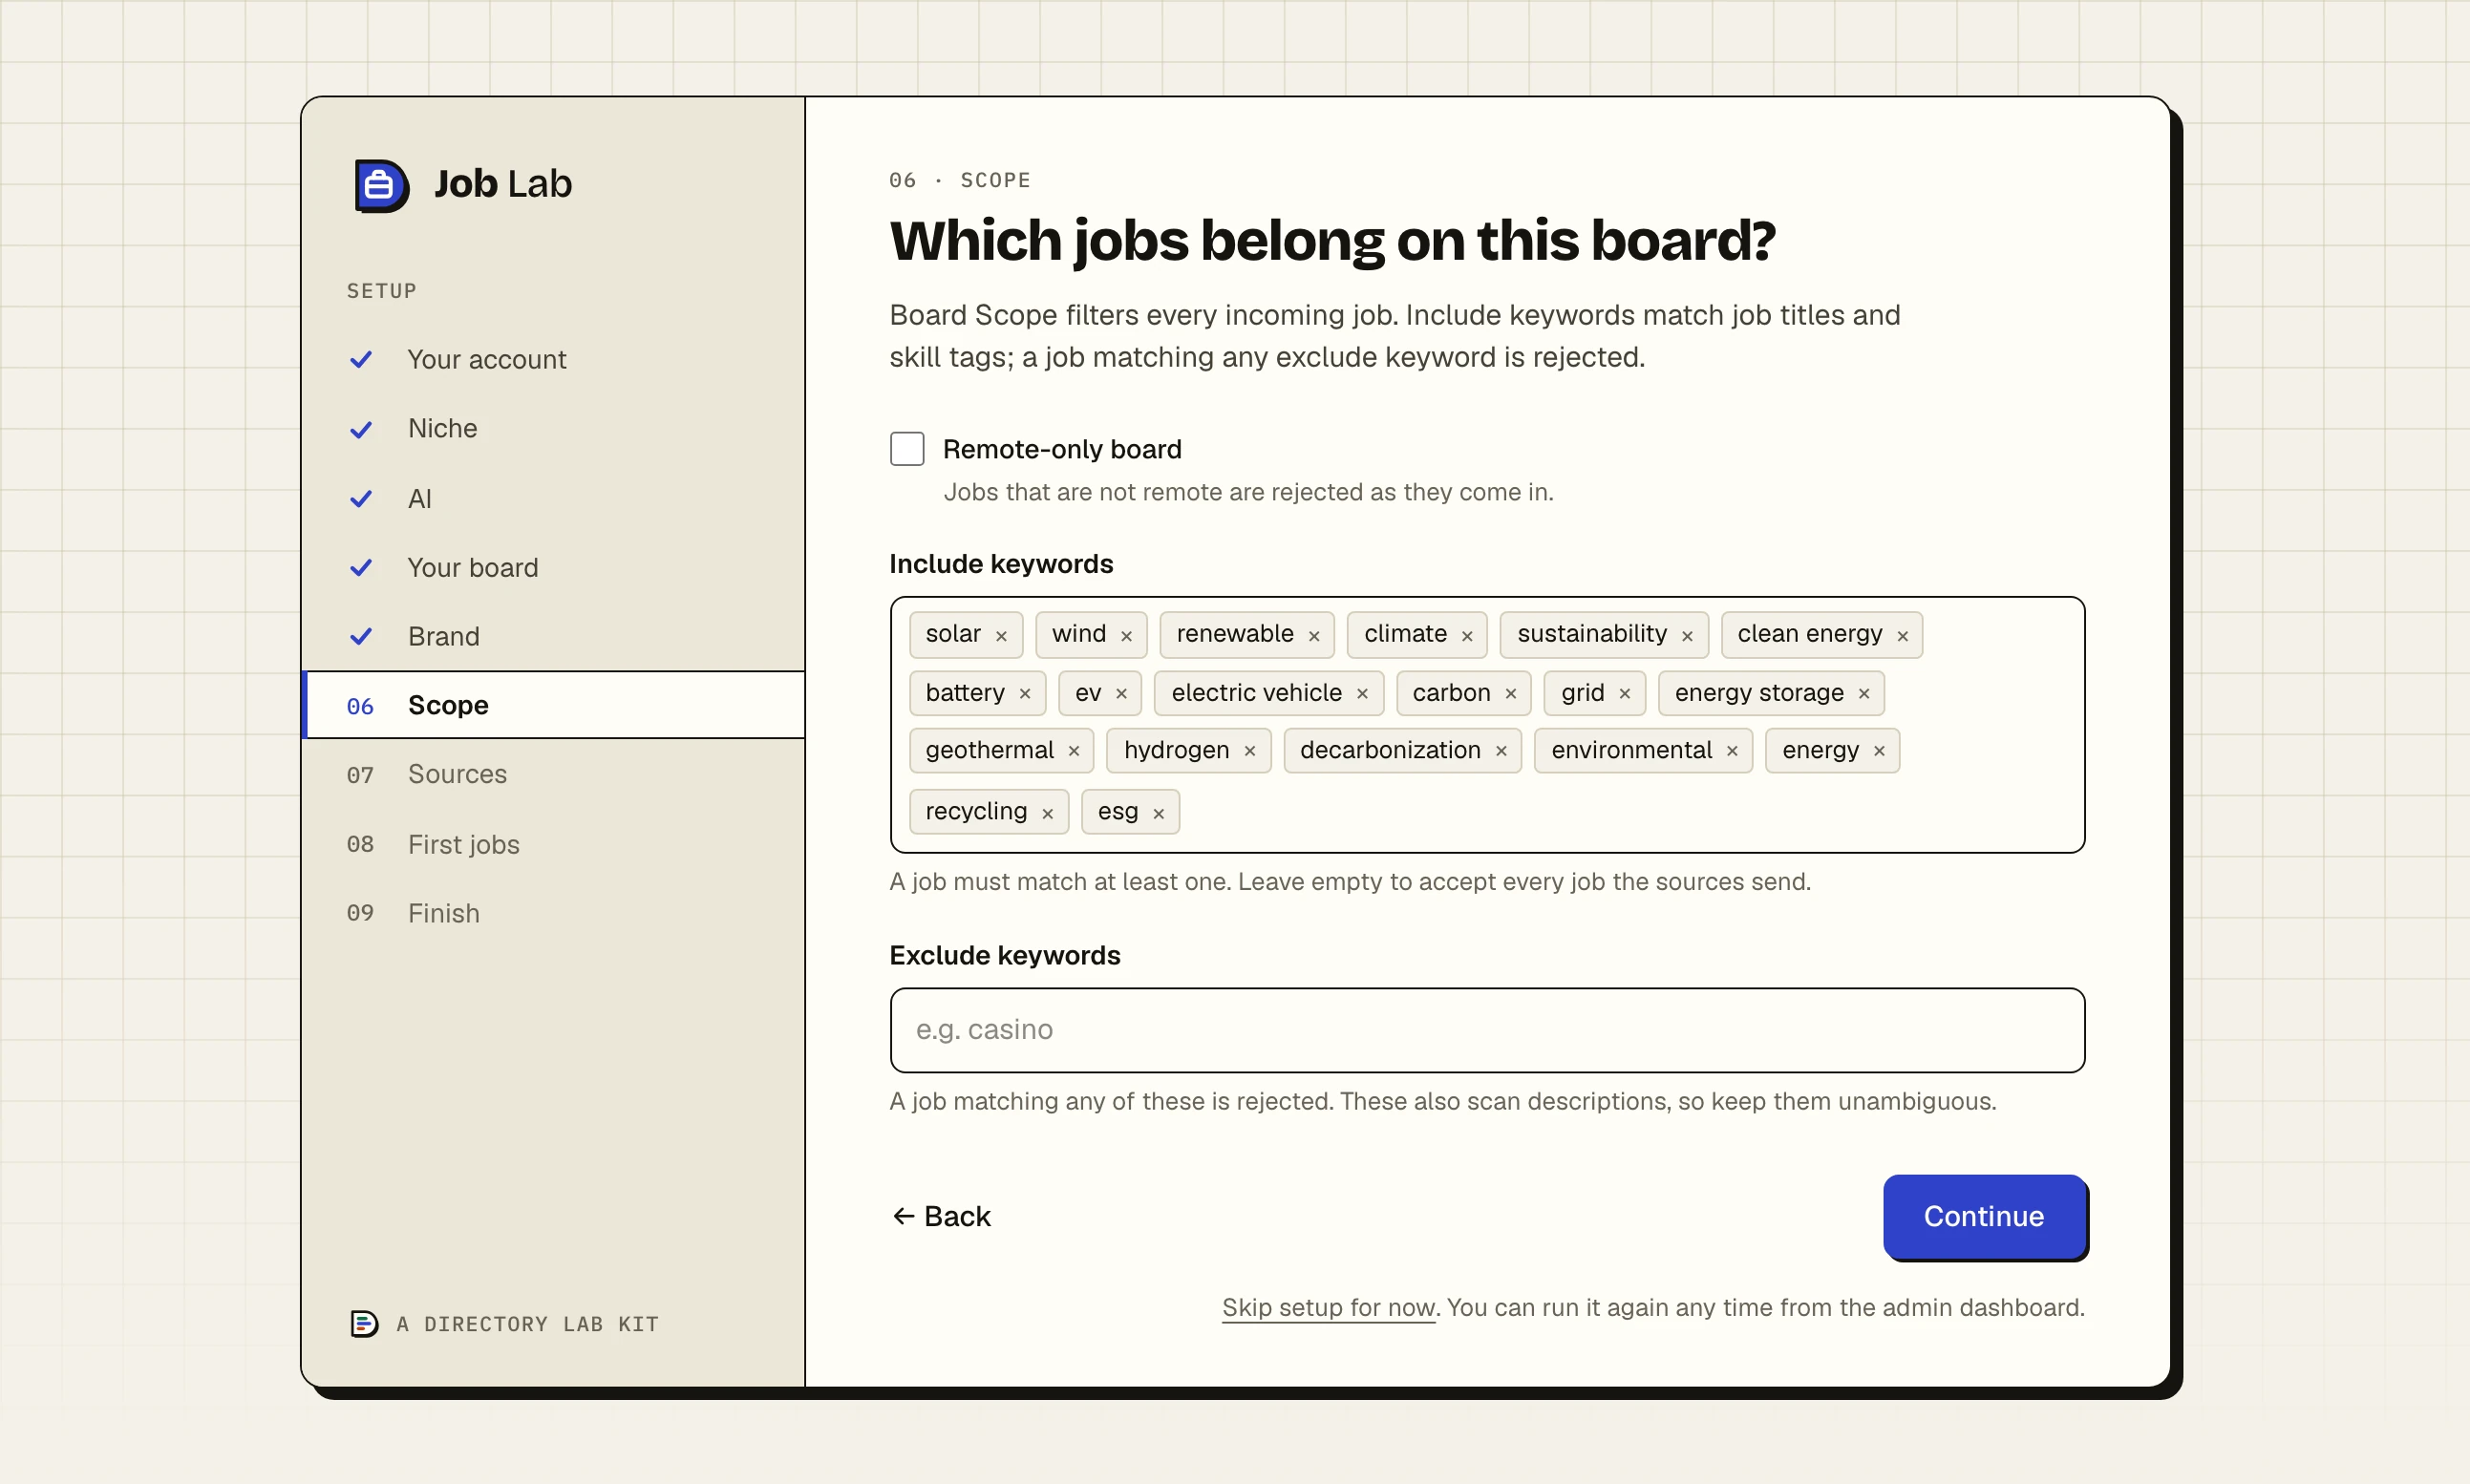
Remote-only board: jobs that are not remote are rejected as they come in.
Include keywords: a job must match at least one, in its title or its skill tags. Leave the box empty to accept every job the sources send.
Exclude keywords: a job matching any of these is rejected. These look in the description as well, so use words that could not turn up by accident.
Type a keyword and press Enter or a comma to add it. Each list takes up to 50. Keywords match whole words only, so "qa" does not match "Qatar".
Continue saves the three as your Board Scope, which is under Ingestion in the admin. Board scope and the raw jobs queue explains how to tune it.
Step 7: Sources#
Headed "Where should jobs come from?".
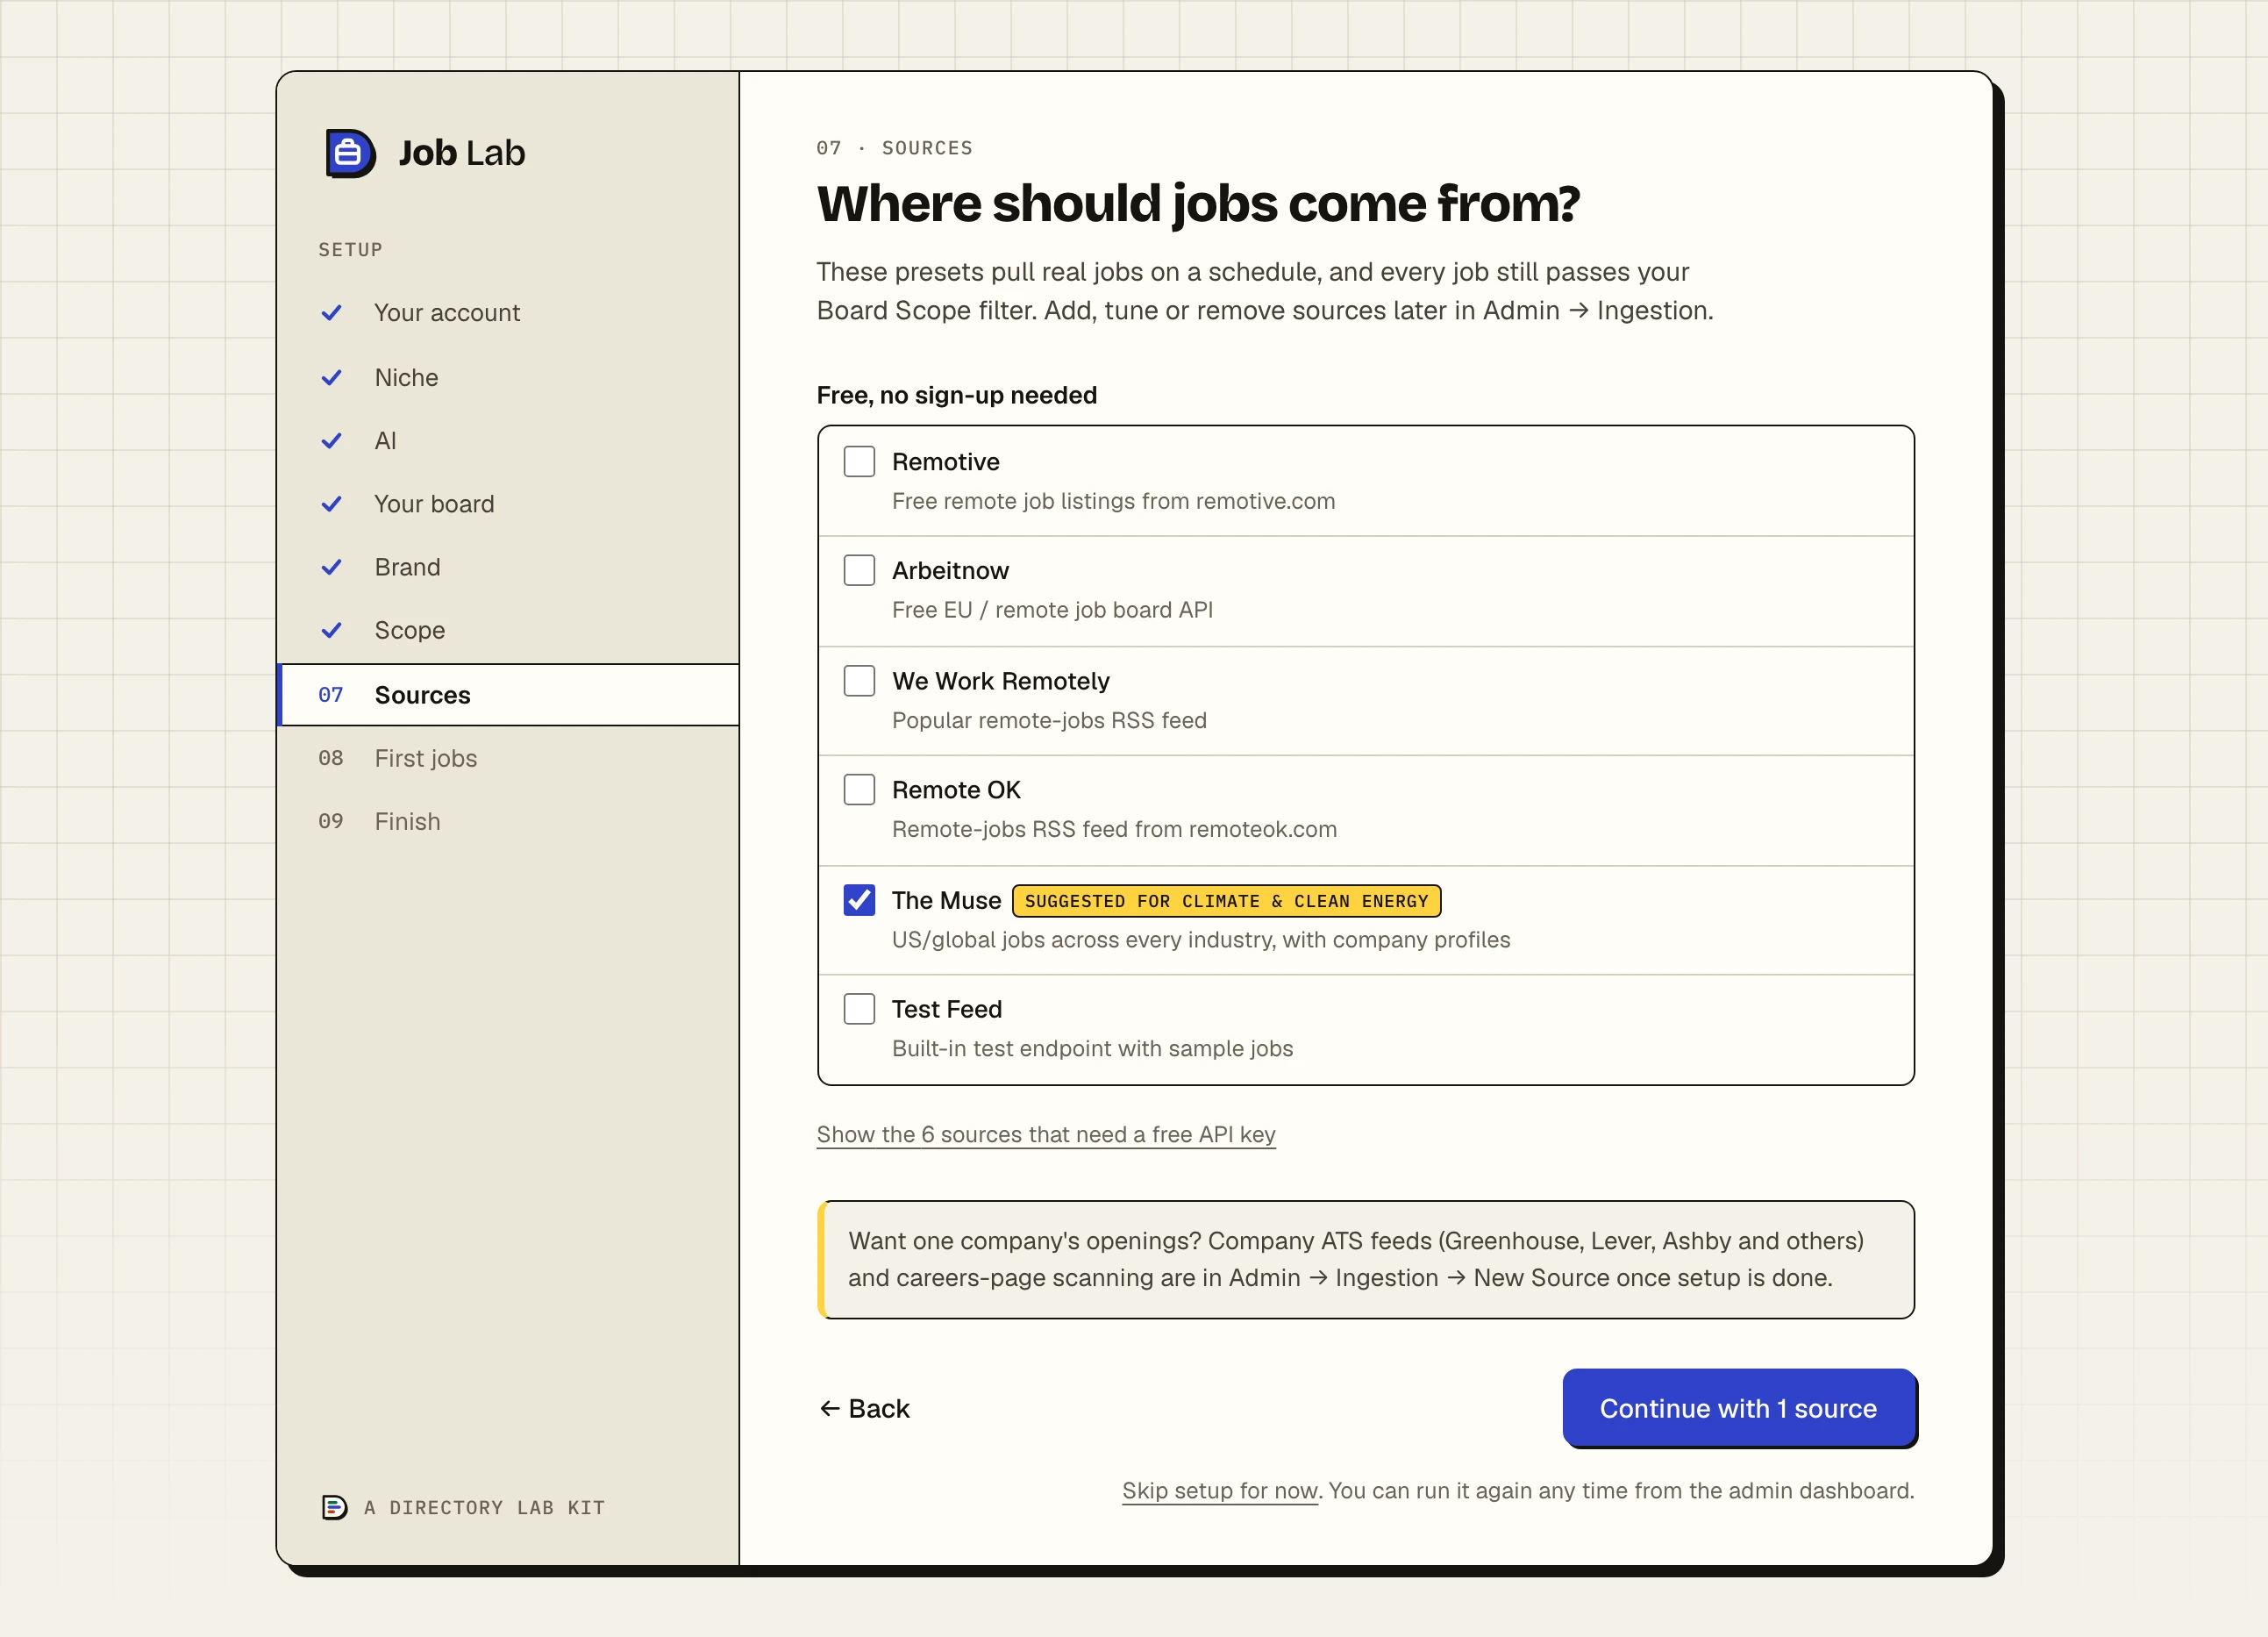
Free, no sign-up needed lists Remotive, Arbeitnow, We Work Remotely, Remote OK, The Muse and Test Feed. The free sources your tile suggests are ticked already and marked "Suggested for" with the tile's name.
Show the 6 sources that need a free API key opens Adzuna, Reed, JSearch (RapidAPI), USAJobs, Jooble and Careerjet. Tick one and a box for its key appears, with a line saying where the key comes from. Adzuna has two boxes, App ID and App Key.
The button counts your ticks, for example Continue with 1 source. With none it reads Continue without sources.
Feeds from one company's hiring system are not in this list. See Add job sources and Company career pages and ATS feeds.
Step 8: First jobs#
The step starts work as soon as it opens, under the heading "Pulling in your first jobs". It creates each source you ticked, set to fetch every six hours, then fetches them one after another and runs every job through the scope filter, the duplicate check, location parsing and skill matching.
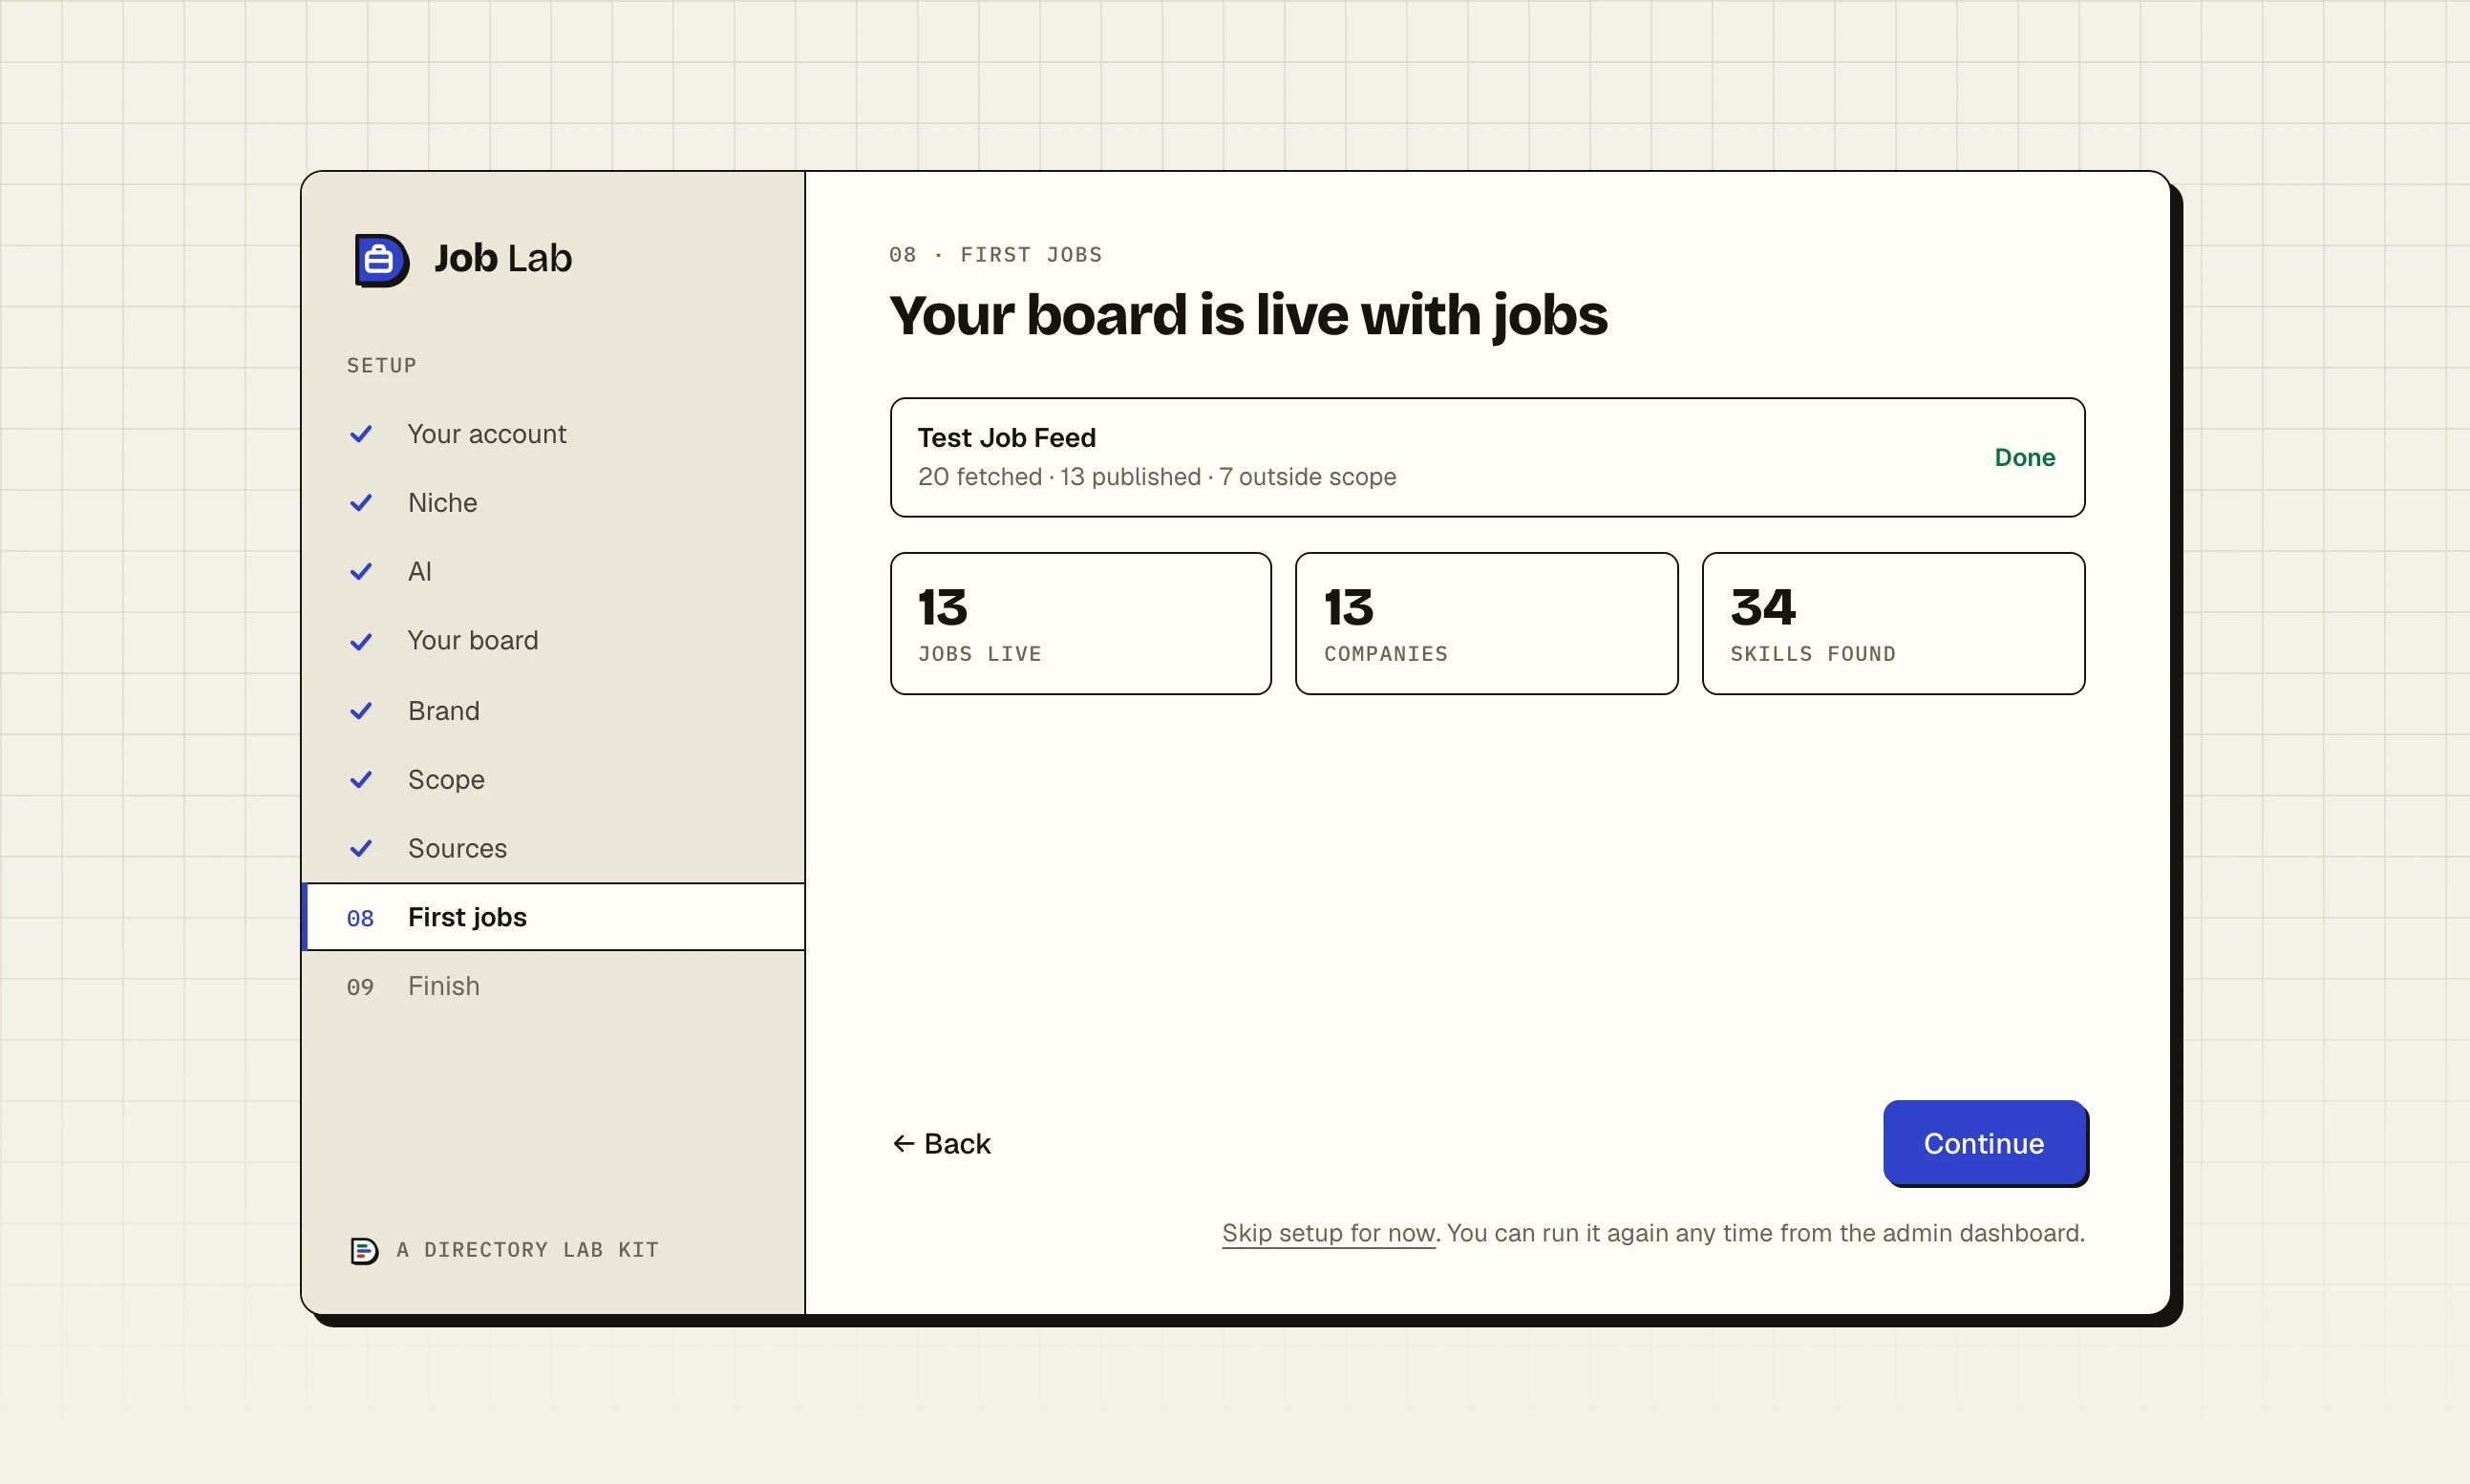
Each source has a status: Waiting, Creating, Fetching, Processing, then Done or Failed.
Under its name is the count, for example "20 fetched · 13 published · 7 outside scope". Duplicates and errors are added to the line when there are any.
When all are finished the heading changes to "Your board is live with jobs", above three totals for the whole board: jobs live, companies and skills found. The heading reads the same when nothing was published, so read the totals.
If nothing got through you see "No jobs made it through. Usually the Board Scope keywords are too narrow for these sources." Click ← Back twice to loosen the scope, or carry on and tune it later.
With an AI key connected, a Polish skills button offers to tidy the names, groups and descriptions of the skills found. It takes about a minute and can be done later from Skills under Job Board.
The sources are now under Ingestion, then Sources. If you continued with at least one source, the tile's starter roles are under Job Board, then Roles.
Step 9: Finish#
Headed "Your homepage headline". How it will look shows the headline as you type.
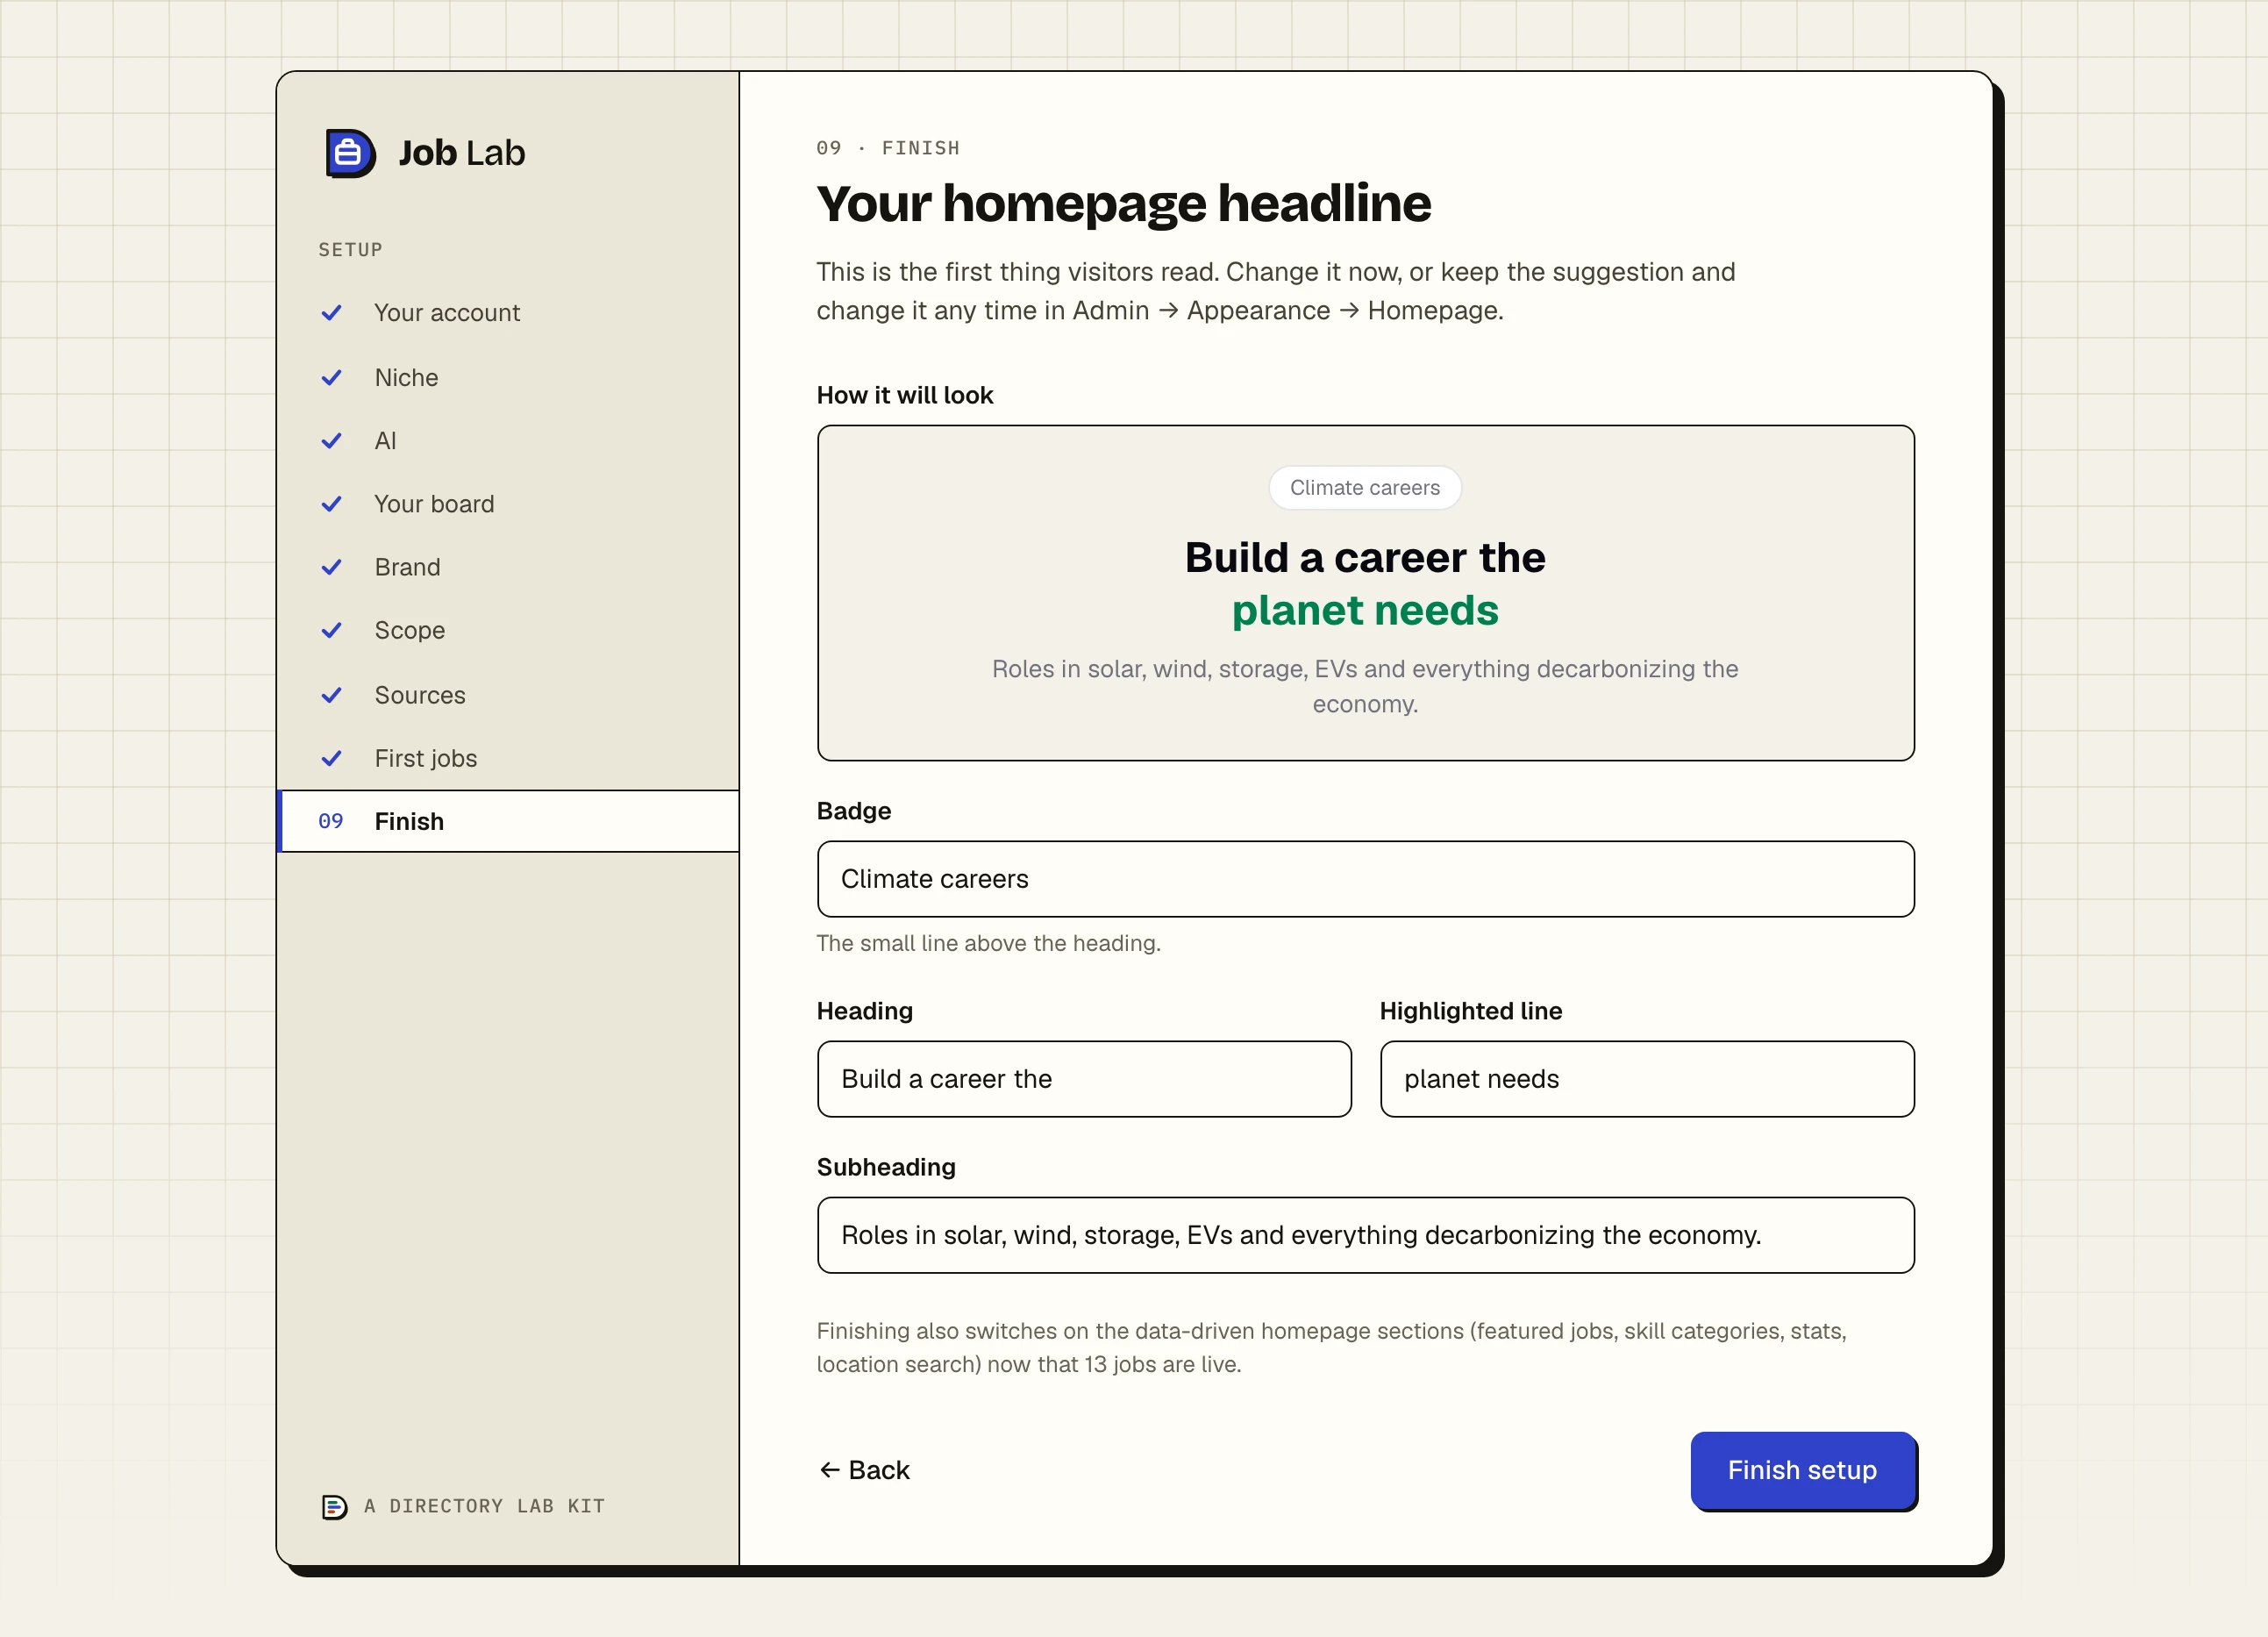
Badge: the small line above the heading.
Heading: required.
Highlighted line: the second line of the heading, drawn in your brand colour.
Subheading: the sentence underneath.
Click Finish setup. This saves the headline to the Hero section of your home page. If the board has at least one published job it also switches on the home page sections that are drawn from live data: featured jobs, skill categories, stats and location search. Change any of it under Appearance, then Homepage.
The last screen is headed with your site's name and "is ready".
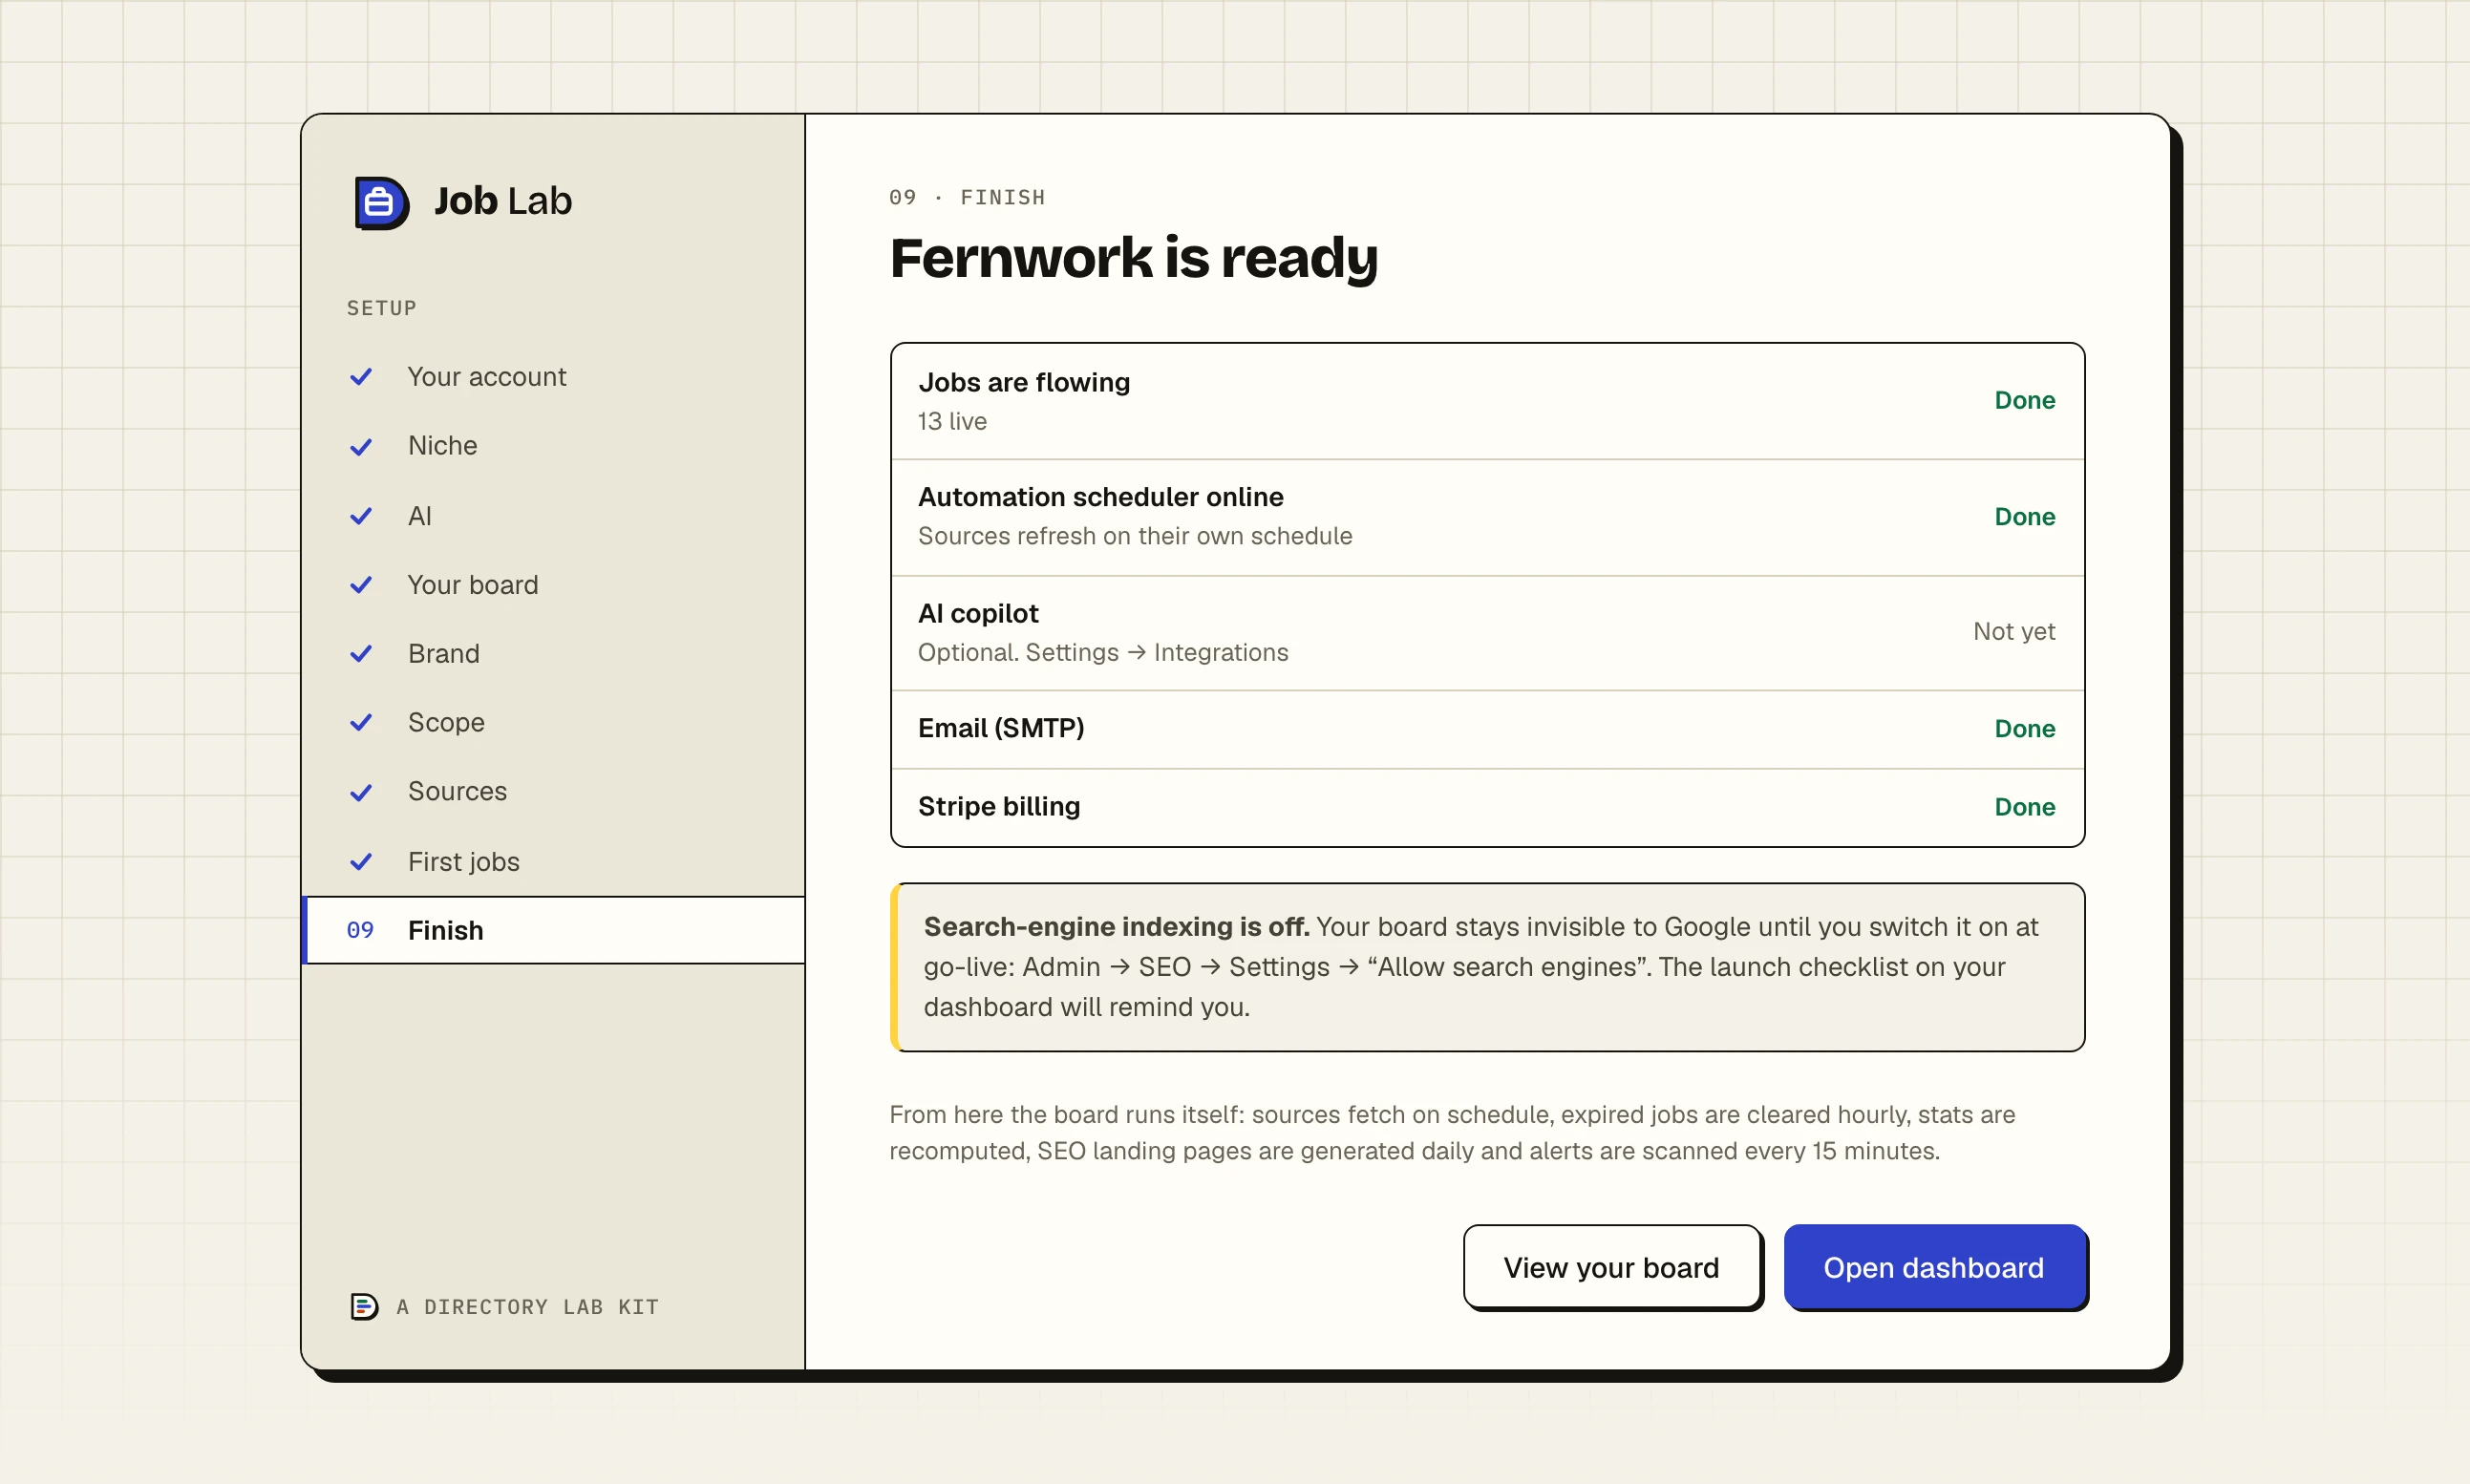
It lists five things as Done or Not yet: Jobs are flowing, Automation scheduler online, AI copilot, Email (SMTP) and Stripe billing. View your board opens the home page and Open dashboard opens the admin, where a Launch checklist now sits on the Control Panel. A tour of the admin goes through it.
Search engines are kept out#
The first time Your board is saved, the wizard switches off Allow search engines to index this site. Every page then carries a "do not index" mark and the site's robots.txt tells all crawlers to stay out, so a half-built board is not listed.
Switch it on when the board is ready: SEO, then Settings. SEO: landing pages, indexing and Search Console covers it. The first line of the Launch checklist, "Turn on search-engine indexing at go-live", stays open until you do.
Running the wizard again#
Step 1: Open Setup Wizard under Settings
The Re-run setup wizard link on the Launch checklist goes to the same place. The wizard opens at step 2. If it has been finished before, a note reads "You are running setup again. Saving a step overwrites that setting; everything else, search-engine indexing included, is left as it is."
Step 2: Leave your tile alone, unless you want its values back
Your tile is still selected and the later steps hold what is saved now. Clicking any tile, the selected one included, puts that tile's keywords, wording and headline back into the later steps.
Step 3: Press Continue only as far as you need
Every Continue saves the step in front of you. Stop when you have changed what you came for: there is no need to reach the end, and closing the page loses nothing that was saved.
What each step overwrites on a second run:
| Step | What is overwritten |
|---|---|
| AI | The provider and key, and only if you click Connect. |
| Your board | Site name, page title pattern, default page title, description, support email and the two words. Indexing is left alone. |
| Brand | Colour, roundness and fonts. Single colours you adjusted in Theme & Fonts go back to the palette's own, and dark mode goes back to automatic. |
| Scope | The remote-only switch and both keyword lists. Keywords the board added by itself are kept. |
| Sources and First jobs | Nothing. A new tick adds a source. A source you already have is ticked and marked "Already added", and is fetched again. Unticking it does not delete it. |
| Finish | The headline, if you edited it. The four data sections of the home page are switched on again, including any you had switched off. |
The wizard says "An admin account already exists — sign in instead."
Someone has already created the admin. Sign in with that account. If the account is not yours and the site is on your own computer, start again from nothing.
Can I add a second admin from the wizard?
No. Step 1 works once. The second person registers on the site and you change their role under All Users: see A tour of the admin.
A source says "needs its API credentials. Fill them in or untick it."
You ticked a source that needs a key and left its box empty. Paste the key, or untick the source and add it later from the admin.
A source shows Failed
The message under its name says why. The same error is in Logs under Ingestion. The other sources carry on, and you can press Continue.
I skipped setup. How do I get back?
Open Setup Wizard under Settings. A skipped wizard counts as a first run, so saving Your board switches search-engine indexing off: check SEO, then Settings afterwards if the board is already public.
Stuck on a step? Send a message.