Sell leads
Take quote requests from the public and sell access to them, city by city. What customers, business owners and you each see, and what approving a request sets off.
Updated 8 Oct 2026 · written for Local Lab 1.2.1
On this page
Open Leads under Quick Actions to see the quote requests your visitors have sent and the businesses paying to receive them. A customer asks for a quote and you approve it. The businesses subscribed to that city are then emailed the customer's details. A business pays a monthly price for each city it subscribes to.
You need Stripe connected first, and email working: every hand-off in this system is an email.
Switch it on and set the price#
Step 1: Create the price in Stripe
In Stripe, add a product with one Recurring monthly price and copy the price's ID. It starts with
price_. Create your prices has the clicks. This one price serves every city: a business that picks three cities gets one subscription with a quantity of 3.Step 2: Open the leads settings
Open Site Settings, choose the Revenue tab and scroll to Leads System Settings. Enable Leads System is ticked on a new install.
Step 3: Set the price and the limit
Leads Access Price: the monthly price for one city, 9.00 to begin with. Your site only displays it. Stripe charges what the price in Stripe says, so change both together.
Max Businesses Per City: how many businesses can subscribe to one city, from 1 to 10. It starts at 3, and your public pages quote it: "Get free quotes from up to 3 trusted local professionals".
Leads Currency and Leads Currency Symbol: these start at USD and $.
Step 4: Leave auto-approve off
Keep Auto-Approve Lead Requests unticked. The reason is under Approve a request.
Step 5: Paste in the Stripe price
Under Leads Stripe Configuration, paste the ID into Leads Stripe Price ID.
Step 6: Click Save Settings
The button is at the bottom of the page.
What a customer sees#
The Get Quotes button in the top bar opens /get-a-local-quote.
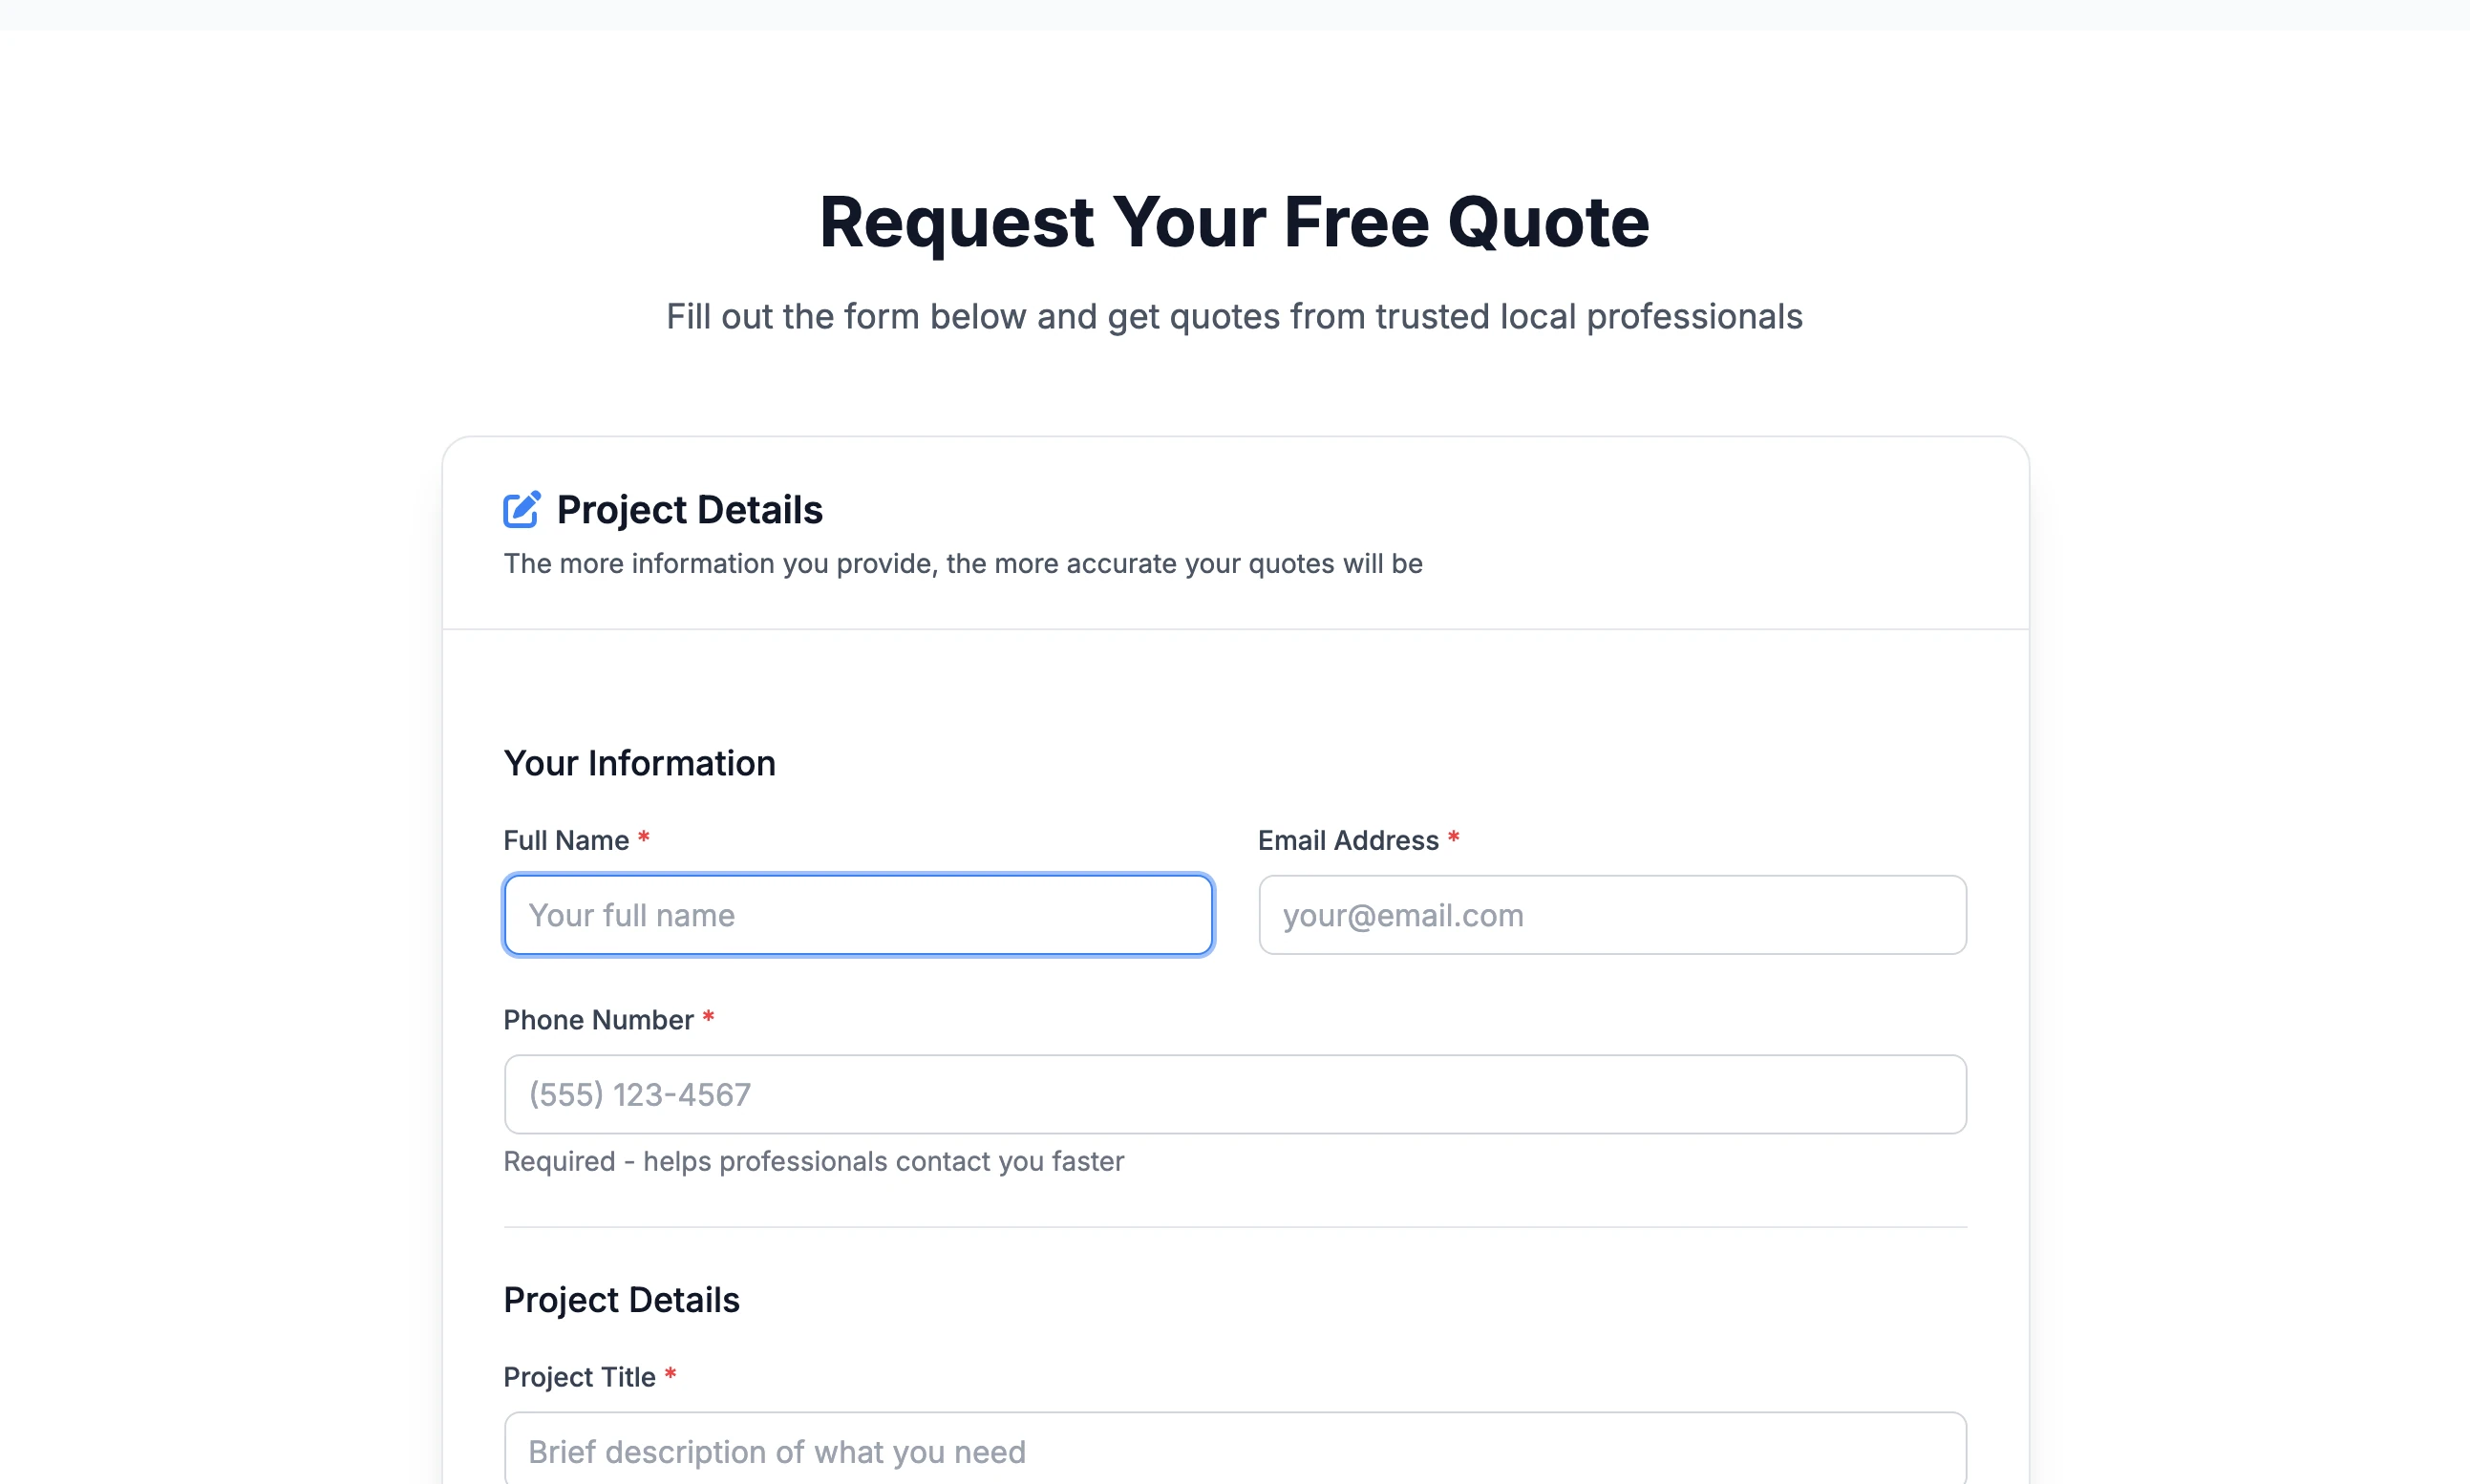
The form needs Full Name, Email Address, Phone Number, Project Title, Detailed Description, Service Category and City. Specific Service, Business Type, the two budget boxes, When do you need this done? and Address/Area are optional.
City lists only cities with at least one live listing.
A visitor who is not signed in gets a Sign Up Required box and must create a free account first.
After sending they are told "Your request is under review and will be processed shortly" and are emailed a confirmation. You are emailed too, at the address your site sends mail from.
The same form is at /request-quote, linked from a customer's own dashboard.
Approve a request#
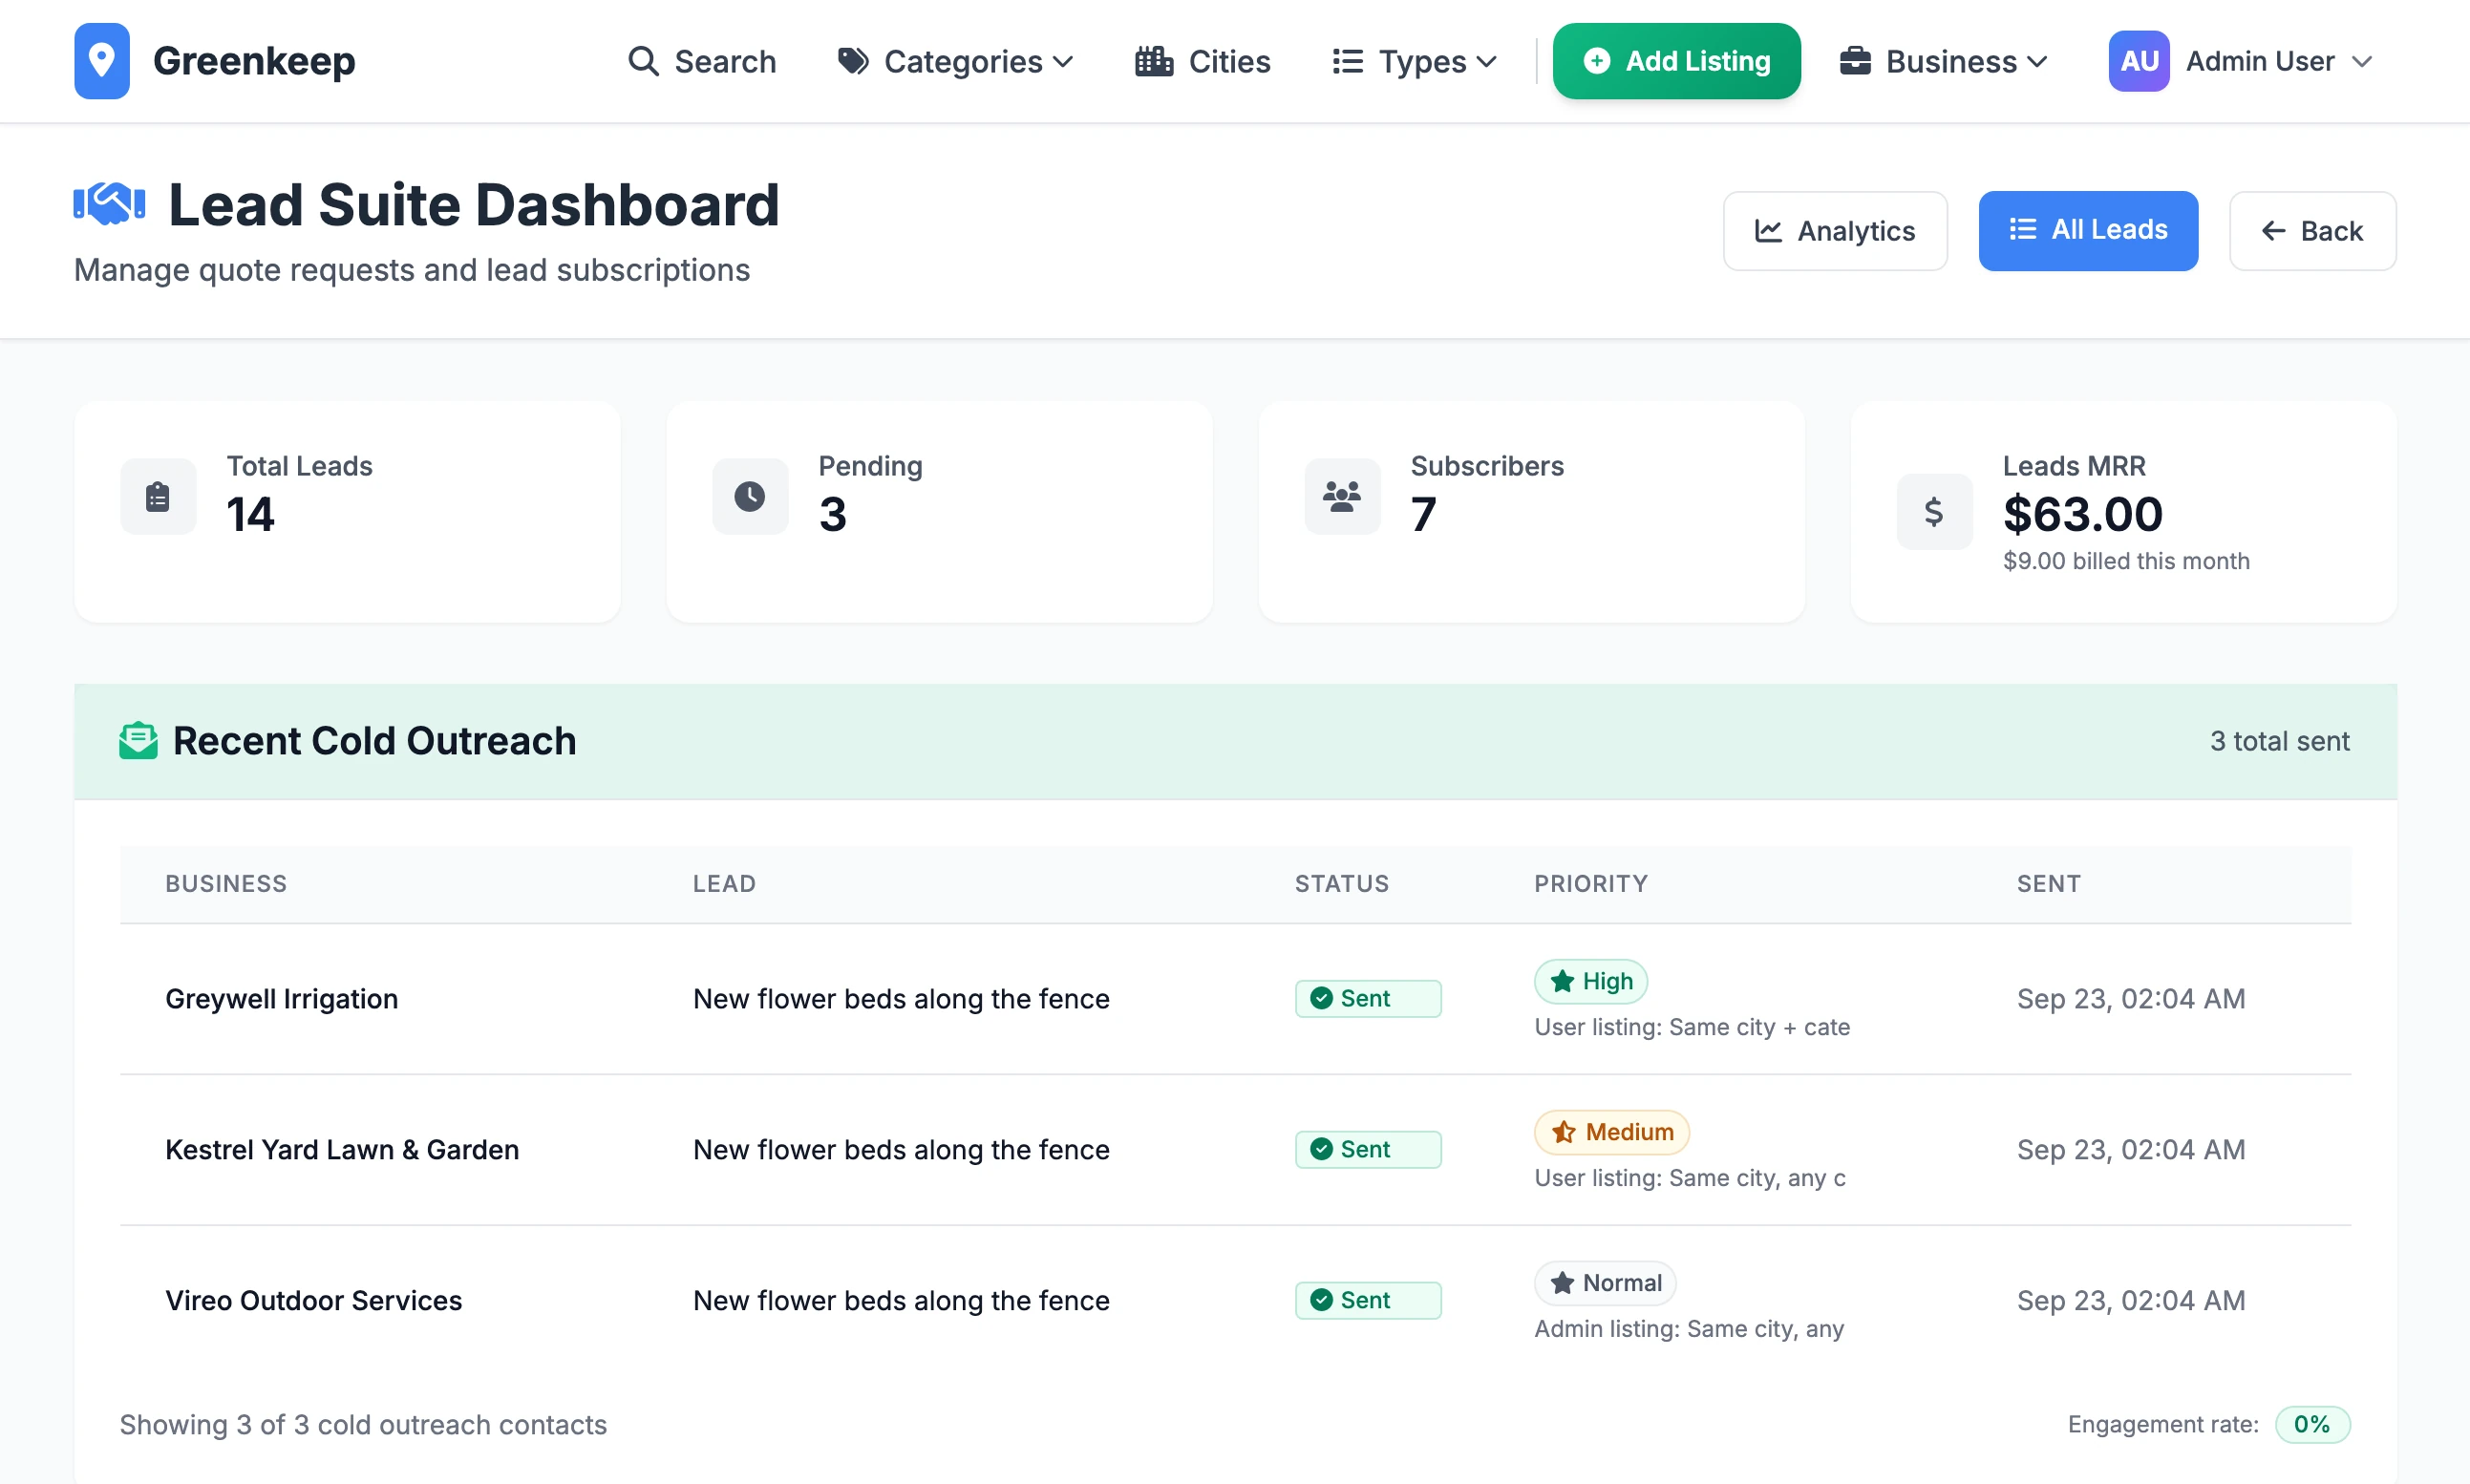
The Leads page has four tiles (Total Leads, Pending, Subscribers and Leads MRR) and a Recent Leads list, where a pending request has View, Approve and Delete. All Leads at the top lists every request, with filters. Analytics breaks the numbers down by status, category and city.
Click Approve and the request becomes Active. Then:
Each business with an active subscription in that city, up to your Max Businesses Per City, is emailed "New Lead Available" with the customer's name, email address and phone number. That includes a subscriber who chose a different category.
The customer is emailed "Your Quote Request is Live" with the names, email addresses and phone numbers of the businesses it went to.
If Telegram is connected, you get a message there. You can also approve from Telegram.
If the city has no subscriber, Local Lab emails up to three listed businesses in that city instead. See cold outreach.
On a request's own page, Cancel turns a pending request down and Mark Complete closes an active one.
What a business owner sees#
An owner clicks Get Leads on their dashboard to open the Leads Suite. Until they subscribe it shows three invented requests, headed Example Leads Preview.
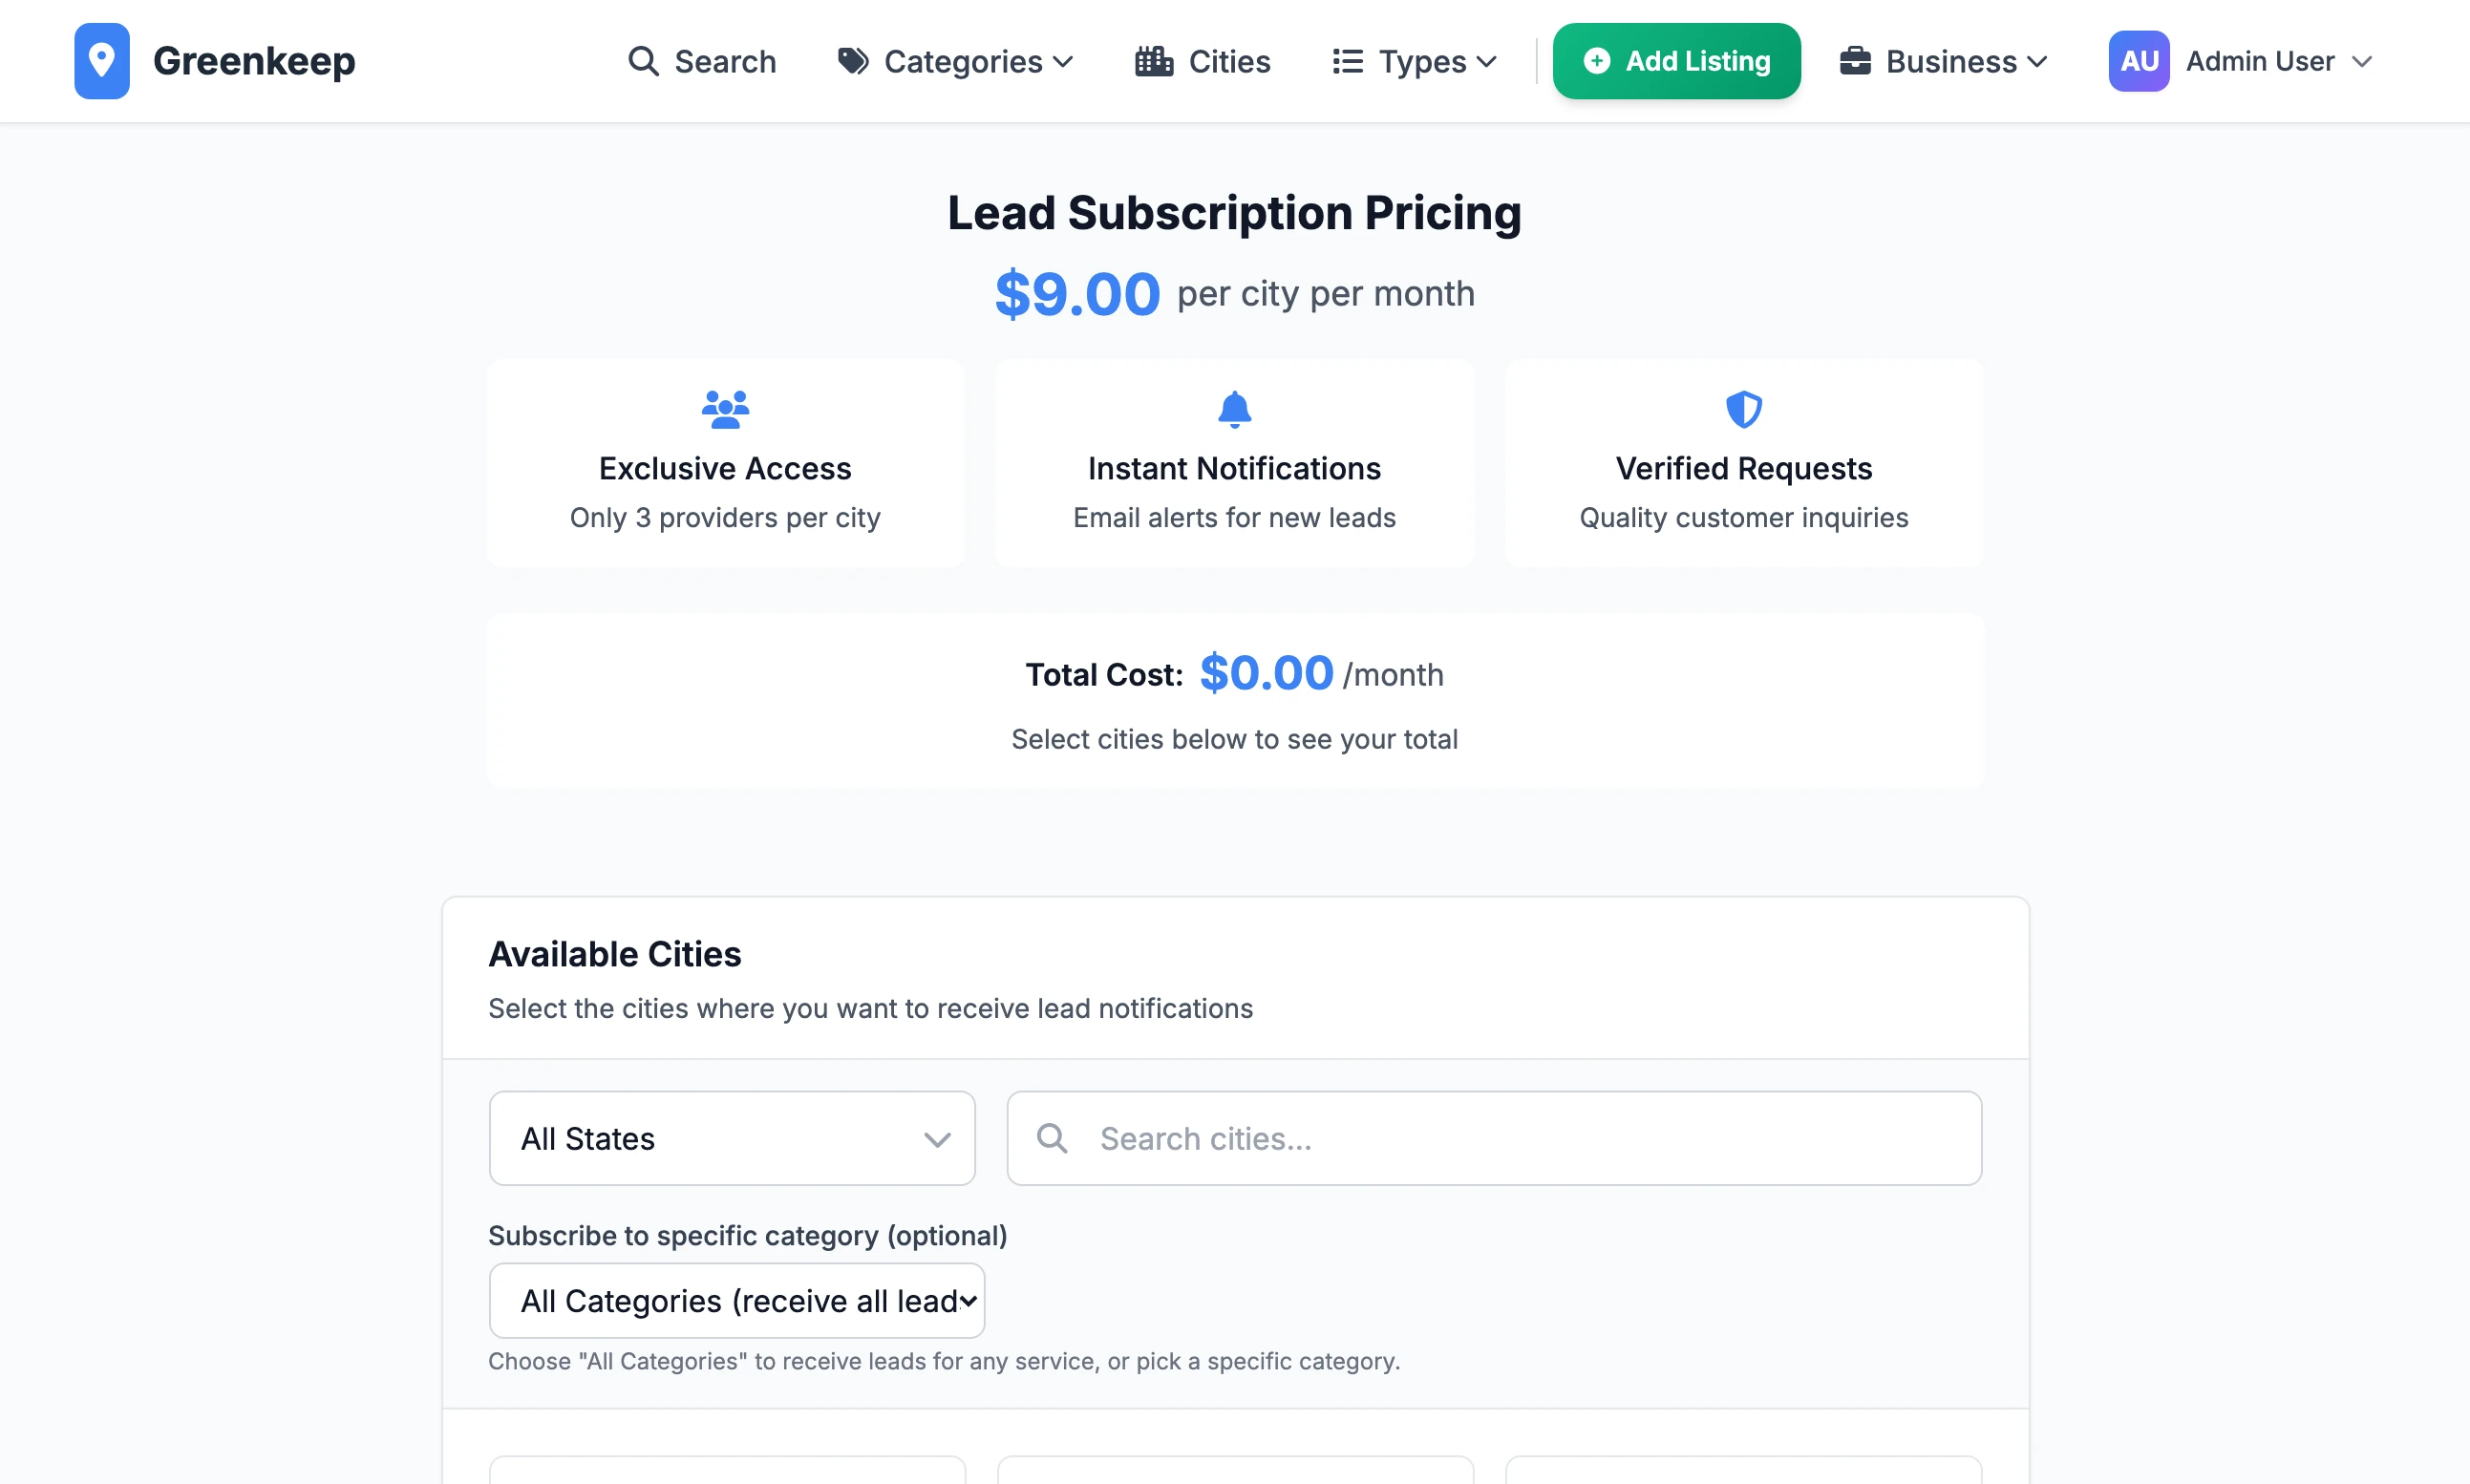
Select Cities lists every city with a live listing, each with your price and either a count such as "2 slots left", Full or Subscribed.
Subscribe to specific category (optional) limits what they see in the Leads Suite to one category.
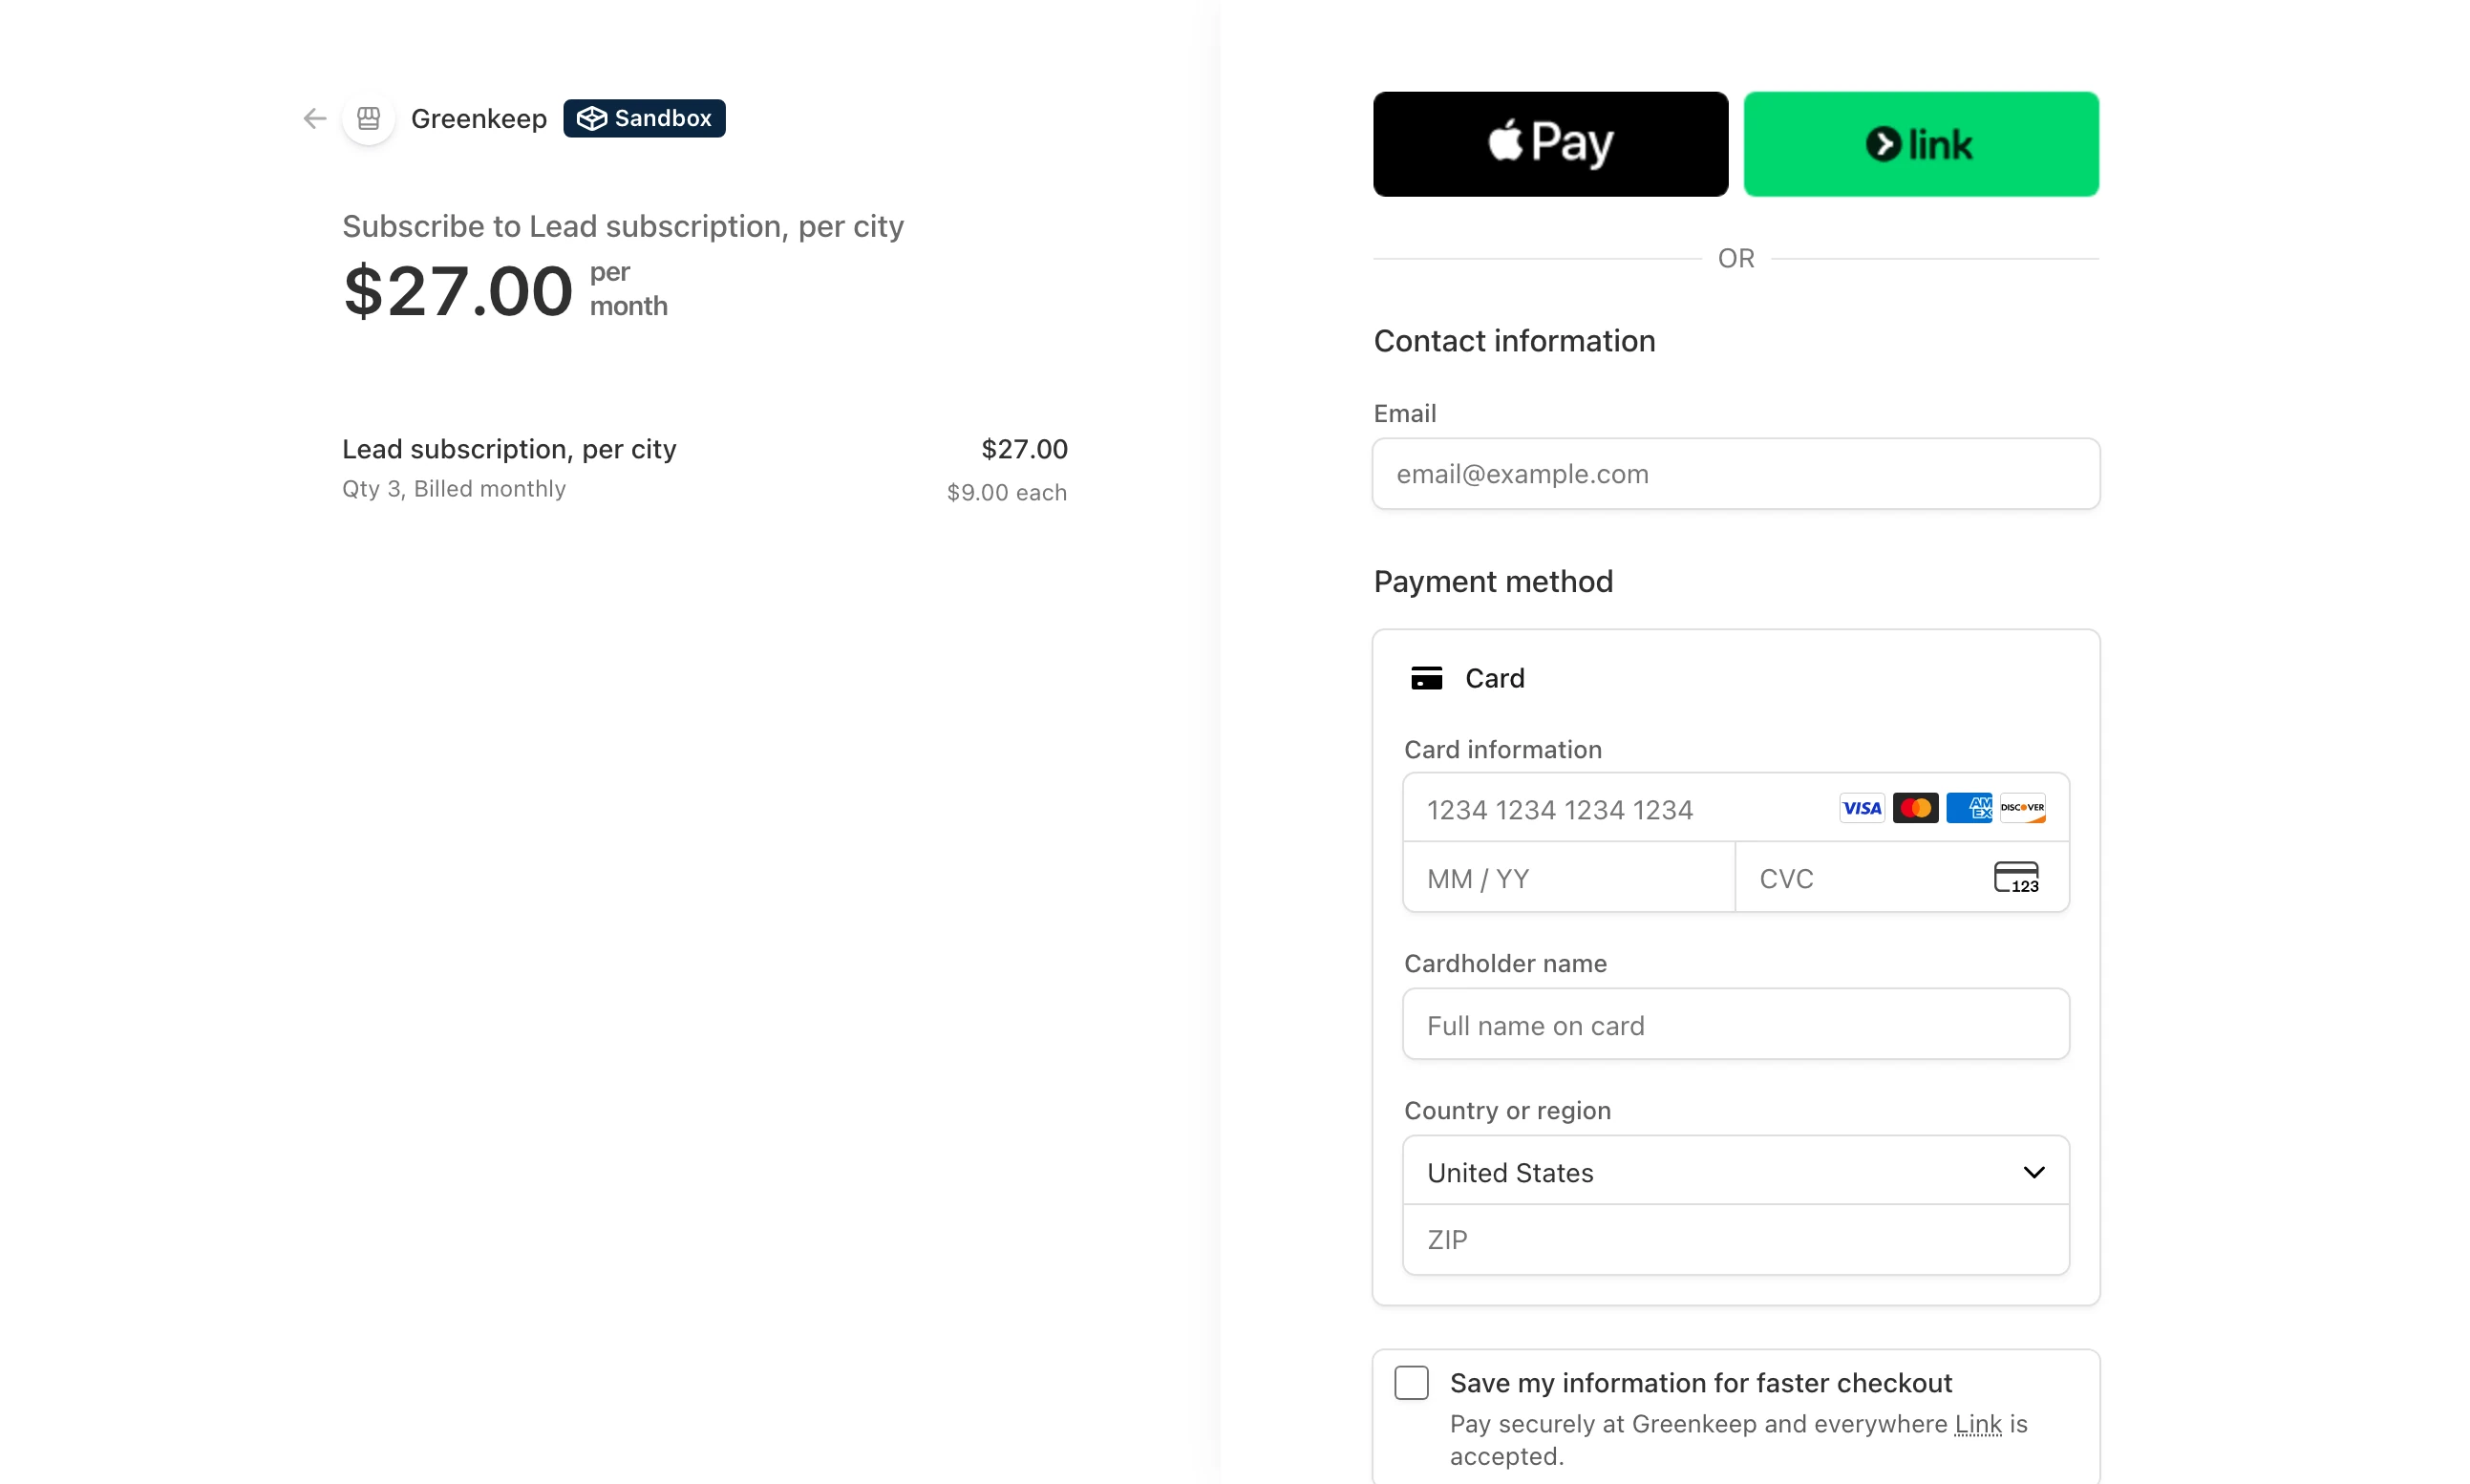
The button at the bottom reads Select Cities First until a city is ticked, then Pay and the monthly total. It takes them to Stripe's payment page. When they come back they see "Successfully subscribed to leads in 3 cities!", the cities are active at once, and both of you are emailed.
Requests in their cities appear under Available Leads with a Respond button. The reply form has Your Message, Quote Amount (Optional), Estimated Timeline (Optional) and contact details, and the customer is emailed the reply.
When a subscription ends#
The owner unsubscribes with the cross on a subscribed city. Stripe is told to stop at the end of the paid period, and access carries on until then. Cities bought together are one Stripe subscription, so unsubscribing from one city ends all of them.
A payment fails: nothing changes while Stripe retries. If Stripe gives up, access is removed and the place is free.
A payment succeeds: the subscription carries on. In version 1.2.1 the renewal is not added to the Sales Dashboard: see Connect Stripe.
You end it: open Subscriptions from the Leads page. Deactivate stops access and leaves Stripe charging. Cancel stops access now and tells Stripe to stop at the end of the paid period. The Type column says "Unknown" on every row.
To give a business a city without payment, use Manual Subscription on the Leads page: pick the Listing Owner and the City and click Add Subscription.
The daily sync#
On a server set up with the deploy script, a job runs at 04:30 every day. It asks Stripe about each paid lead subscription and switches off any that Stripe does not report as active or trialing, which frees the place. Manual subscriptions are left alone. To run it yourself:
python scripts/sync_lead_subscriptions.pyIf Stripe cannot be reached while it runs, the subscriptions it could not check are switched off too. Switch them back on with Activate on Subscriptions.
A business sees "Payment configuration incomplete. Please contact support."
Leads Stripe Price ID is empty. Paste it in on the Revenue tab.
What do Require Lead Verification and Leads Notification Email do?
Nothing in this version. The first changes a label on the Leads page and no request is checked. The second is not used: new request emails go to the address your site sends mail from.
Can I switch the lead system off?
Untick Enable Leads System and the admin pages and the Leads Suite close. The Get Quotes button and its form stay up and still save requests, which you cannot see until you switch it back on.
Stuck on a step? Send a message.