Install Local Lab on your computer
From the downloaded folder to a working directory with your own admin account, in about ten minutes.
Updated 7 Oct 2026 · written for Local Lab 1.2.0
On this page
Run Local Lab on your own computer first. It needs Python and nothing else: no database to install, no accounts to open, no keys. You get the whole product, admin included, and you can break it as often as you like before anything is public.
What you need#
Python, any version from 3.9 to 3.13. This guide was checked on 3.12. On a Mac or Linux the command is
python3; on Windows it ispython.The Local Lab folder. Unzip your download, or clone the repository if your tier includes GitHub access.
A terminal opened in that folder.
You do not need Node.js. It is only for rebuilding the stylesheet if you later change the design in code.
Install and start it#
Step 1: Make a virtual environment
This keeps Local Lab's Python packages apart from everything else on your computer.
Mac or Linuxpython3 -m venv venv source venv/bin/activateWindowspython -m venv venv venv\Scripts\activateYour prompt now starts with
(venv). Whenever you open a new terminal to work on the site, run the second line again first.Step 2: Install the packages
bashpip install -r requirements.txtThis takes a minute or two the first time.
Step 3: Give it a secret key
Local Lab scrambles saved passwords and keys with a secret of your own. Make one:
bashpython -c "import secrets; print(secrets.token_hex(32))"Create a file called
.envin the Local Lab folder, with one line in it, using the long string that was just printed:.envSECRET_KEY=paste-the-long-string-hereStep 4: Start the site
bashpython run.pyOpen http://localhost:5000 in your browser. Press Ctrl and C in the terminal to stop the site.
Run the setup wizard#
The first time you open the site, every page sends you to the setup wizard. It asks for the few things the site cannot guess.
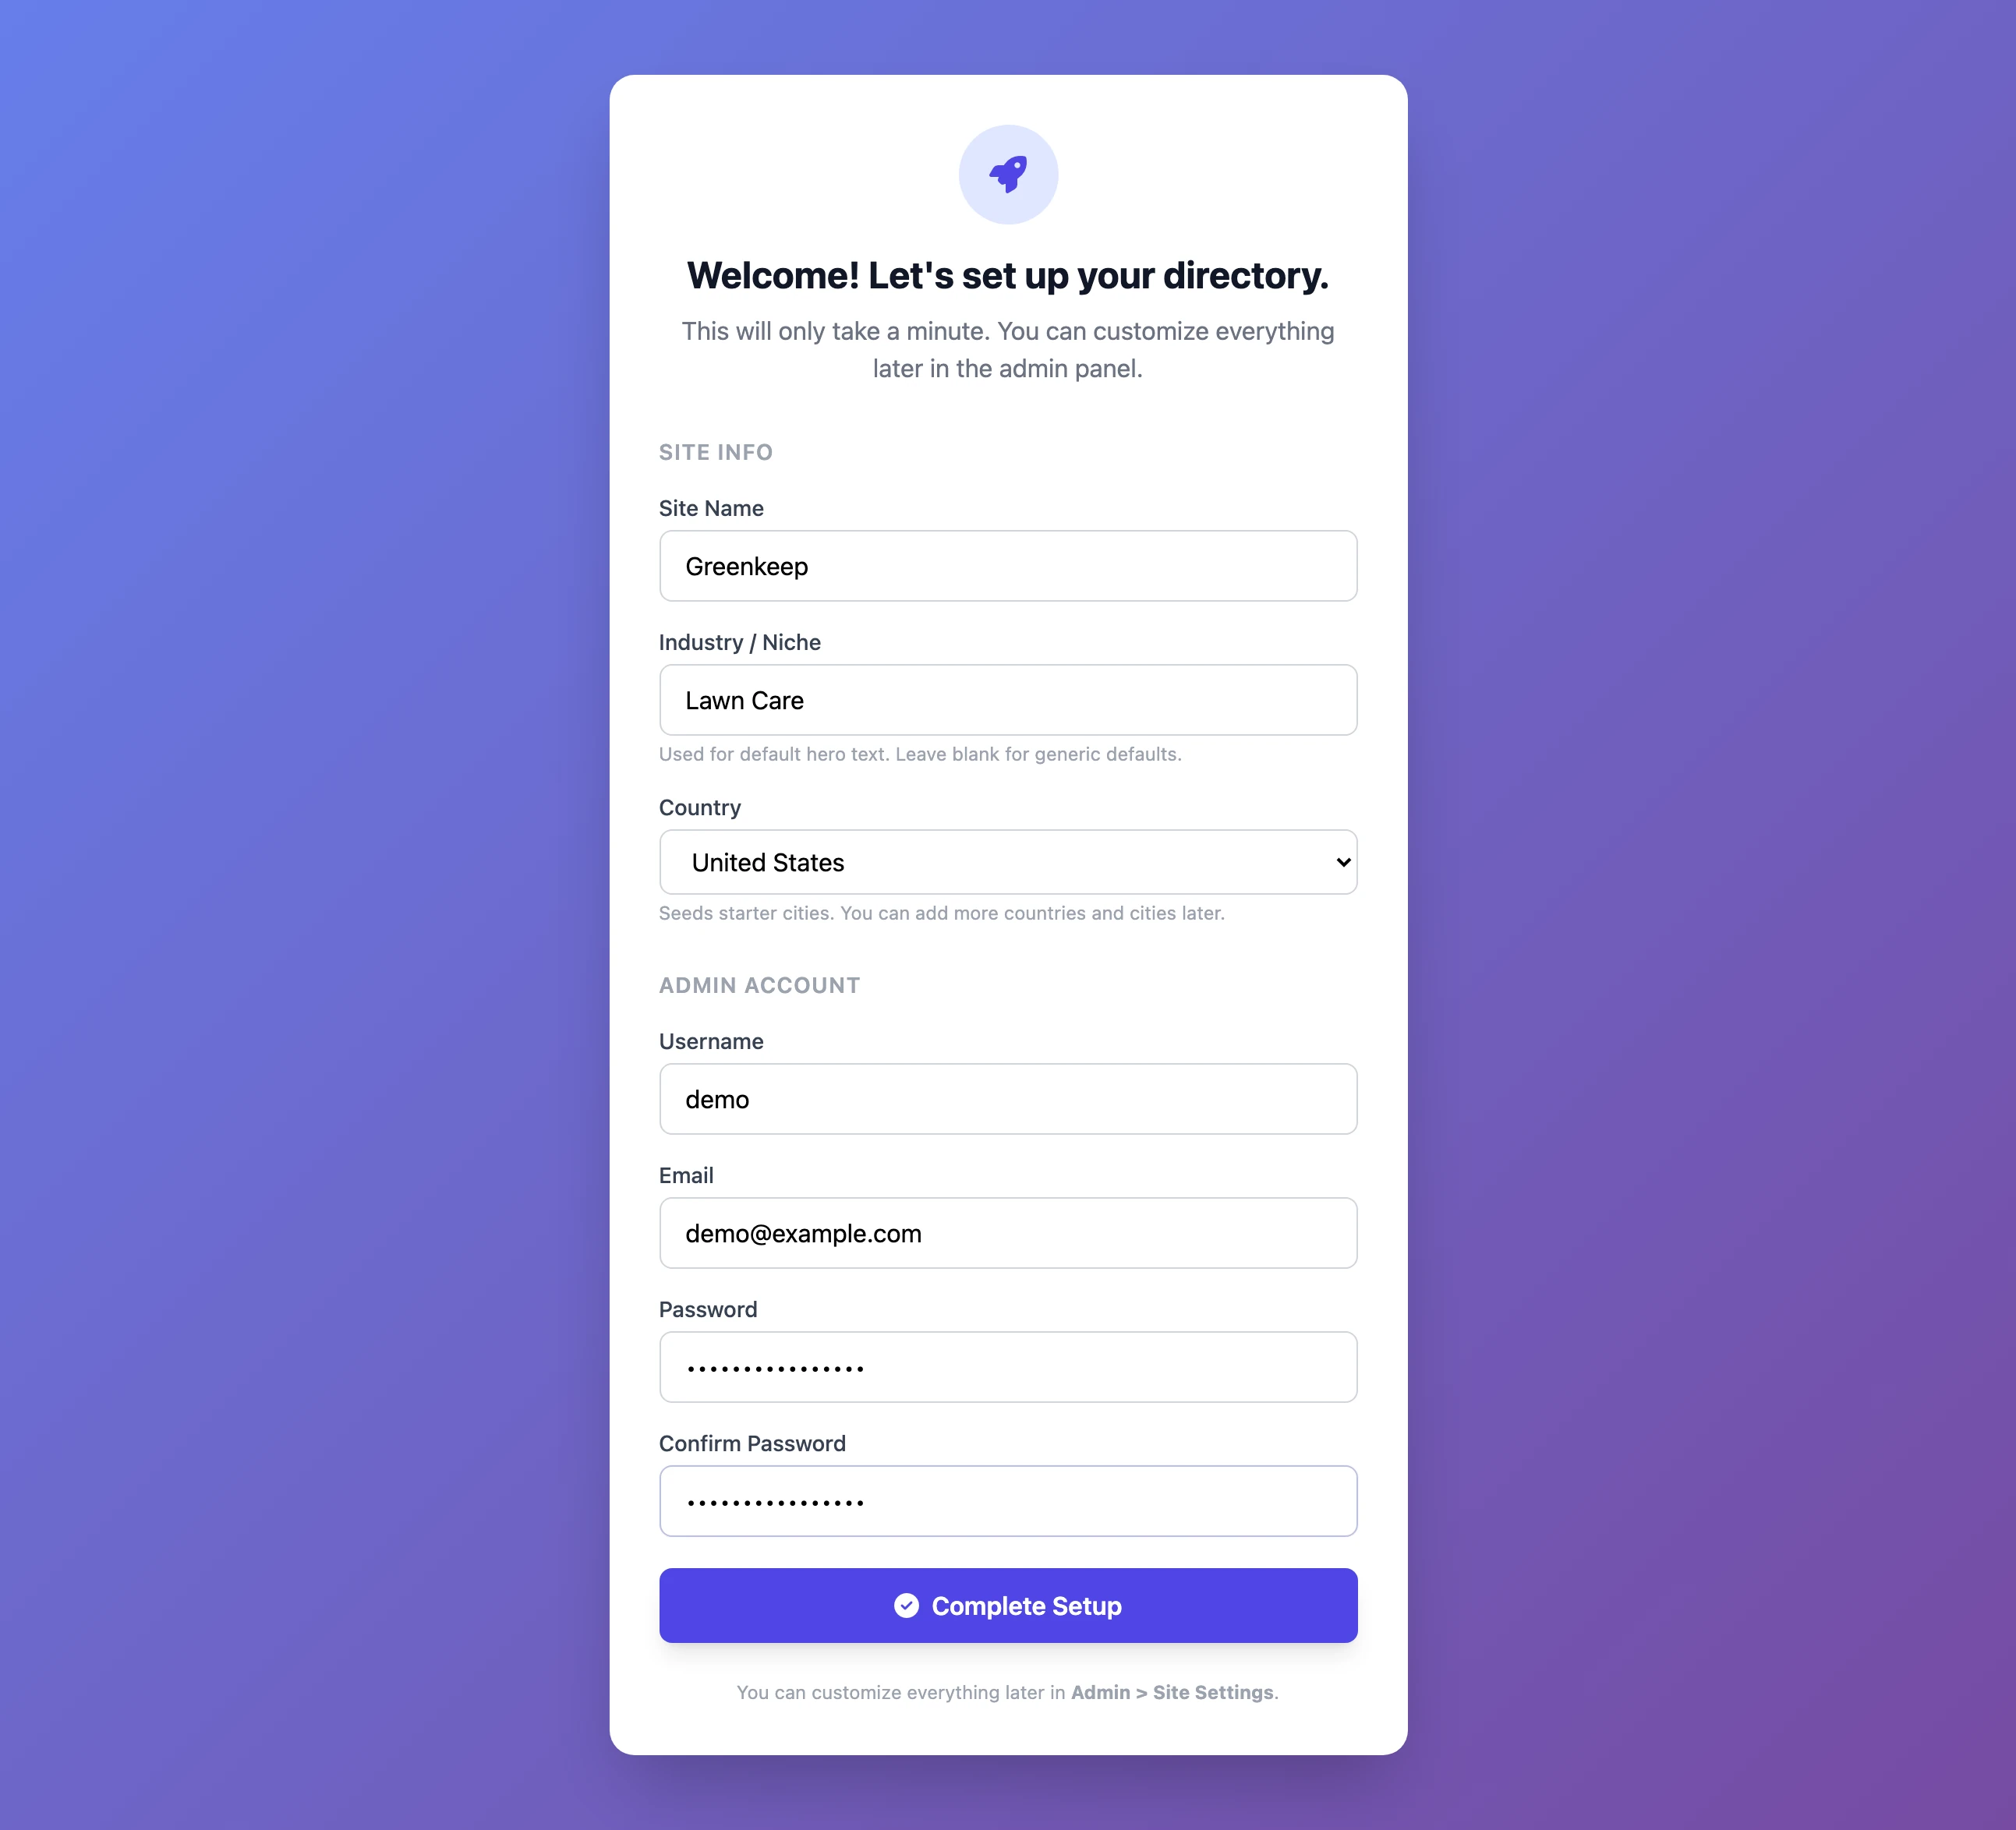
Step 1: Site Info
Site Name: the name in the top corner and in page titles. You can change it later.
Industry / Niche: the trade your directory covers, such as
Lawn Care. It writes your first headline for you: "Find the Best Lawn Care Services". Leave it empty for a general directory.Country: United States or United Kingdom. This adds five starter cities for that country. You can add more countries and cities later.
Step 2: Admin Account
Username: what you will sign in with. If you leave it empty it is
admin.Email and Password: the password needs at least 6 characters. Pick a strong one: this account can change everything.
Step 3: Click Complete Setup
You land on your new home page with a message that setup is complete. You are not signed in yet. The wizard never appears again.
Sign in to the admin#
Go to http://localhost:5000/admin. You are asked to sign in.
Sign in with the username you chose. The email address does not work here, even though the page says "Or continue with email".
You arrive on the Admin Dashboard.
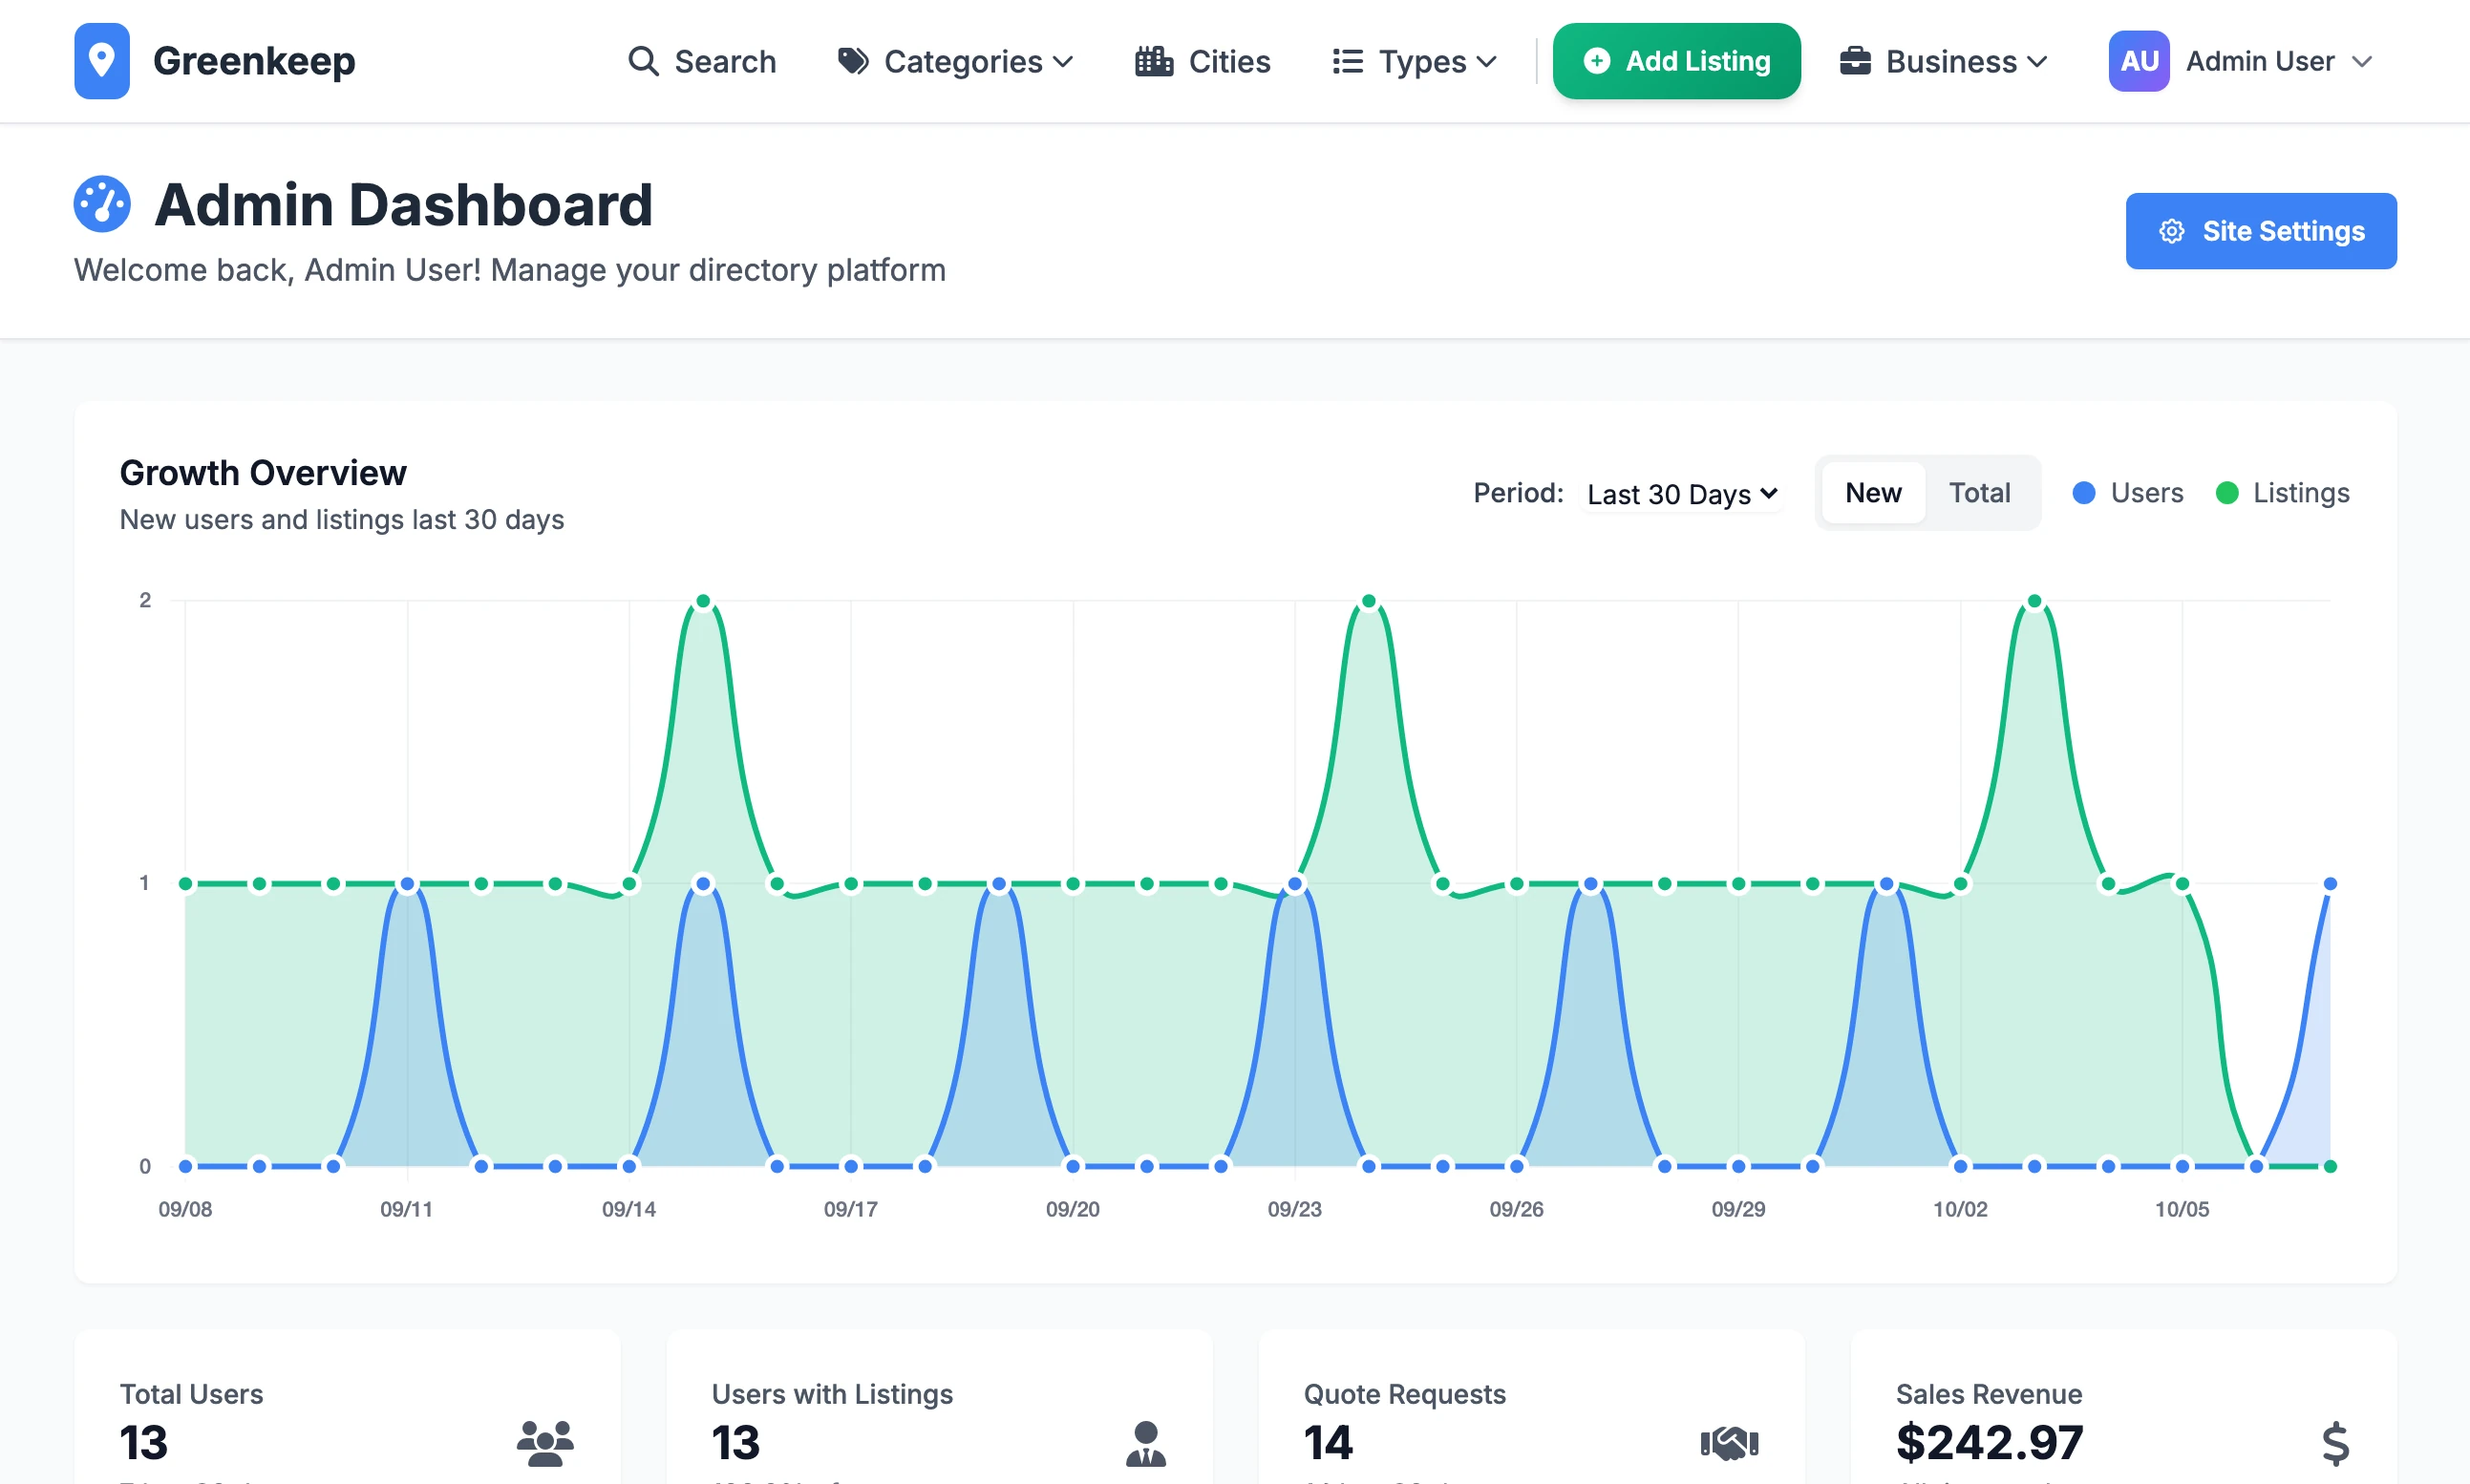
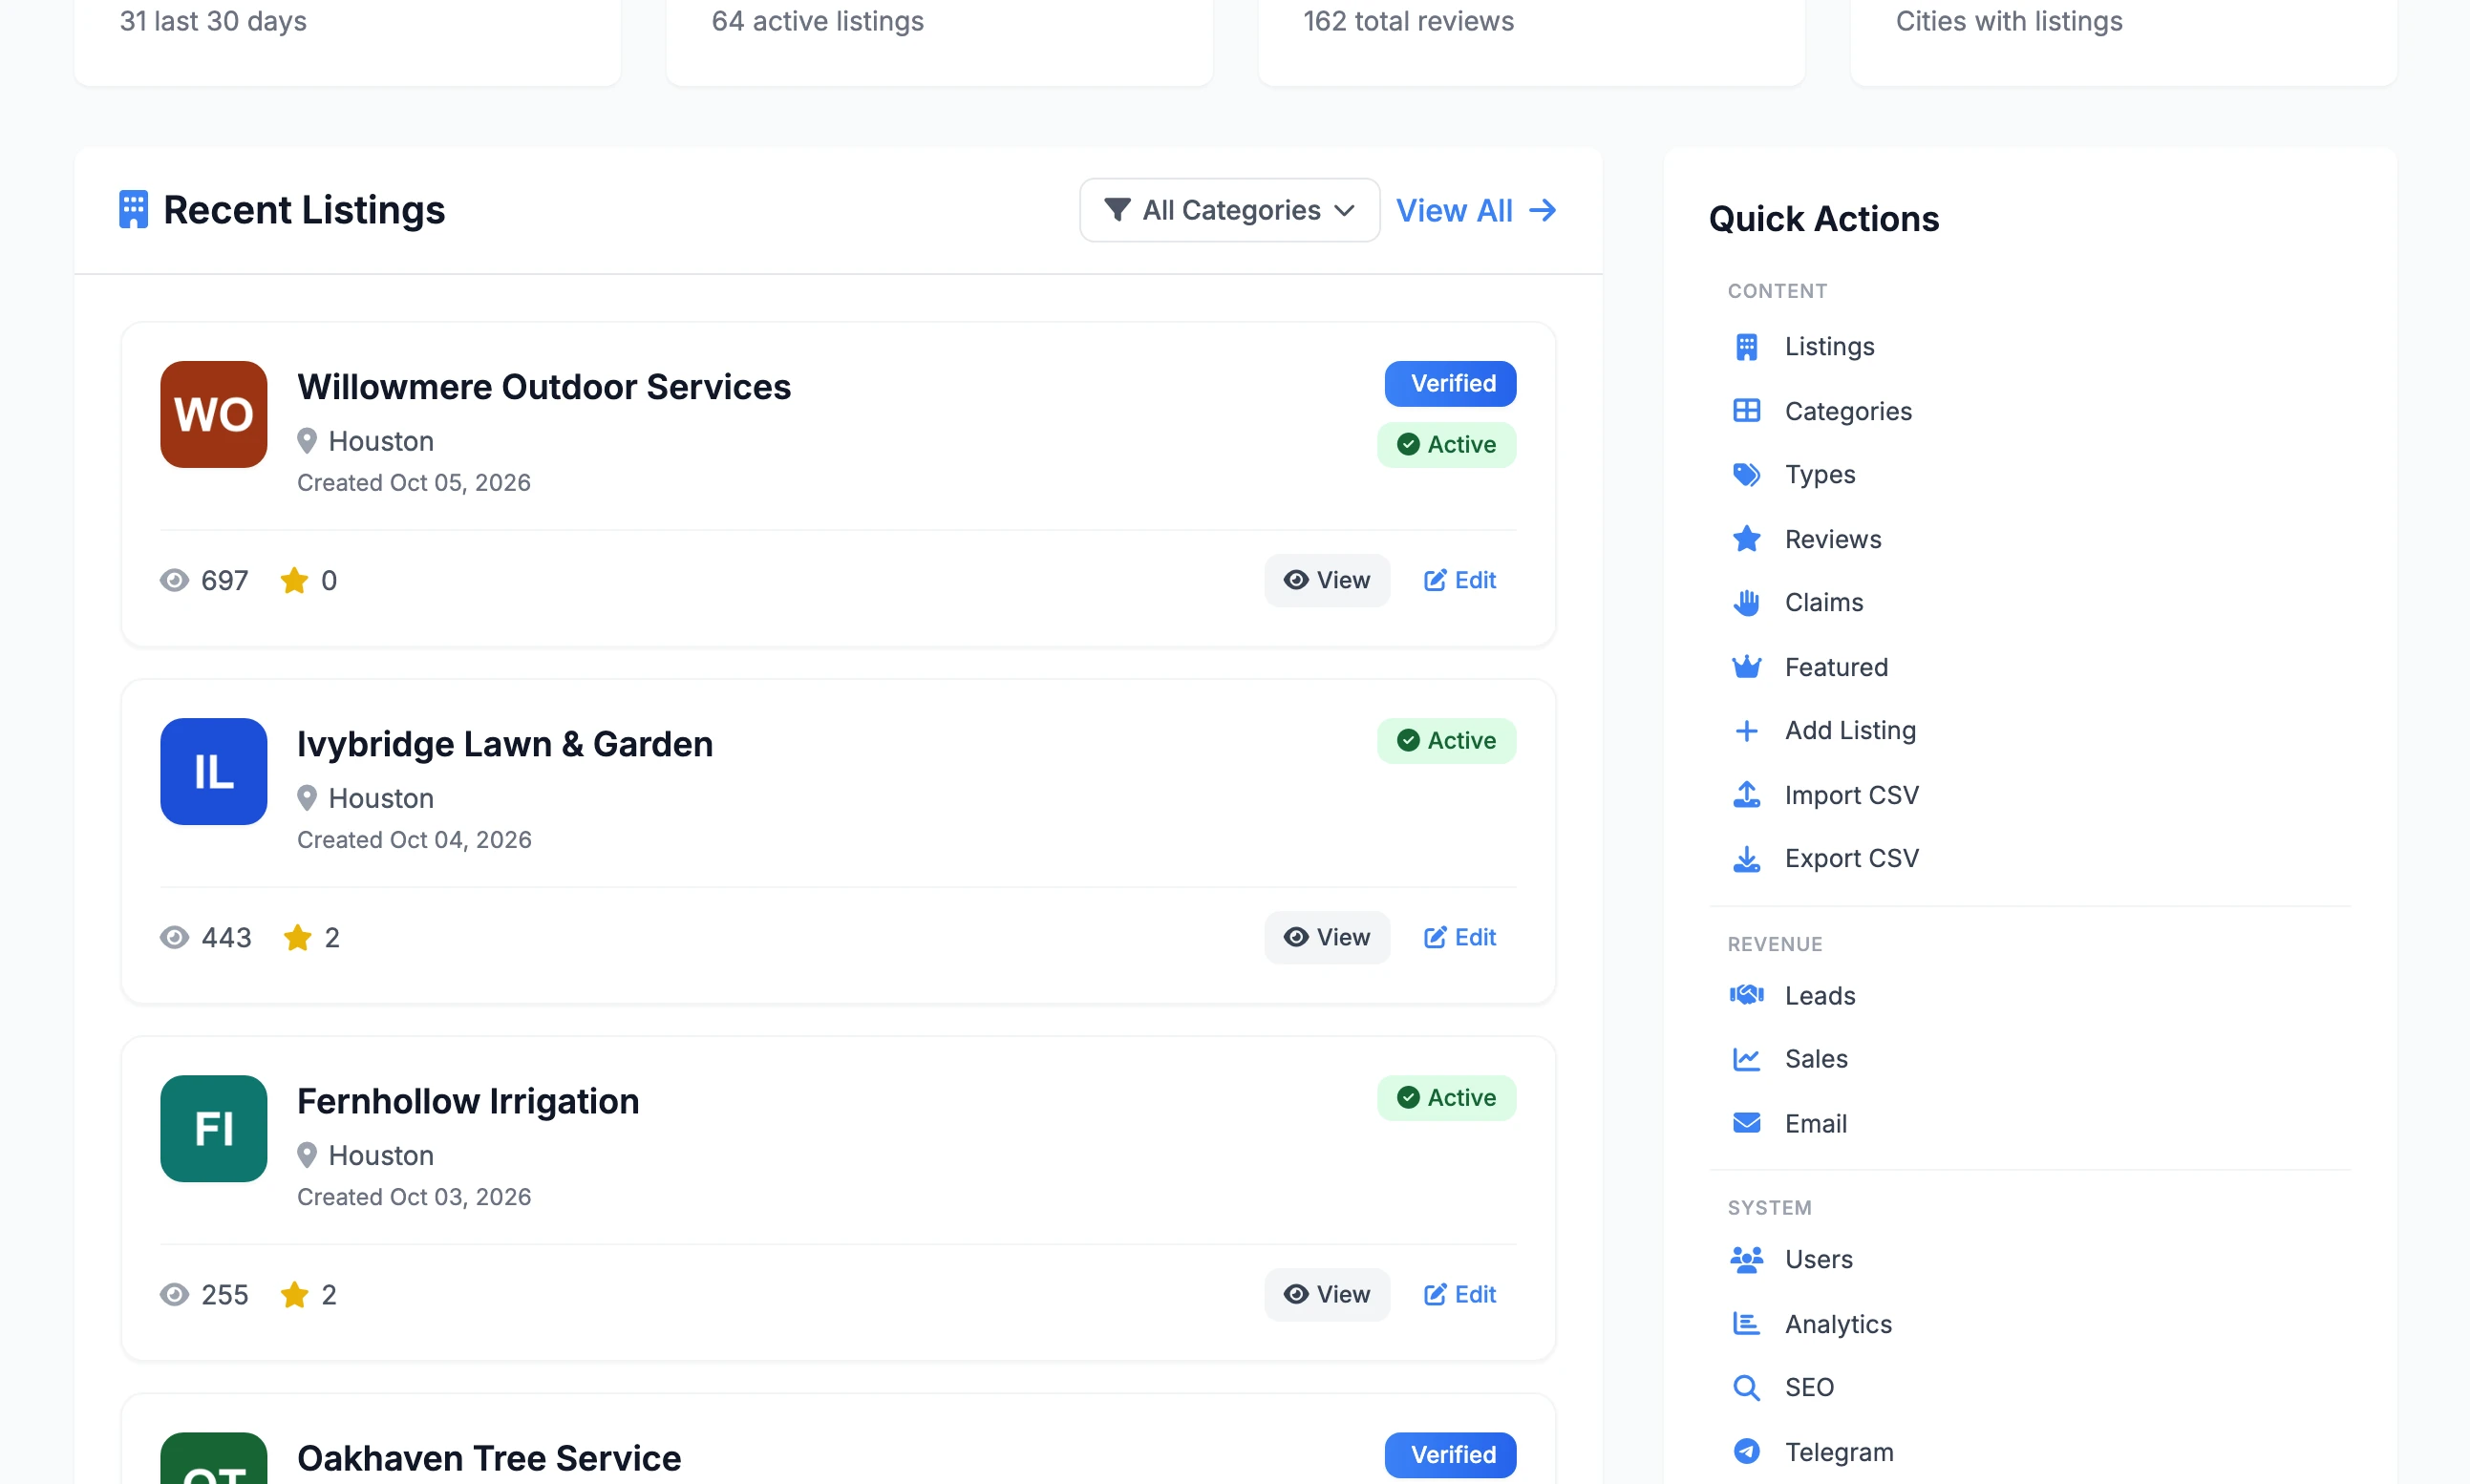
Scroll down a little and Quick Actions is on the right. This is the admin's menu: every screen is one click from here, grouped into Content, Revenue and System. The guides call a screen by its name in this list, for example "Import CSV under Quick Actions".
What the wizard put in#
So that the site is not empty, the wizard adds a little starter content:
| What | Added |
|---|---|
| Categories | Residential, Commercial, Emergency, Maintenance, Consultation |
| Types | Independent, Franchise, Mobile |
| Cities | Five for the country you chose |
| Listings | Three sample businesses: Premier Pro Services, CityWide Solutions and Elite Mobile Services |
They are placeholders. Rename or delete them as you make the site your niche, then bring in real businesses.
Where your data is#
Everything is in one file: instance/directory.db, created the first time the site is opened. That is a SQLite database, and it is all a new site needs.
To start again from nothing, stop the site, delete that file and start the site. The wizard comes back.
To keep a copy, stop the site and copy the file.
When the site is live and busy you can move to PostgreSQL without losing anything. The deployment guides cover that.
- Import businesses from a CSV fileFill the directory with hundreds of listings in one go.
- Sell featured listingsSwitch on the first way the site earns.
Do I need Node.js?
Not to run the site. The stylesheet is already built and included. You only need Node.js (version 16 or newer) if you edit the design's source files, to rebuild it with npm install and then npm run build-css-prod.
The page says "Please verify your email before logging in"
That is for people who register on the site, and they are sent a link by email. The admin account made by the wizard is verified already. If you see this, you are signing in with a different account.
Can I run it without the .env file?
It will start, using a built-in secret key that is the same for everyone who has the code. That is fine for a first look and unsafe for anything else. Make the file before you save any keys in the admin.
I forgot the admin password
On your own computer the quickest fix is to make a second admin from the terminal, with the site stopped:
python scripts/create_admin.py --username you --email [email protected] --password a-new-passwordStuck on a step? Send a message.